
Introduction
This Holiday season save the day with your very own Red Nosed Reindeer.
You can make this project (and many more!) with our Paper Circuits Kit.
Parts
Video Overview
Featured Document
-
-
Print off the template, trace it, and cut out your deer body parts.
-
Glue the nose and ear insides.
-
If you plan on freehand cutting your body, be sure to read all the directions first. Pay special attention to how we create the battery holder.
-
-
-
The long leg of an LED is Positive, and the short leg is Negative. For this project the Positive legs go on the bottom, and the Negative legs go on the top.
-
Bend LED legs 90 degrees.
-
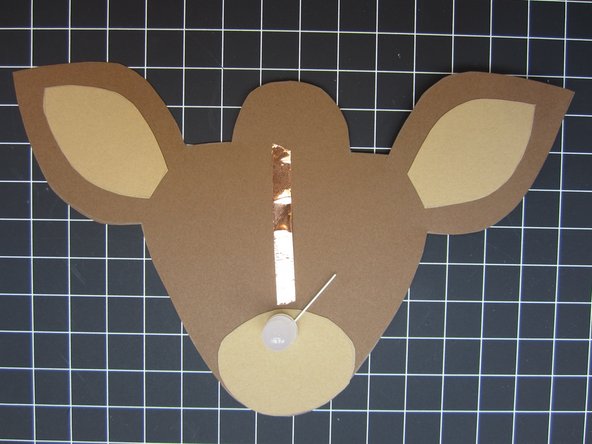
Stick the long Positive legs through the paper. It may help to cut a small slit in the paper.
-
-
-
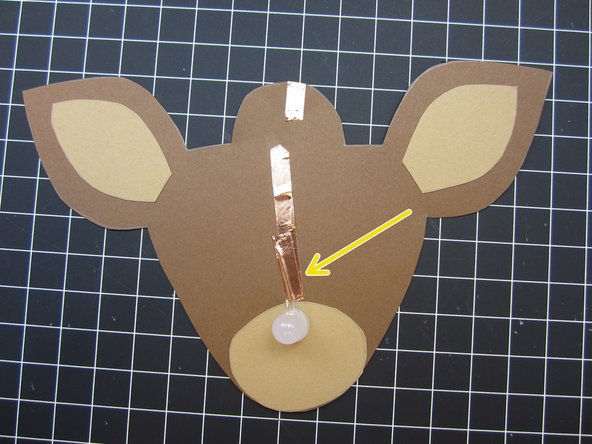
Run a piece of tape along the top of your project.
-
Stop right next to the ball at the end.
-
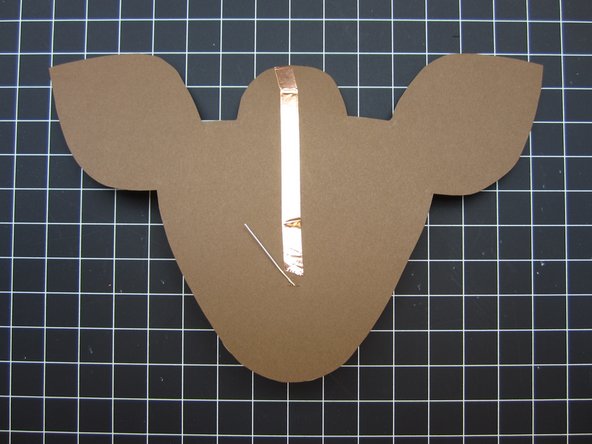
The two top pieces can touch, though the should NOT touch the tape from the backside.
-
-
-
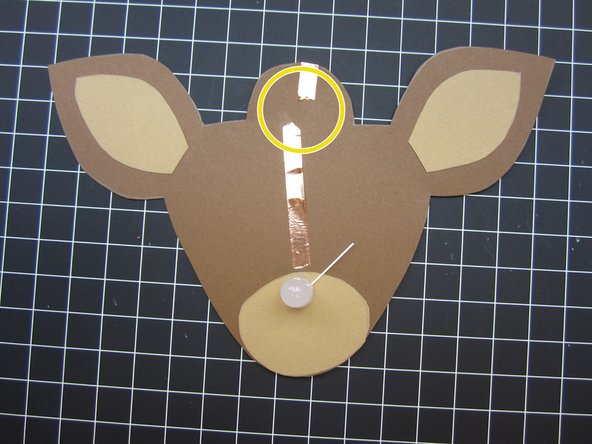
Run lines of tape from the Positive LED legs back round to the front.
-
Do not connect the Positive and Negative tape lines.
-
-
-
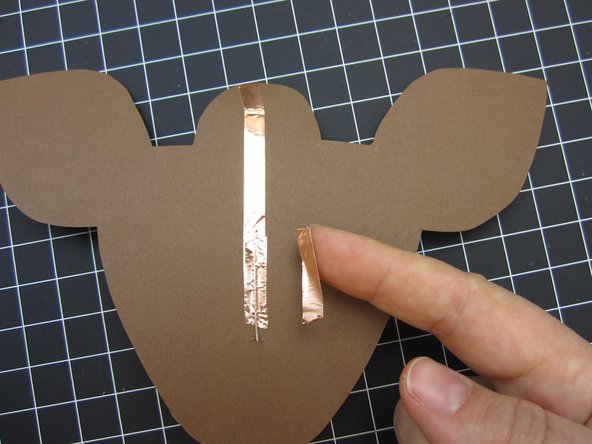
Position your LED legs over each of the lines of tape.
-
Use a small piece of Conductive Tape to tape down each of the legs.
-
Do this to both LED legs.
-
-
-
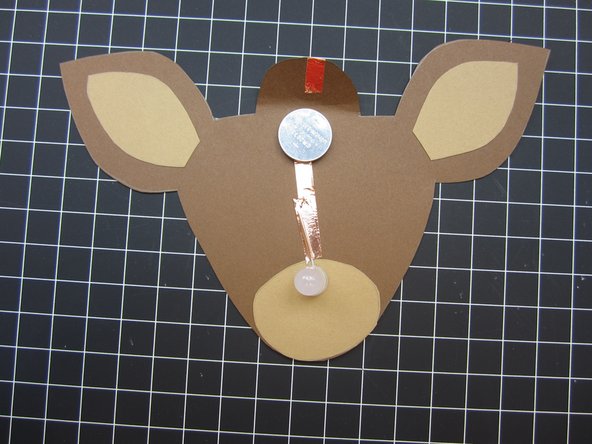
Place a battery so that bottom (Negative) side is over the Negative line of tape. (Top side)
-
Fold down the bulb on the back so that the Positive line of tape make contact with the top of the battery.
-
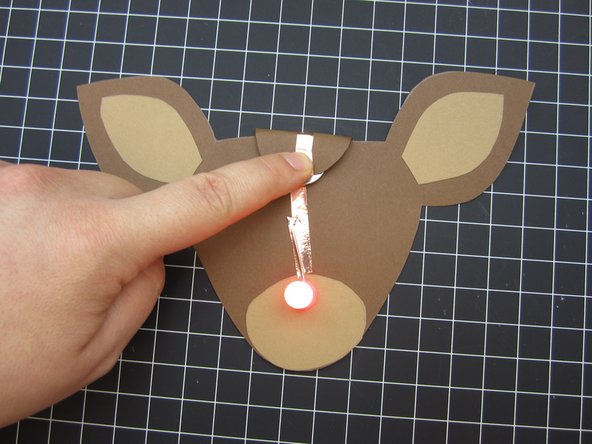
The LED should turn on.
-
When in doubt, flip the battery over and try again. This solves 90% of all building errors.
-
-
-
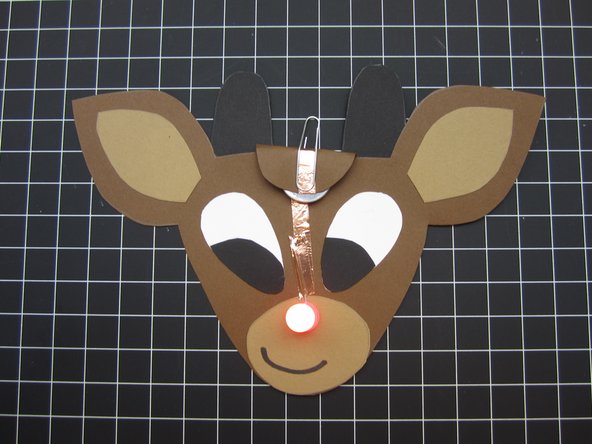
Use a binder clip or paper clip to hold the battery holder together.
-
To "Turn Off" the project, just remove the clip.
-
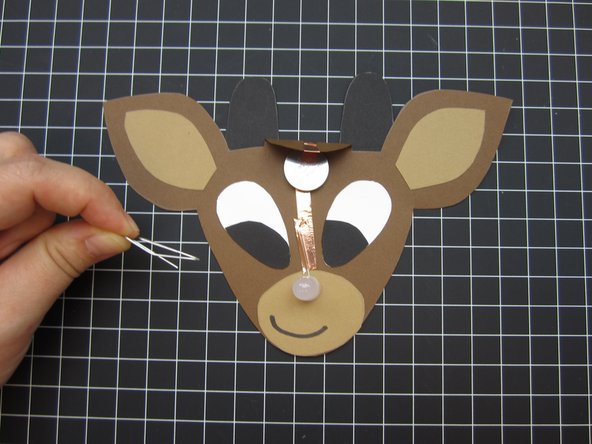
Add additional paper parts as necessary.
-


Attached Documents
