
Introduction
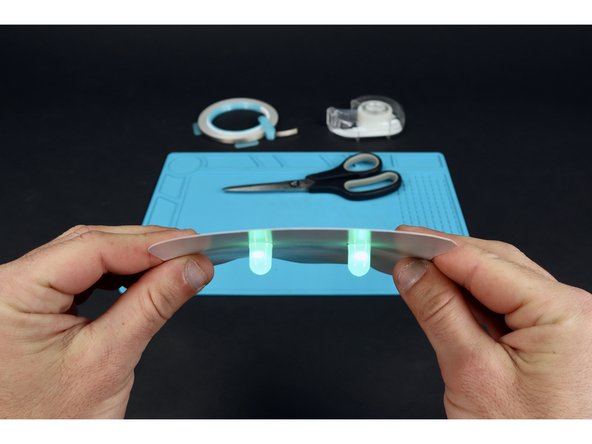
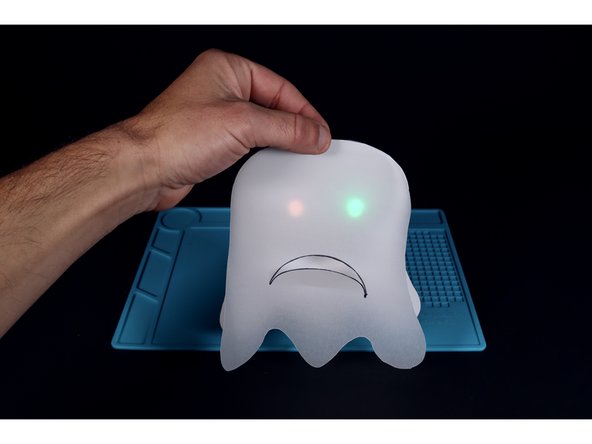
Truly a ghost with the most, this spooky circuitry project has LED eyes and a simple fold-out frown! Make your own this Halloween.
You can make this project (and many more!) with our Paper Circuits Kit.
Featured Document
-
-
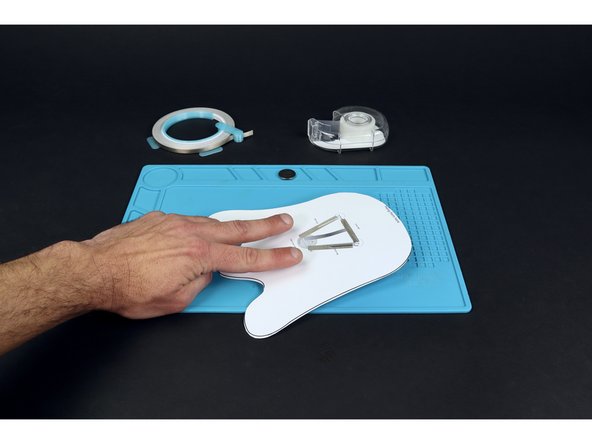
Gather the materials listed in this guide and print out the template found at the bottom of the guide.
-
-
-
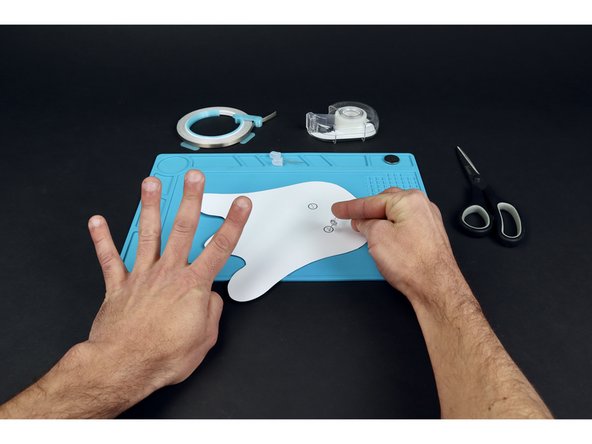
Tape the piece of transparent vellum to the template and carefully cut both out using the template lines viewable through the vellum as your guide.
-
-
-
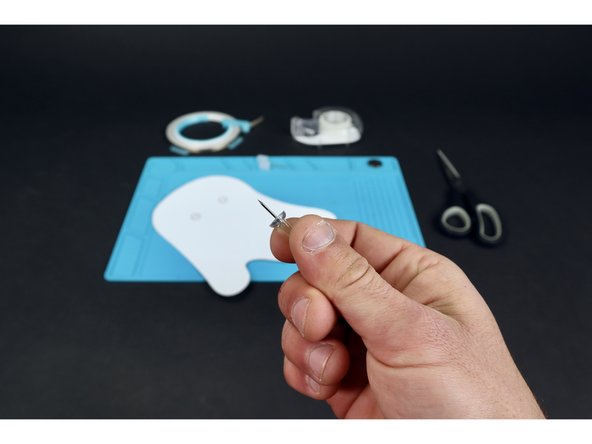
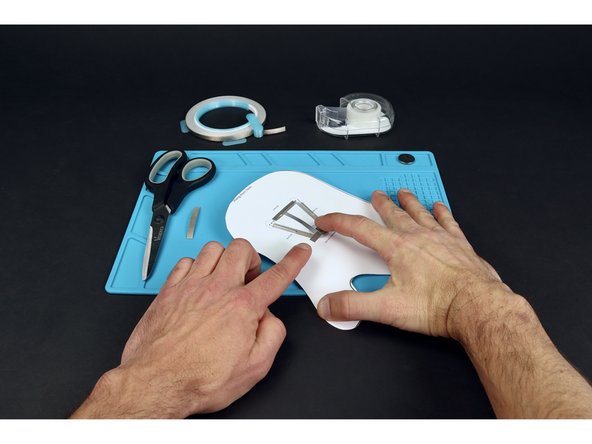
Use a pushpin to poke 4 holes where shown within the two circles that indicate where LEDs will be placed.
-
-
-
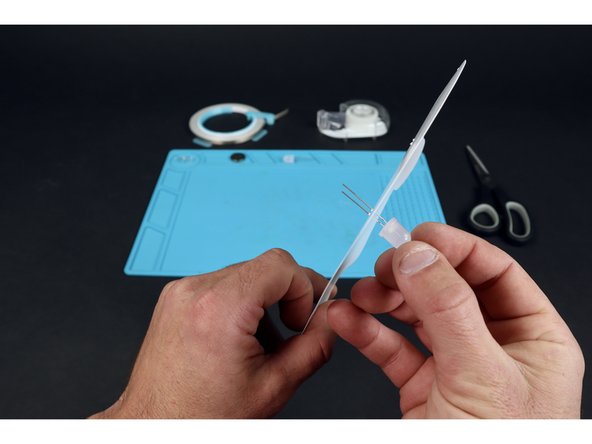
Thread each of your two LEDs through these two sets of two holes. Orient the LEDs so that the long legs go through the holes marked "L" and the short LED legs go through the holes marked "S".
-
-
-
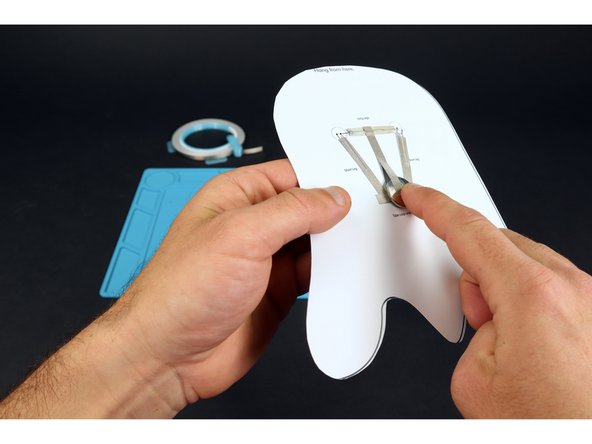
Flip your project over.
-
Bend the two long LED legs inward from their positions so that they lay flat against the project atop the Maker Tape path on the diagram marked "B".
-
Bend the two short LED legs over the paths marked "A,C" on the diagram in the same way you did for the first two legs.
-
-
-
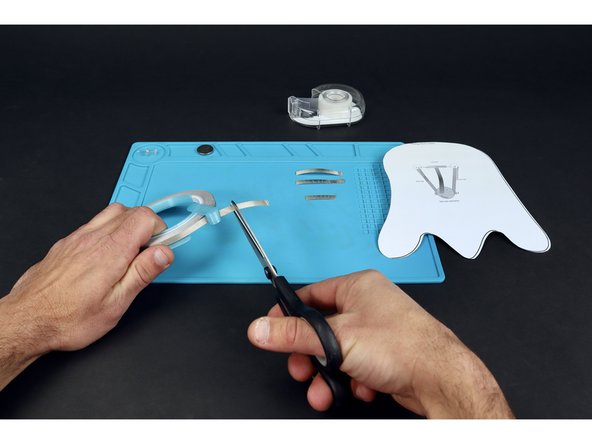
Use the paths printed on the diagram to help you measure and cut Maker Tape pieces for the circuit paths labeled "A,B,C,D".
-
-
-
Peel and stick these Maker Tape segments for paths "A,B,C,D". NOTE: "A,B and C" go OVER the LED legs while D simply goes atop paper.
-
-
-
Use the diagram again to measure and cut a piece of Maker Tape for the path labeled "E" as well as a smaller one of no particular length.
-
-
-
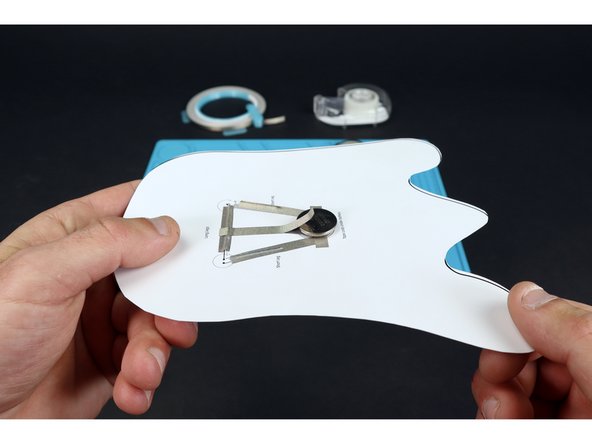
Make a tape loop with the smaller piece of Maker Tape you just cut and place it where shown on the circuit diagram atop path segment “D” .
-
Stick battery atop the tape loop so that the positive (+) side faces UP.
-
-
-
Peel and stick the longer piece of Maker Tape so that it contacts path "B" on one end and the top of the battery on the other end. This will turn your LEDs on! Simply peel back to turn them off.
-
-
-
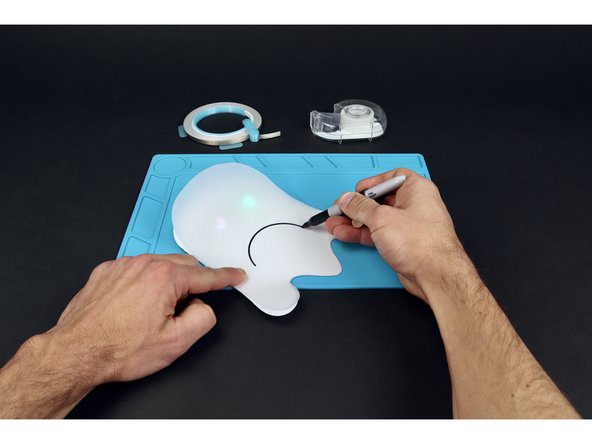
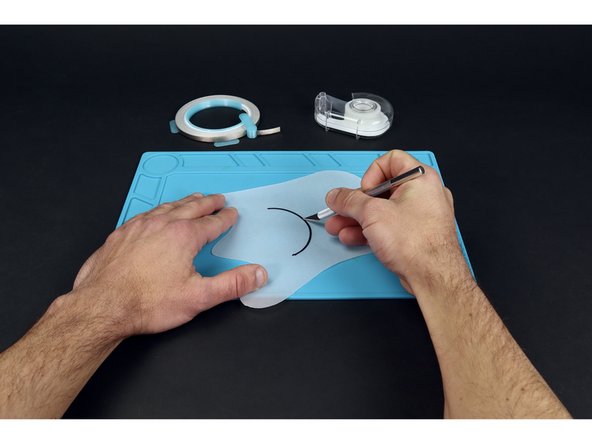
Use a marker to draw an expressive mouth on the vellum and them a craft knife to cut it from end to end. This should allow you to pull the mouth away from the rest of the shape a bit as pictured in photo 3.
-
-
-
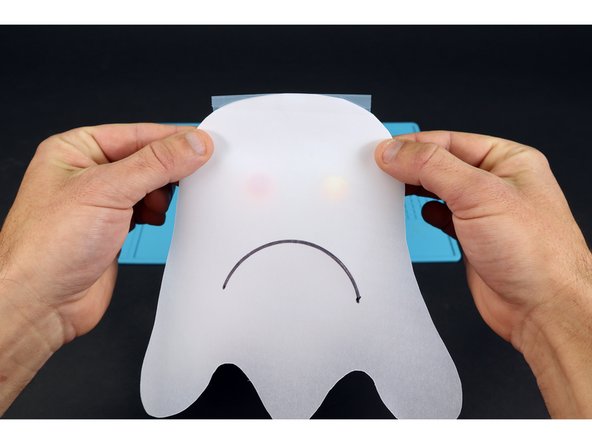
Lay the vellum ghost atop the circuit ghost and use a piece of transparent tape to connect the two layers at the top.
-
-
-
Boo-Ray! You just connected two LEDs in parallel to make this fun, spooky circuit!
-


Attached Documents
