
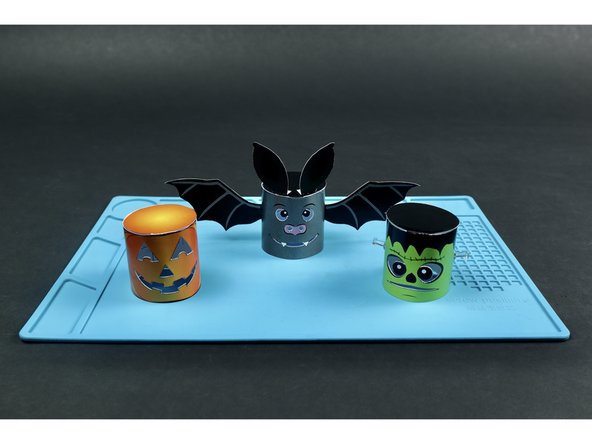
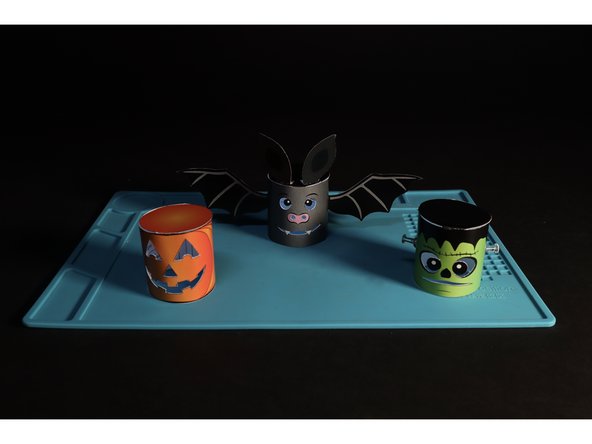
Introduction
Use our printable templates and this step-by-step guide to create some fun, spooky paper craft luminaries!
In this guide we have both a B&W version of these templates which can be easily drawn on as well as a pre-colored one for printing on a colored printer. The files for all of these can be found at the very BOTTOM of this page.
Video Overview
Featured Document
-
-
BEFORE YOU BEGIN: If you want to create a version of this project that does NOT require use of an X-ACTO knife, simply print the template on standard copy paper.
-
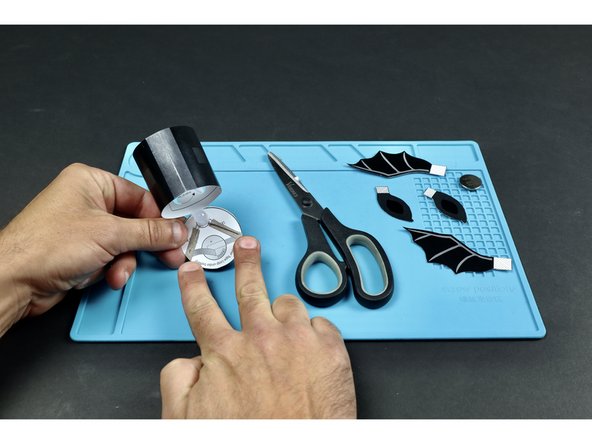
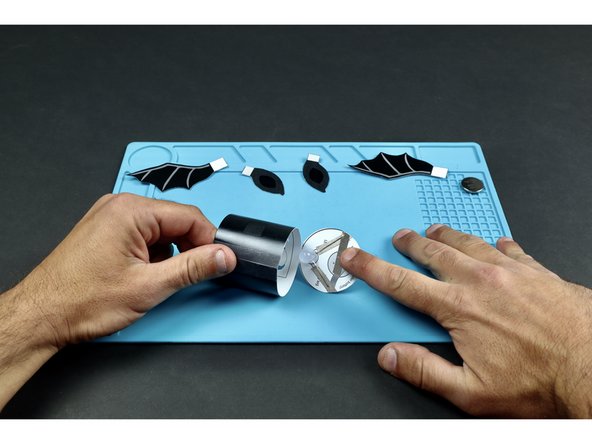
Print cut and color your spooky project/parts on heavy card stock.
-
Using an X-ACTO knife, carefully cut out and remove the white facial features indicated on the template (as if you were carving a Jack-o-Lantern).
-
Remember, B&W versions of these templates can be found at the very END of this guide. Those are suitable for printing and coloring with colored pencils.
-
-
-
Using a pencil as shown, pull the project against this round shape from straight edge to straight edge. This will give the project a curl and make it easier to turn into a tube.
-
Bring the two matching straight edges together to form the tube shape and use a single piece of transparent tape to hold the seam together.
-
-
-
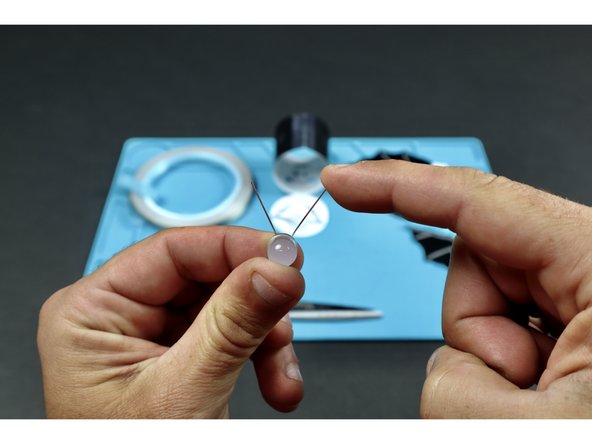
Prepare the LED by bending the legs so that the LED bulb can lay flat. Then bend them outward in opposite directions so there's enough space between them for a battery to sit without touching.
-
Take care to flatten the legs so that the long and short leg are oriented in the way shown on the back of the circular lid.
-
-
-
Use the circuit diagram on the back of the project's circular lid to assemble the circuit.
-
First, use two Maker Tape sections to secure LED legs in place. Make sure to note the length of the legs and orient the LED/legs to match the diagram. Then, add the Maker Tape section shown so that it connects to the tape path leading from the SHORT LED leg.
-
-
-
Make a tape loop out of Maker Tape.
-
Stick the tape loop onto the end of the tape section that you last placed as shown.
-
Stick the battery onto the tape loop so that the positive side faces UP.
-
-
-
Add the final piece of Maker Tape and fold the lid down to seal the deal! Note: Connecting this final piece of Maker Tape to the top of the battery turns the light on. Peeling it back will turn it off.
-
-
-
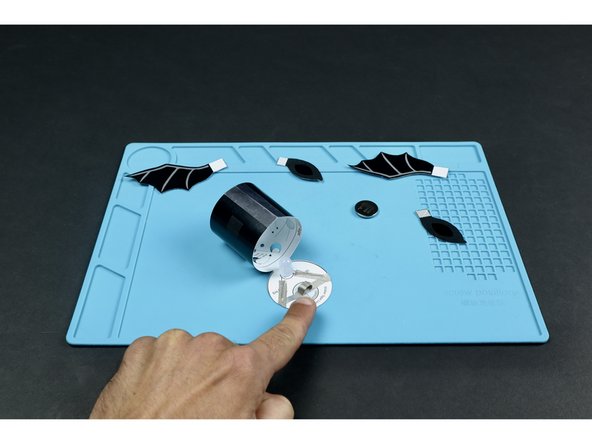
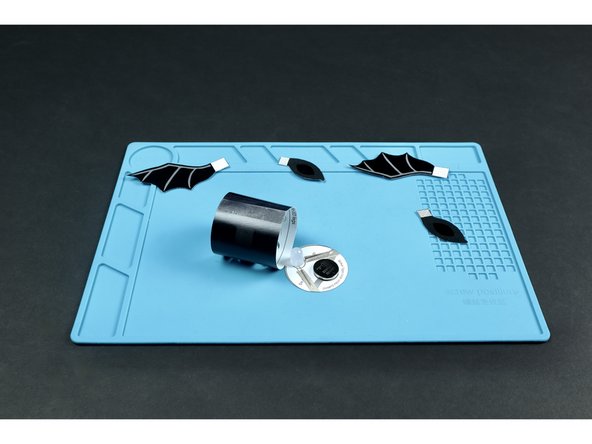
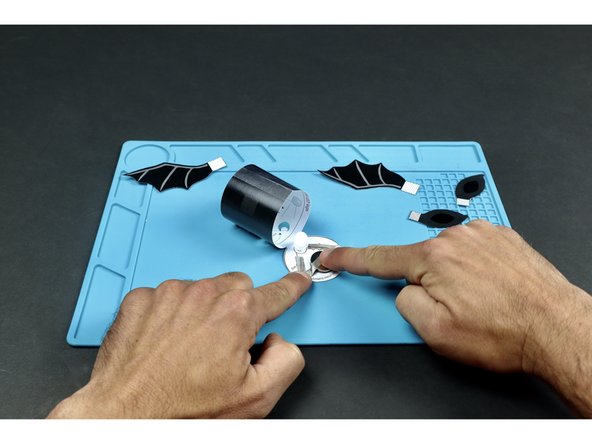
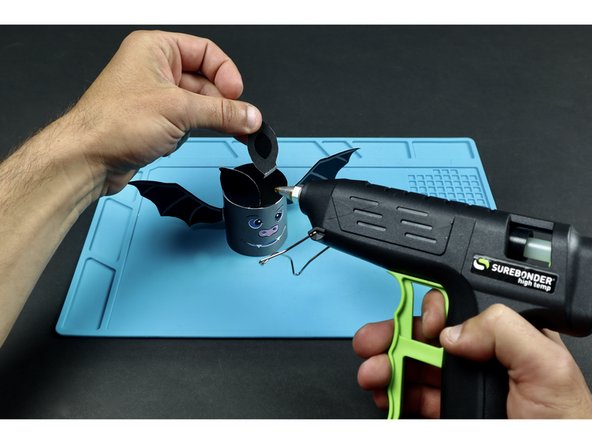
Add embellishments afterward to decorate.
-
Happy Halloween!!!
-


Pro Tip: Use some colored push pins to add some bolts to FrankenTube or a stem to the Tube O' Lantern!
Pro Tip: Use some colored push pins to add some bolts to FrankenTube or a stem to the Tube O' Lantern!