Introduction
Use this guide and our downloadable templates to make fun, Thanksgiving-themed vibrobots that spin and skitter around!
Video Overview
Featured Document
-
-
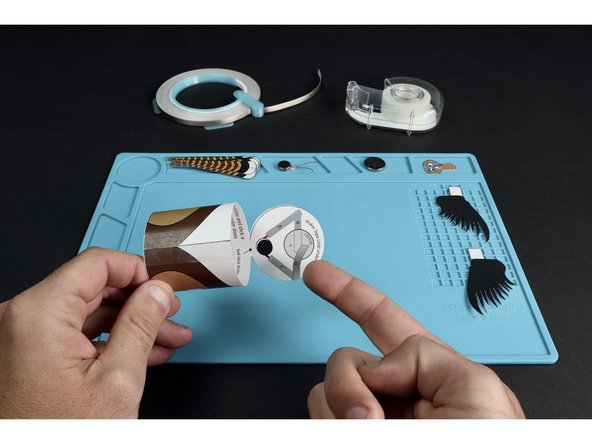
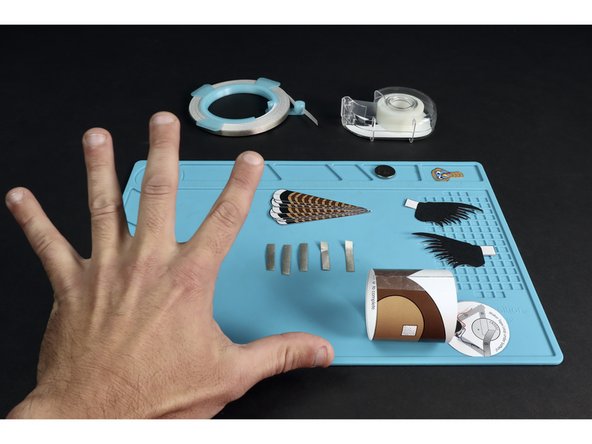
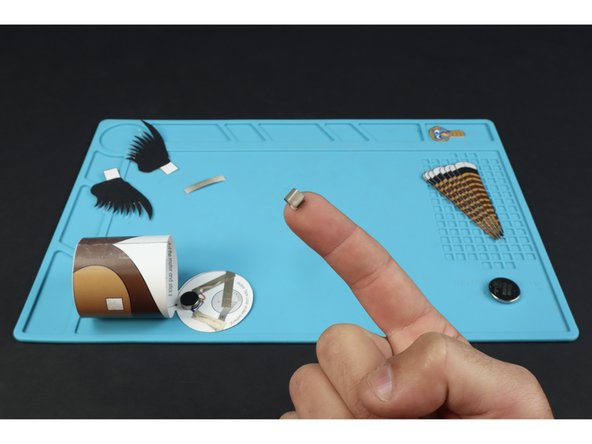
Gather the materials listed. Print, cut and color your Thanksgiving Tube project/parts on heavy card stock.
-
Remember, B&W versions of these templates can be found in addition to already colored ones. The template files are at the bottom of this guide.
-
-
-
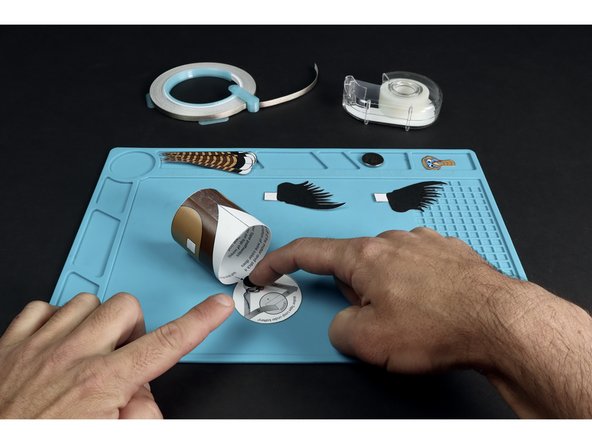
Using a pencil as shown, pull the project against this round shape from straight edge to straight edge. This will give the project a curl and make it easier to turn into a tube.
-
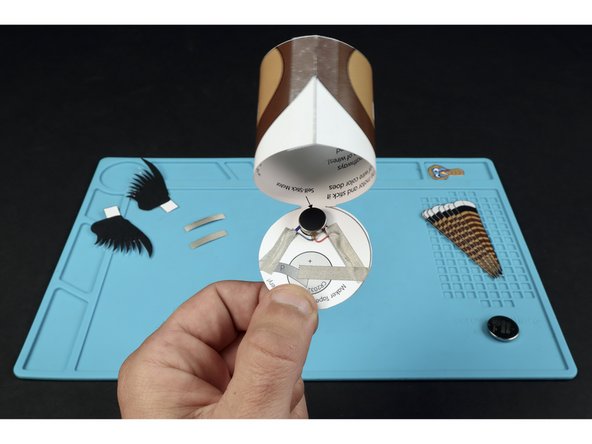
Bring the two matching straight edges together to form the tube shape and use a single piece of transparent tape to hold the seam together.
-
-
-
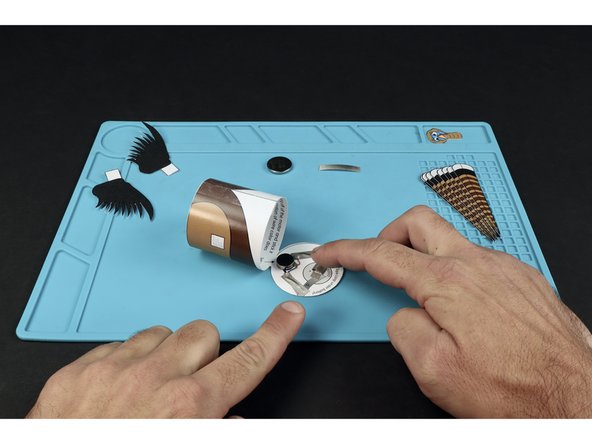
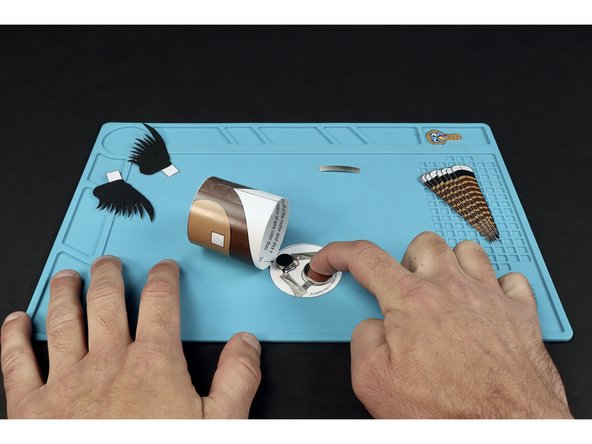
Use the circuit diagram on the back of the project's circular lid to assemble the circuit.
-
Use the diagram to help you measure and cut 5 total pieces of conductive Maker Tape.
-
-
-
First, use two Maker Tape sections to secure the two motor wires in place. Then, add the Maker Tape section shown so that it sits atop the battery graphic and connects to the tape path leading from the RED wire of the motor.
-
-
-
Make a tape loop out of Maker Tape.
-
Stick the tape loop onto the end of the tape section that you last placed as shown.
-
Stick the battery onto the tape loop so that the positive side faces UP.
-
-
-
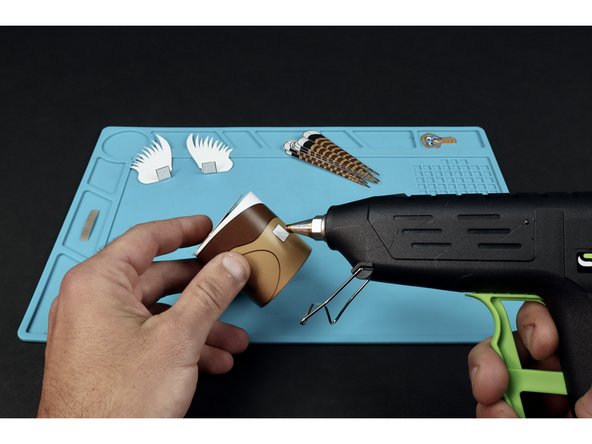
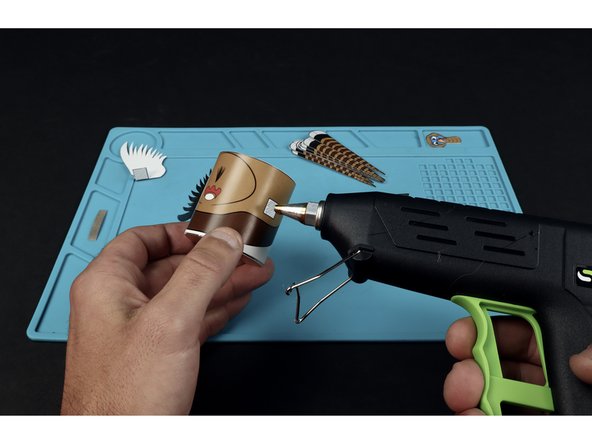
Use hot to glue to add any included embellishments (we featured the turkey as its' embellishments are the most involved out of all the Thanksgiving Tubes).
-
-
-
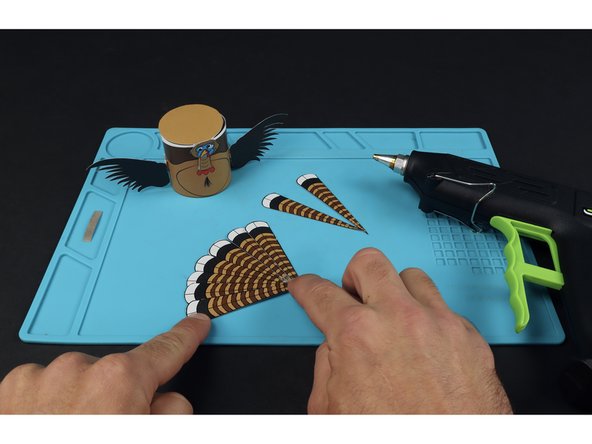
Use hot glue to add any included embellishments.
-
-
-
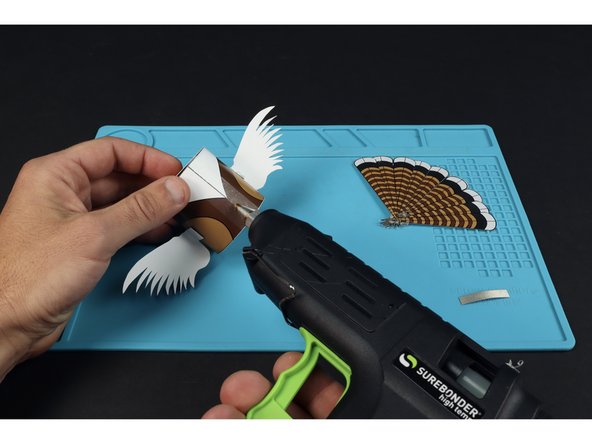
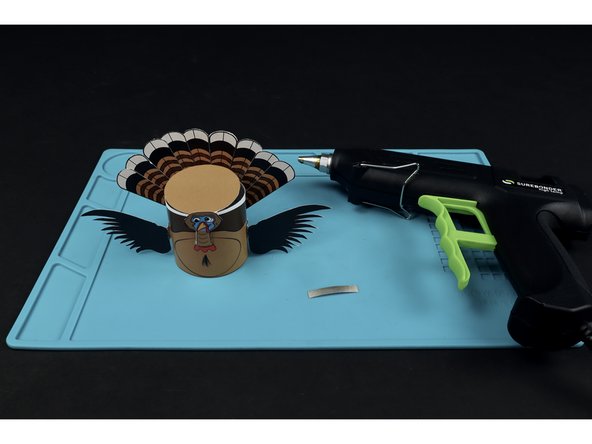
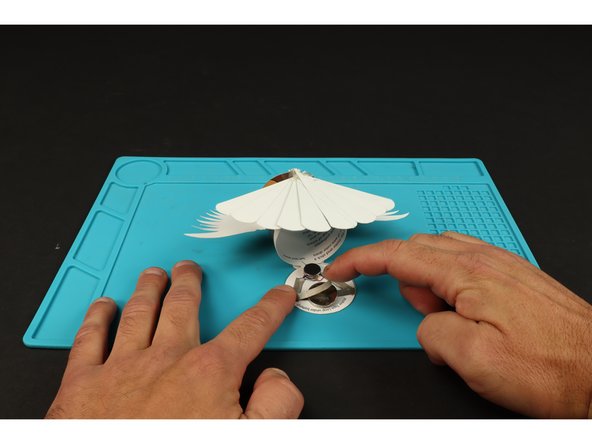
Use hot glue to add any included embellishments.
-
Add the final piece of Maker Tape and fold the lid down to seal the deal! Note: Connecting this final piece of Maker Tape to the top of the battery turns the motor on. Peeling it back will turn it off.
-