
Introduction
Complete this set of light-up awards and hand them out to the champions of your Thanksgiving Feast this year!
There are full-color versions as well as a black & white versions that makes a great coloring activity.
You can make this project (and many more!) with our Paper Circuits Kit.
Video Overview
Featured Document
-
-
Note: We originally made these for Thanksgiving 2021 but they were so popular we updated them (by removing 2021) to be for every year!
-
Gather the materials listed in this guide and print out whichever templates you wish to complete. Note: There are colored and blank versions of each award.
-
If you chose to complete blank projects, color them as you wish with crayons, markers or colored pencils. Once this is done OR if you chose the already colored versions, cut out your project(s).
-
-
-
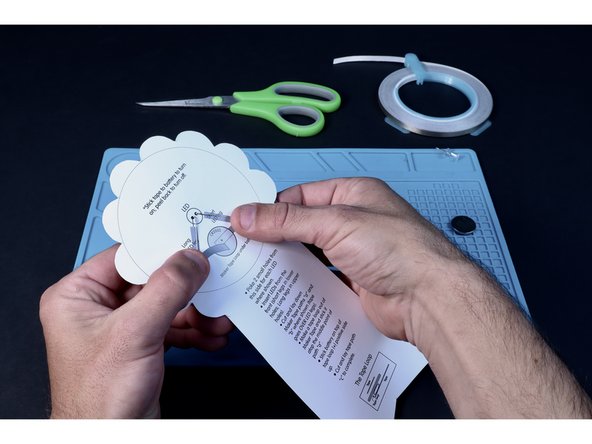
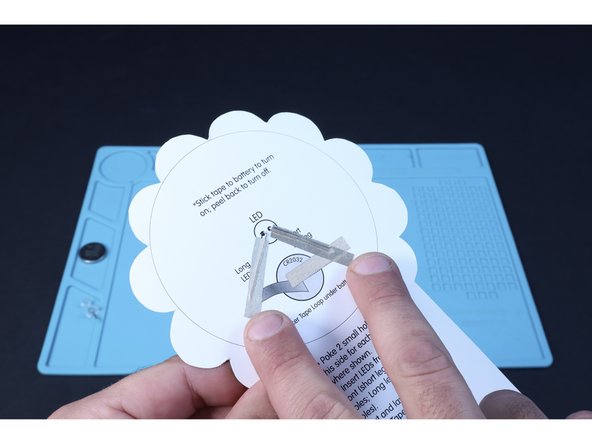
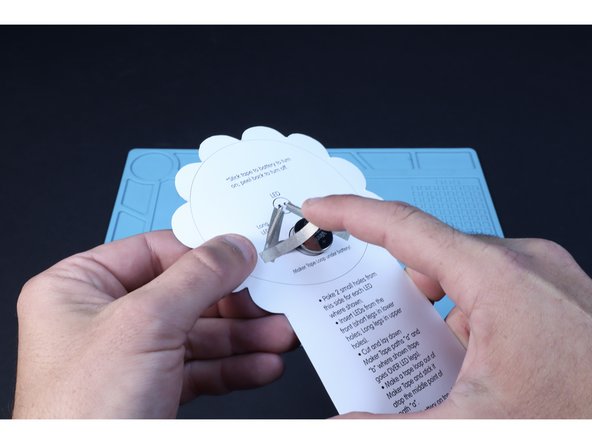
Flip your project to the circuit diagram side. Use a thumbtack or pushpin to poke two holes for the LED legs where shown on the diagram with small black dots.
-
-
-
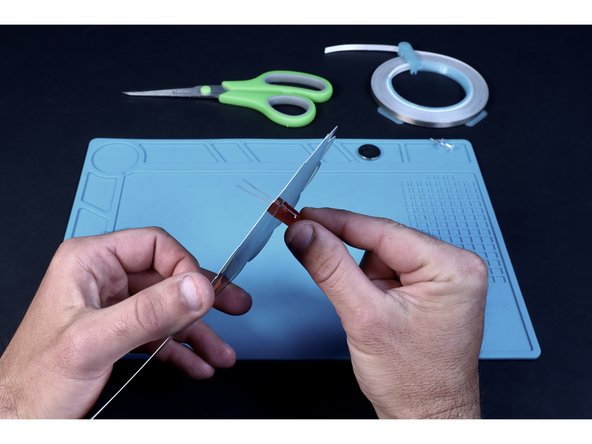
Thread the LED legs through those two holes from the front as shown. Take care to insert the long LED leg into the right hole (when viewed from the font) and the shorter LED leg into the left hole.
-
Flip the project around and bend the LED legs as indicated on the diagram.
-
-
-
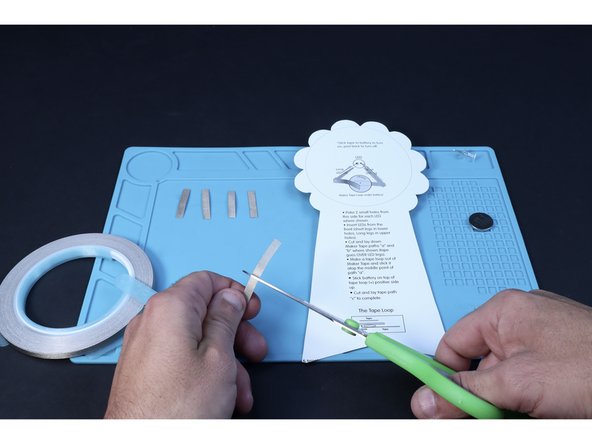
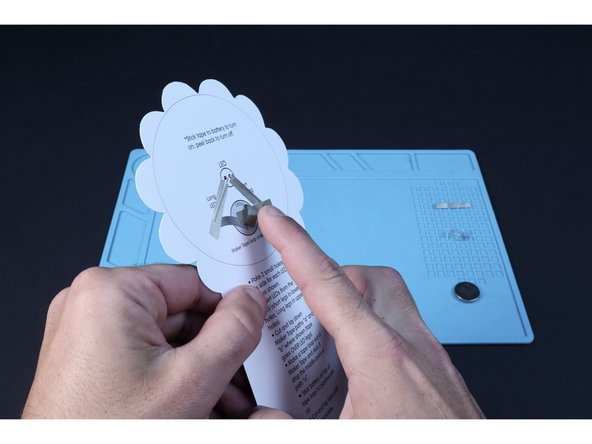
Use the circuit diagram and a scissors to help you measure and cut four small pieces of Maker Tape.
-
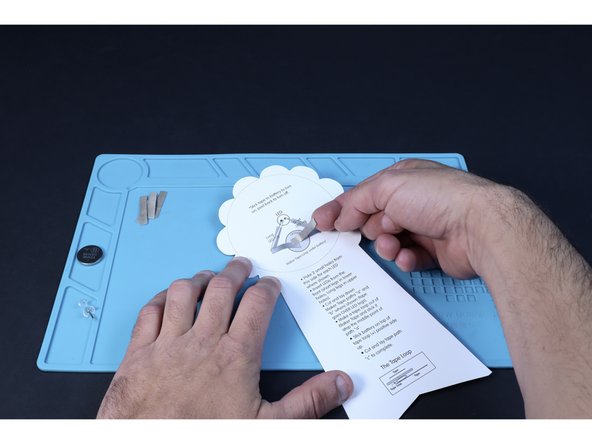
Peel and stick a Maker Tape path from atop the battery graphic right, toward the short leg path.
-
Peel and stick a Maker Tape path atop each of the LED legs where shown on the diagram. The short leg path should connect to the first path you placed.
-
-
-
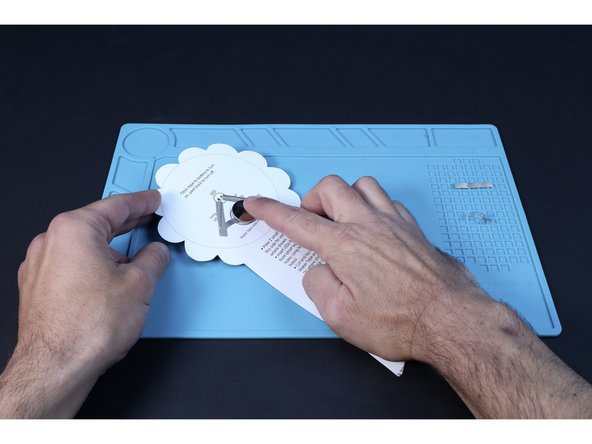
Use of the remaining Maker Tape segment to make a tape loop.
-
Stick the tape loop to the end of the tape path atop the battery graphic as shown in the second photo.
-
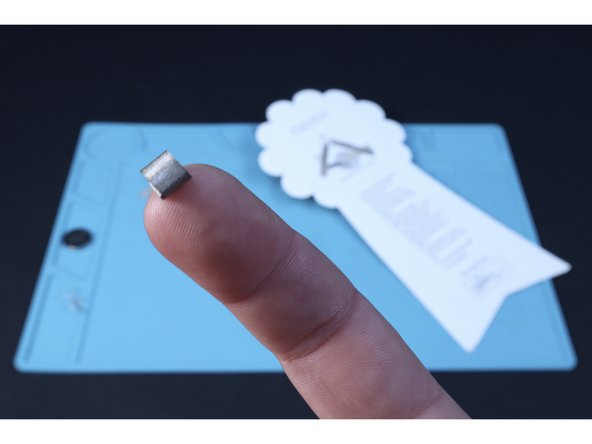
Stick the battery atop the tape loop with the positive (+) side facing UP.
-
-
-
Peel and stick the final Maker Tape path that leads from the long leg path to the top of the the battery as shown.
-
NOTE: Connecting this final tape path will compete your circuit and turn the LED on the opposite side ON, while peeling it back will turn the LED OFF.
-
Complete them all while you're waiting for dinner to be served and hand them out afterward to whoever deserves them!
-


Complete them all while you're waiting for dinner to be served and hand them out afterward to whoever deserves them!
Complete them all while you're waiting for dinner to be served and hand them out afterward to whoever deserves them!