
Introduction
Create a cardboard slide switch with this template and conductive Maker Tape.
Tools
Video Overview
Featured Document
-
-
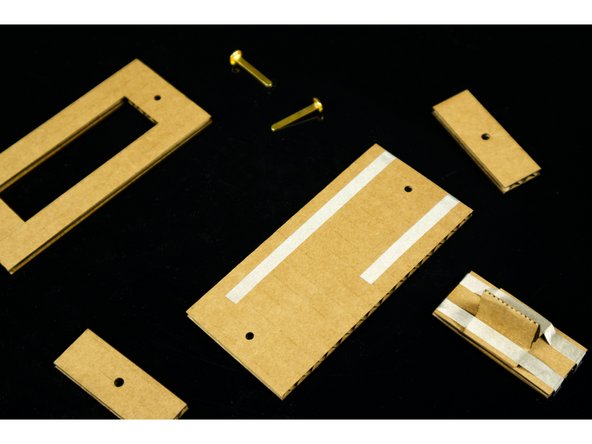
Print the template found on the last page of the PDF. Glue or tape it to cardboard to use as a guide to cut out all the pieces.
-
There are only straight cuts and a few holes needed. You can make the holes (carefully) with an X-ACTO knife or scissors. You just need enough of a hole (or slot) to push the brass fasteners through.
-
Tip! You can also cut your cardboard with a laser cutter if you have one available.
-
-
-
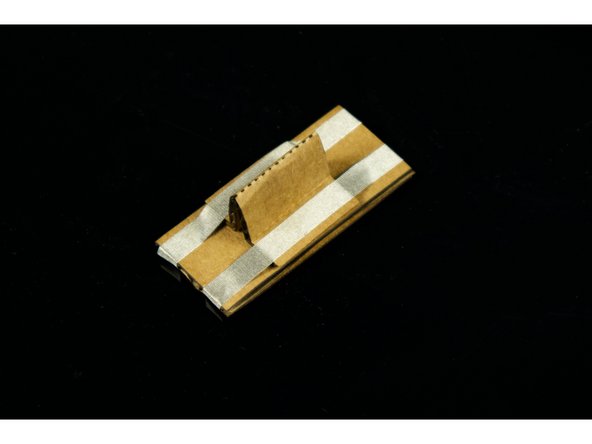
The handle is the trickiest part of this build. There are two pieces that get connected together.
-
The bottom piece is flat and has Maker Tape on the bottom.
-
The top piece requires scoring and folding into shape. It may take a few tries to get a piece that is just right.
-
-
-
Once you have the top and bottom pieces of the handle prepared, assembly is easy.
-
We used Maker Tape to secure the two pieces together, but you can use any tape, or even glue.
-
-
-
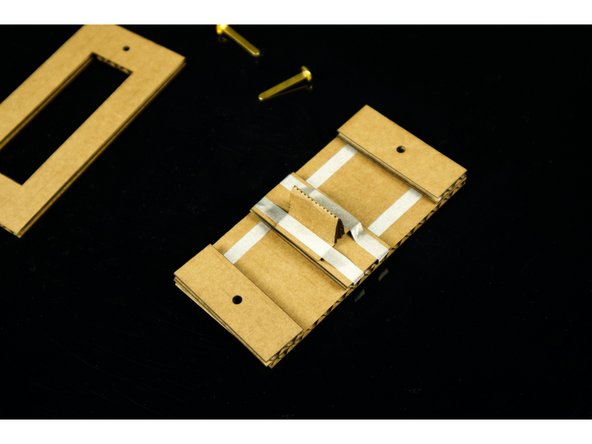
With all of your cardboard pieces prepared, you can now add strips of Maker Tape to the bottom piece.
-
One piece should run the full length, while the other should run about half the length. When our handle piece slides to touch both pieces, our switch will close, or be "on".
-
Stack the pieces and push the two brass brads through the holes to hold it all together.
-
-
-
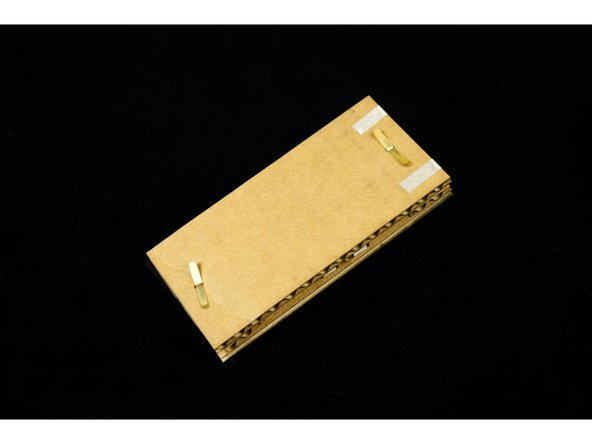
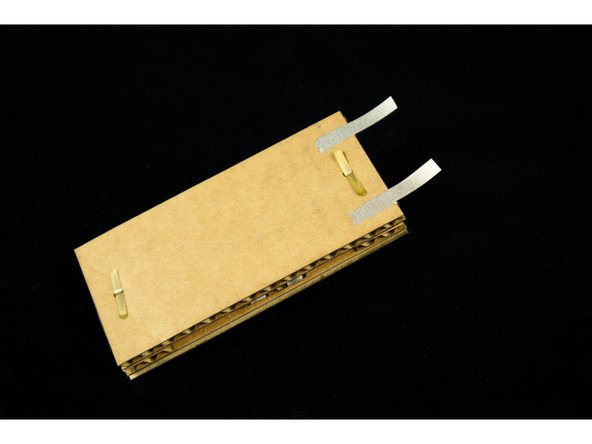
With your switch assembled we're going to add two more pieces of Maker Tape to make it a bit easier to use our switch in a circuit.
-
Add short strips that attach to the top of the pieces that are wrapped to the bottom, and then wrap those pieces to the top.
-
Remember, Maker Tape is conductive on both sides, so we can stick tape down to itself and it will conduct with no problem!
-
Make sure the brass fastener on the top does not touch the Maker Tape when spread out. If it does, it could cause a "short circuit" in our switch.
-
-
-
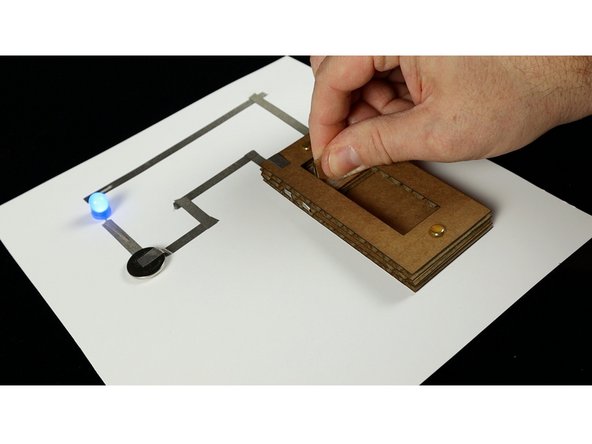
We built a simple circuit using an LED, a battery, and some Maker Tape, and then connected our switch into it. It worked great!
-


Attached Documents
