Introduction
LEGO, Crazy Circuits & backlit silhouettes; what's not to like? Use this guide to create a light-up LEGO build that you can customize again and again!
Video Overview
Featured Document
-
-
Follow the downloadable build instructions from the document above or improvise your own base build as long as it maintains the dimensions shown (16x8 LEGO studs).
-
-
-
Print out the LEGO hole punch template as well as the shadowbox template you want to use on heavy cardstock. NOTE: There are blank templates as well as ones with pre outlined silhouettes. Choose which one you want!
-
Cut out the shadowbox template with a scissors and the silhouette you chose with an Xacto knife.
-
Use the hole punch template to help you mark a (2x10) row of holes on the long panel below the silhouette. Then, use a hole punch to punch the holes out.
-
Fold the edges to form the shape pictured and use transparent tape to secure the corners.
-
Cut a small rectangle out of copy paper to match the silhouette panel and glue it over the top of the outside of the shadowbox (covering the cut out silhouette).
-
-
-
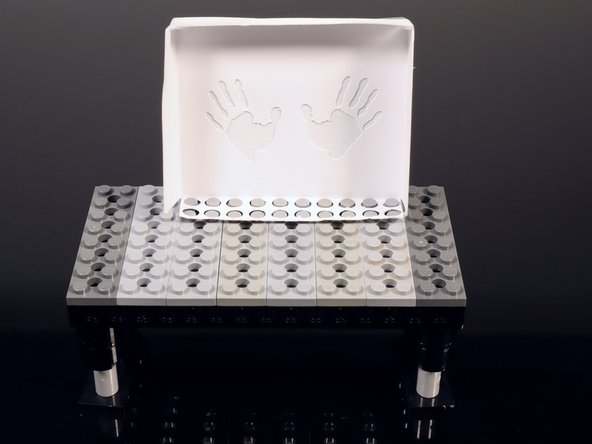
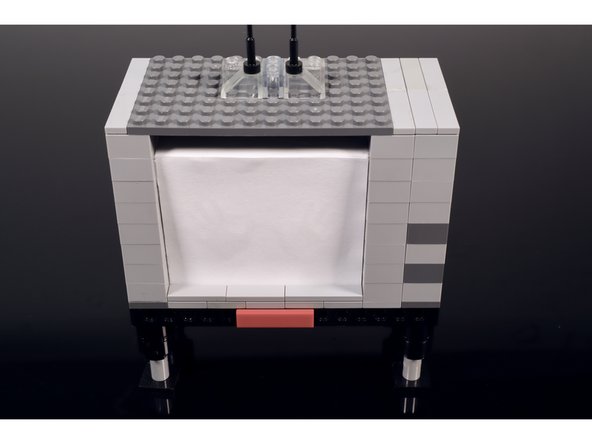
Place the completed shadowbox where shown on the instruction sheet. Remember to leave a single row of LEGO studs in front of the shadowbox.
-
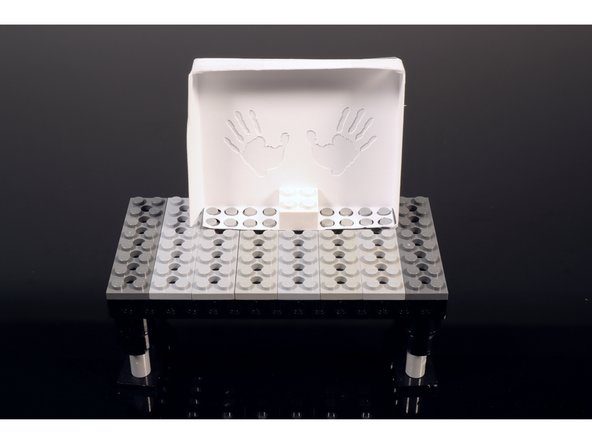
Use a single 2x2 LEGO brick to secure the shadowbox in place.
-
-
-
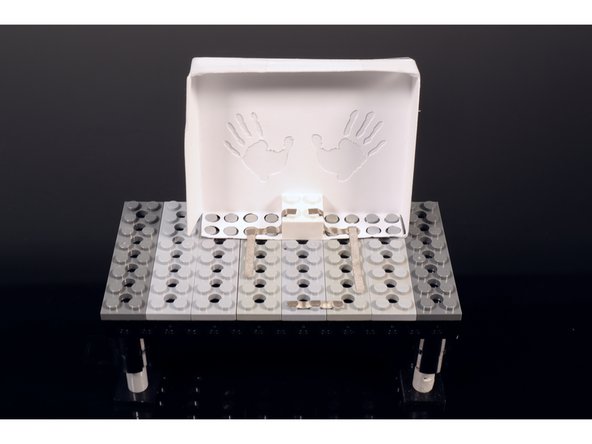
Create the conductive Maker Tape paths shown both here and on the instruction sheet.
-
-
-
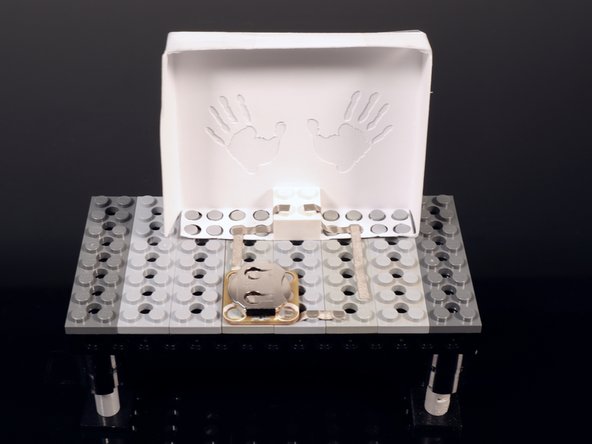
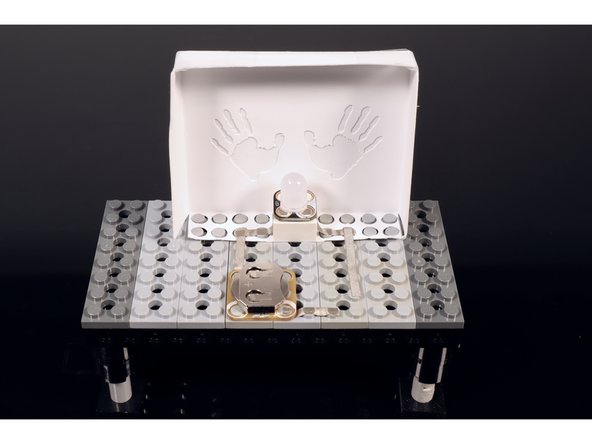
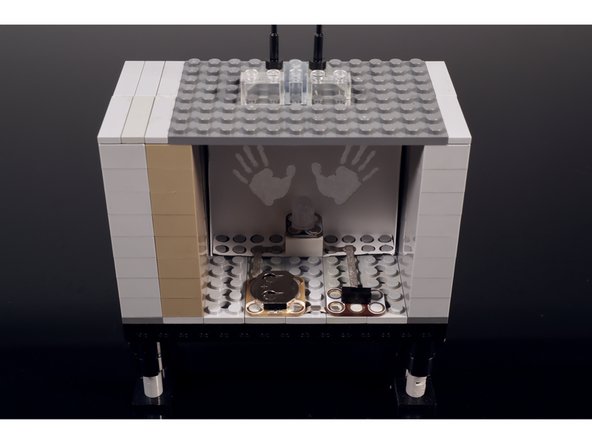
Place a single Crazy Circuits battery holder as shown. Take care to orient the part so that the white holes are where they are pictured in the circuit diagram sheet.
-
Now, press a single Crazy Circuits color-cycling LED into place atop the 2x2 LEGO brick. Again, take care to orient the part so that it matches the circuit diagram.
-
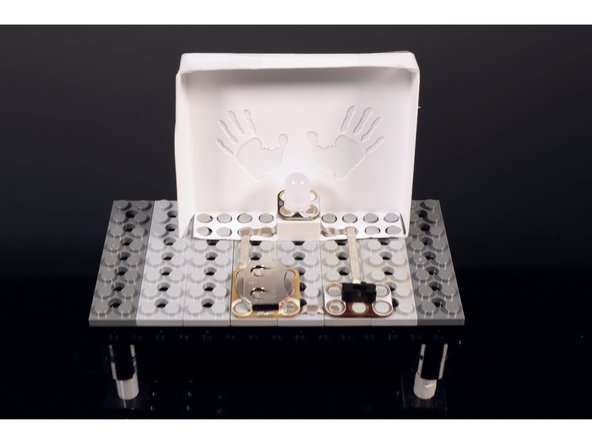
To finish the circuit, press a single Crazy Circuits slide switch into place where shown. Again, take care to orient the part so that it matches the circuit diagram.
-
-
-
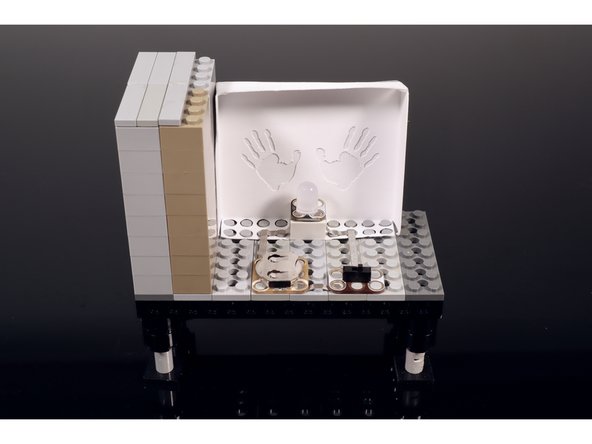
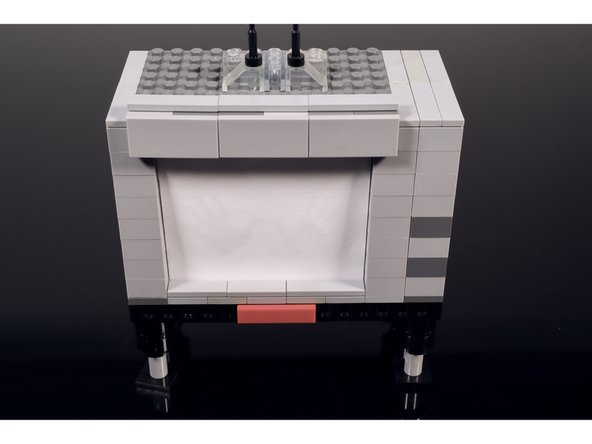
Build the two side walls of the TV and add a top and an antenna. You can always use the same parts that are shown but you can also improvise a different build if you don't have these same LEGOS.
-
-
-
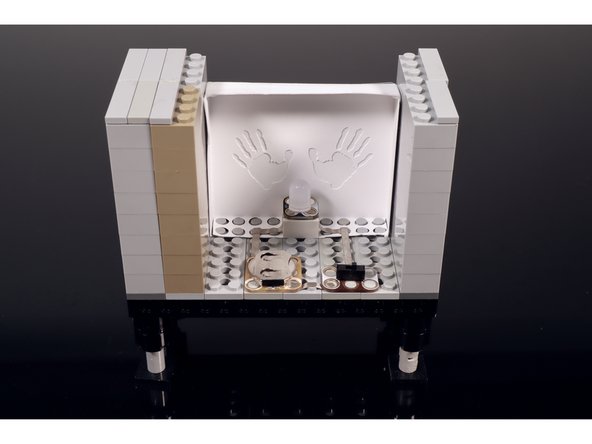
Add some tiles to seal the deal (we used some 2x2 90 degree plates with flat tiles on them) OR make the walls one layer shorter so there is no gap between the top of the TV build and the top of the shadowbox.
-