
Introduction
Meet Sally Servo - the Really Robotic Robot. :)
In this tutorial, you'll learn how to make a moving gauge like the one on Sally's robot suit. This is a great "introduction to micro:bit" project using the built-in microphone as an input and a servo motor as an output.
Video Overview
Featured Document
-
-
Print the template on white cardstock or thick paper.
-
-
-
Cut out the shapes as instructed:
-
The gauge face from the paper template
-
The cover from clear plastic
-
The remaining pieces from thick paper or cardboard with one side of the corrugation removed
-
-
-
If you plan to paint the base of the robot costume, do so before proceeding.
-
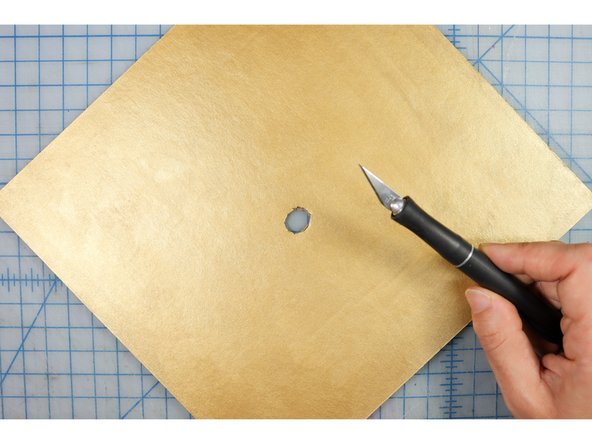
Put a 1/2 inch hole in the cardboard where the center of the gauge will go. Then, add a notch so that the motor sits flush with the top of the cardboard as shown.
-
-
-
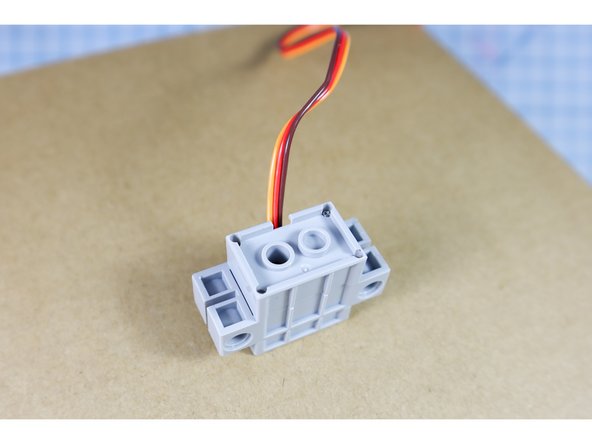
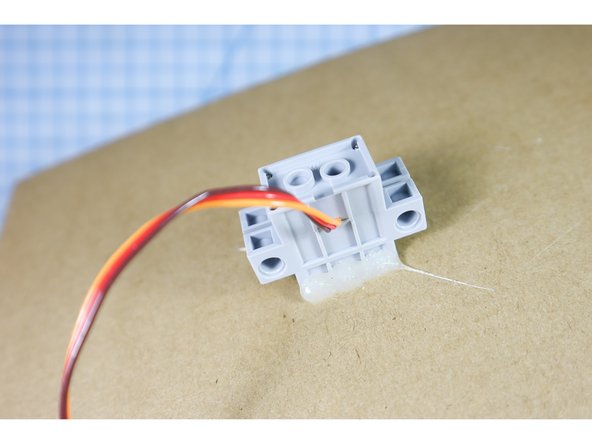
Hot glue the motor in place.
-
-
-
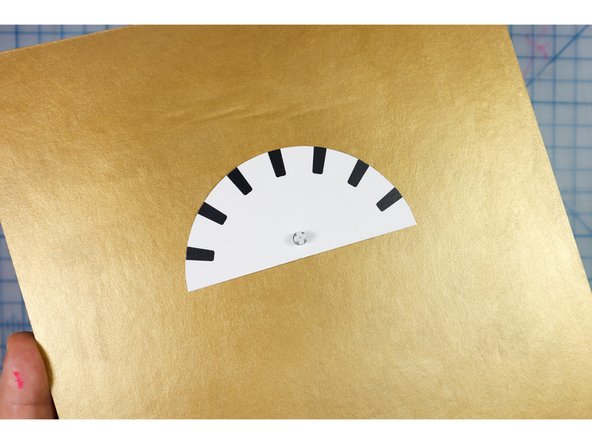
Insert the gauge face over the motorhead and glue it to the cardboard with hot glue.
-
-
-
Using hot glue, adhere the long strip to the round edge of the gauge and the short strip to the bottom. Only glue the interior of the box to keep the exterior looking tidy.
-
-
-
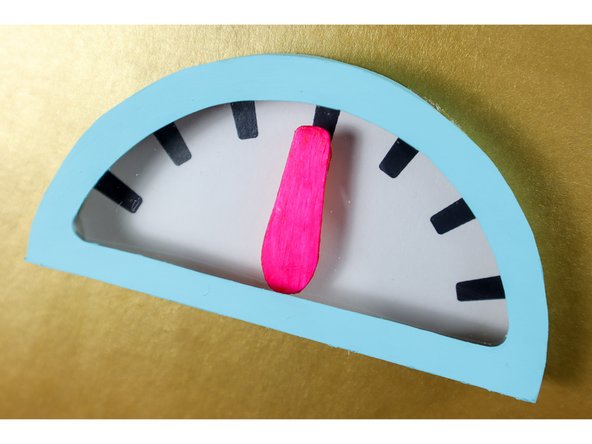
Cut out the dial hand from the template. If the paper isn't thick enough, trace the shape to a thicker material.
-
Glue the LEGO piece to the back of the dial hand and paint the front and the edges to make it blend in.
-
-
-
Paint the box its final color.
-
-
-
Use hot glue to secure the plastic inside the window of the box. A few dabs of glue will work, just be sure to keep the glue away from the edge so that you can't see it from the front.
-
-
-
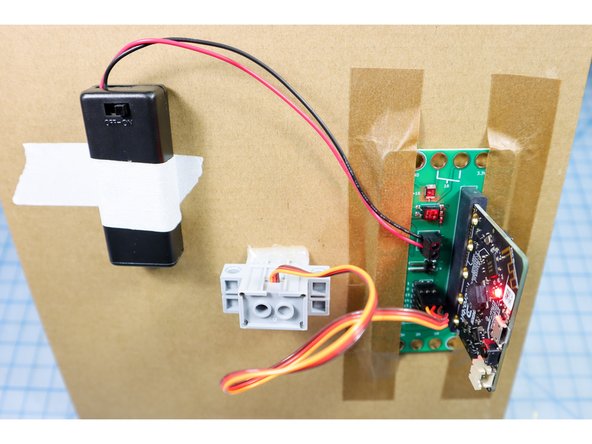
Tape the bit board to the back of the cardboard.
-
Connect the servo motor to pin 1, with the orange wire nearest the numbers. The red wire will then be in the + (positive) column and the brown wire will be in the - (negative) column.
-
Insert the micro:bit into the bit board.
-
-
-
Download the code, available here.
-
This code randomly moves the dial when a sound happens, like when someone claps.
-
-
-
Restart the code so that the dial goes to 90 degrees. Place the dial hand on the servo.
-
Glue the box on top of the dial face with hot glue.
-
-
-
Connect a battery pack to the bit board to power it on the go.
-
-
-
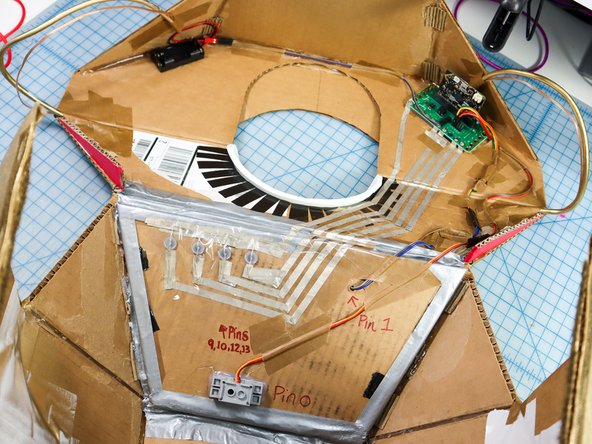
To install this circuit into our Sally Servo costume, we planed out a good location for the bit board, the battery, and the servo. We extended the wires with extension cables to balance the components and make the project comfortable for the wearer.
-
-
-
Continue to build your Really Robotic Robot costume! For more, view these guides:
-
-
-
-
-
-


Attached Documents
