
Introduction
Meet Sally Servo - the Really Robotic Robot. :)
In this tutorial, you'll learn how to make a sound-reactive LED robot mouth like Sally's. This project requires soldering, but is simple to code and build. Adding a sound reactive mouth will really make your robot costume come alive!
Video Overview
-
-
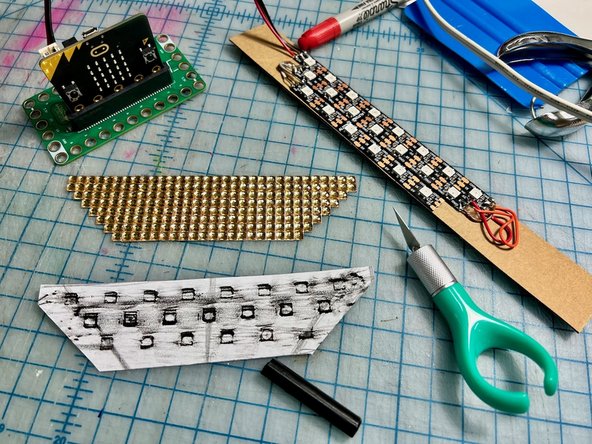
Plan the mouth shape. We used three rows of LEDs, with 8, 7, and 6 LEDs each.
-
Glue the LED strips to a piece of cardboard and solder the rows together as shown. (the order of wires may be different depending on the brand of LEDs you have)
-
Tips: Use female jumper wires to start the first row to make it easy to connect to the bit board.
-
Remember to turn the middle row upside down so that you can zig-zag the rows and keep the data flow.
-
-
-
Connect the DI wire to Pin 1 on the bit board, 5V to + and GND to -.
-
Place the micro:bit into the bit board.
-
-
-
Upload the code, available here.
-
When there is only a small amount of noise, the LEDs are barely on, but with a loud noise the LEDs shine brightly. In normal room volume, this will make the robot look like she's talking whenever the person wearing the costume is talking.
-
-
-
Make a rubbing of the LEDs with a crayon and a piece of printer paper. This will create a hole punching template for the correct spacing of the LEDs.
-
Cut out the template.
-
-
-
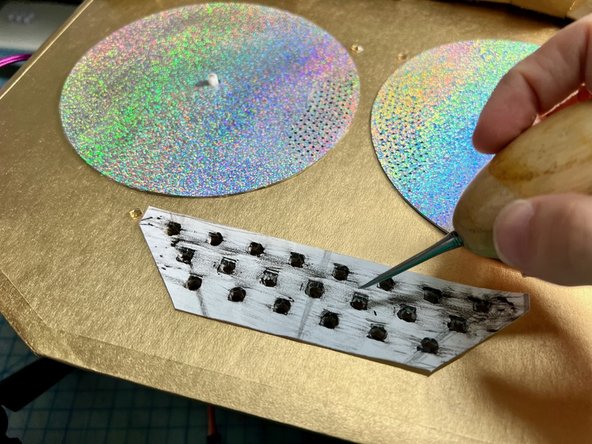
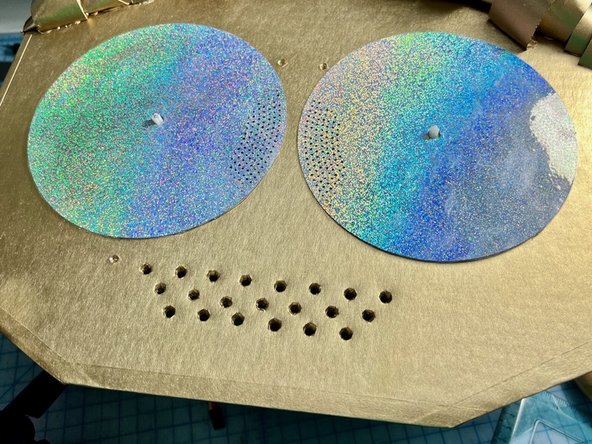
Place the template where the mouth goes. Use an awl to poke each hole.
-
Alternate: If you don't have an awl, you can cut out a large hole that surrounds all of the LEDs.
-
-
-
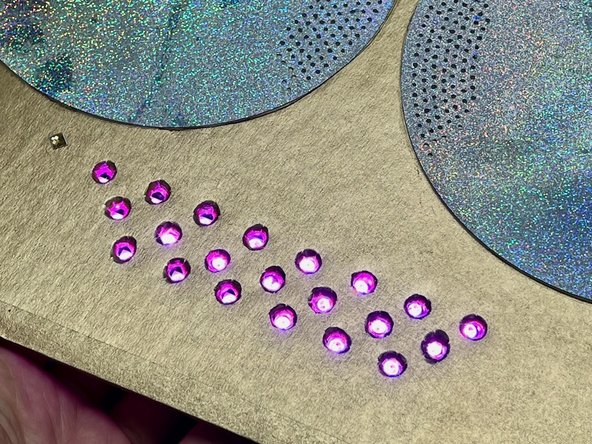
Use strong tape or hot glue to position and attach the LEDs (and the cardboard they are glued to) behind the holes.
-
-
-
Cover the mouth with a sheet of rhinestones, cut to the shape of a mouth. Remove the mirror backing sheet if you'd like to see the LEDs shine brighter.
-
-
-
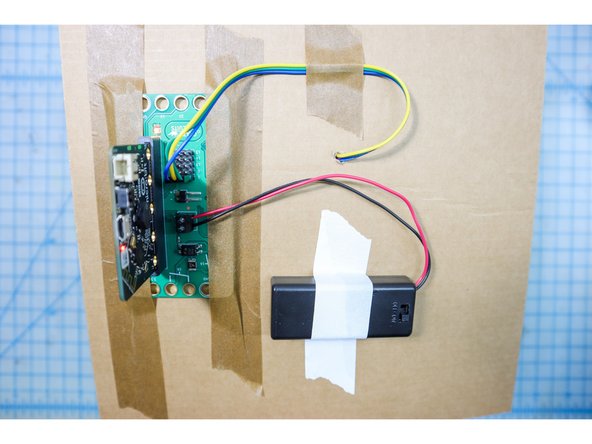
Connect a battery pack to power the circuit on the go.
-
-
-
Continue to build your Really Robotic Robot costume! For more, view these guides:
-
-
-
-
-
-


Cancel: I did not complete this guide.
One other person completed this guide.
