Introduction
Creating a simple solar flashlight is quite easy to do with a few components. Instead of soldering one together we're making ours on a printed card stock template and hooking everything together with Maker Tape.
-
-
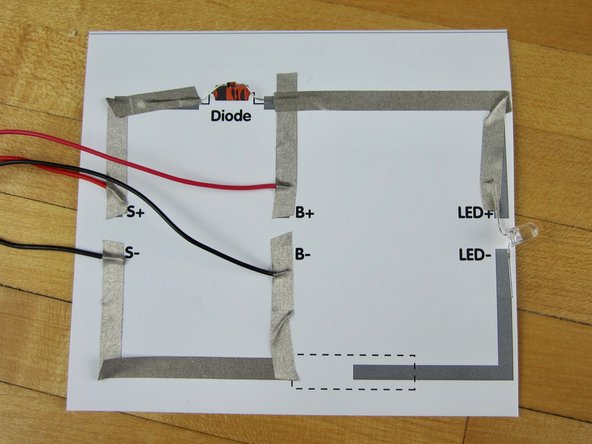
Print off the Solar Flashlight Template on card stock paper.
-
Cut out the "switch" along or around the dotted line.
-
-
-
It may help to strip all the ends of your wires a bit extra.
-
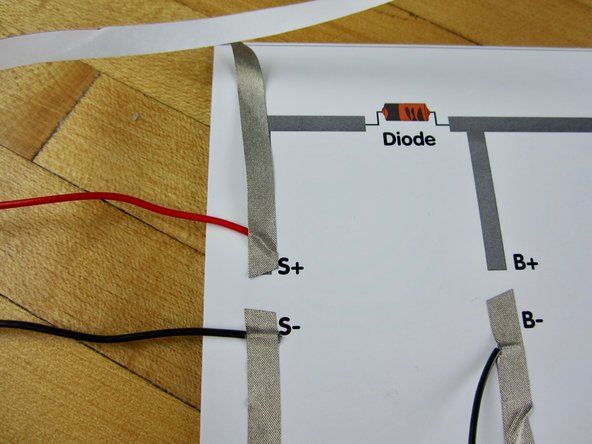
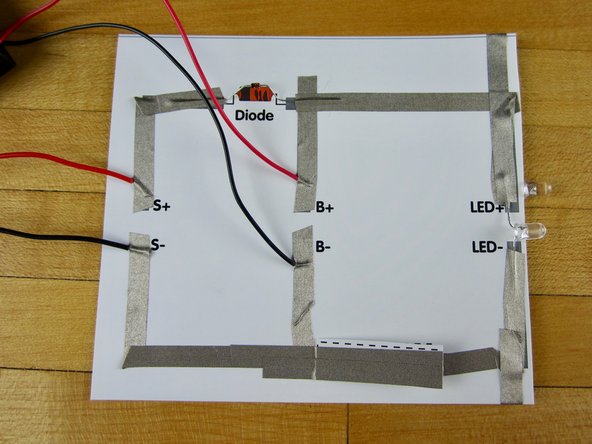
Tape down the black, negative, wire from your solar cell.
-
Run your tape down and around, then tape the black, negative, wire from your battery.
-
Ideally you want to use a single piece of tape for this entire process, however if you want you can use multiple pieces as long as you make sure they significantly overlap. Otherwise they won't make a song electrical connection.
-
-
-
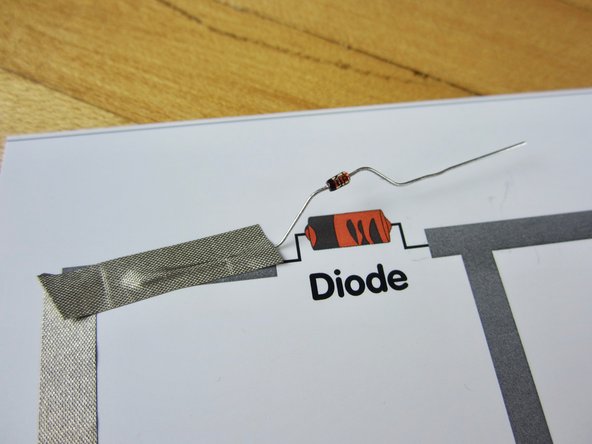
Diodes have a positive and negative side, indicated with a line along one side. Make sure your diode matches the diode on the template.
-
Lay tape down over the red, positive, wire from your solar cell.
-
Run that tape up and over to the diode, taping down the diode leg. You can always bend your diode legs if you want.
-
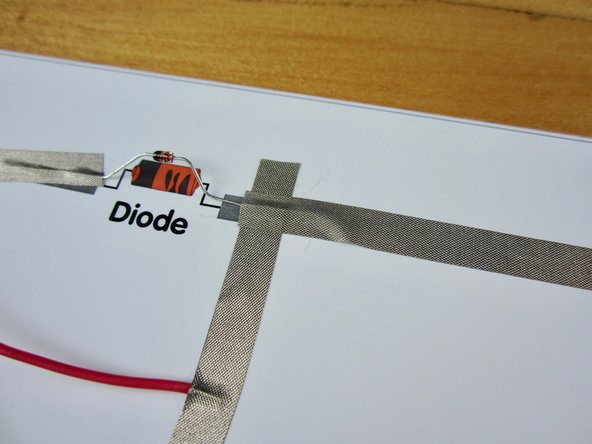
Use a new piece of tape to tape down the other diode leg, then down to the red, positive, wire of the battery holder.
-
-
-
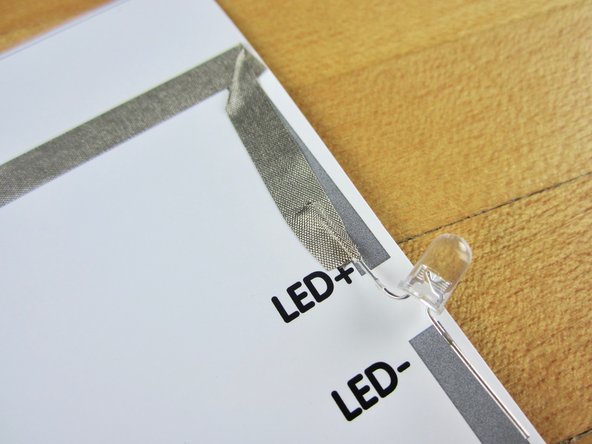
The long leg of your LED is positive, the short leg is negative. Typically LEDs also have a flat side along the base of the bulb above the negative leg.
-
Overlap a new piece of tape with the diode leg/ positive battery wire tape.
-
Run it across and down, covering the long, positive, leg of your LED.
-
LED legs can easily be bent into shape, but they will eventually break if played with too much.
-
-
-
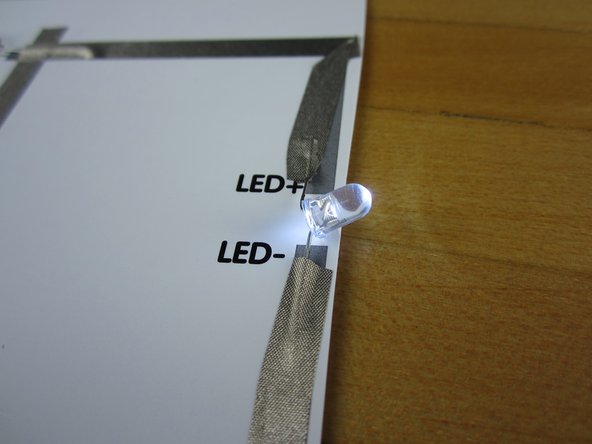
Tape down the short, negative, leg of your LED.
-
Run it down and around the bottom following the template.
-
Stop at the end of the line. You need to leave a gap between this piece of tape and the rest of the circuit.
-
-
-
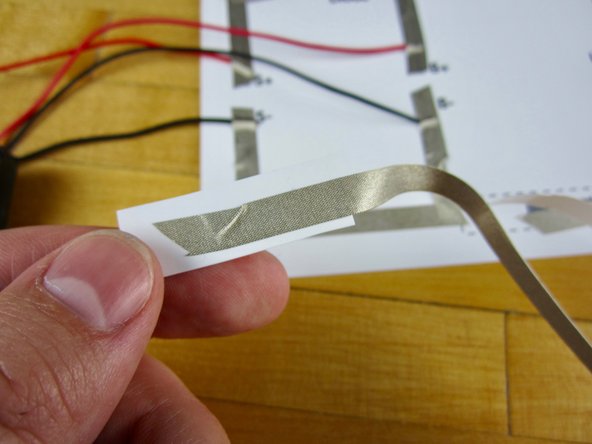
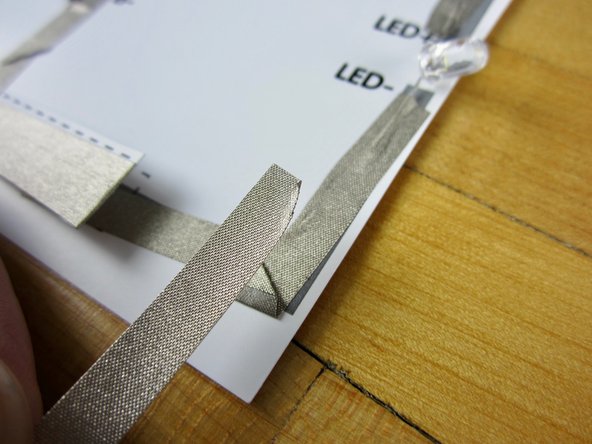
Our switch is basically a simple hinge with tape on both sides.
-
Start by placing tape in the middle of one side of your switch.
-
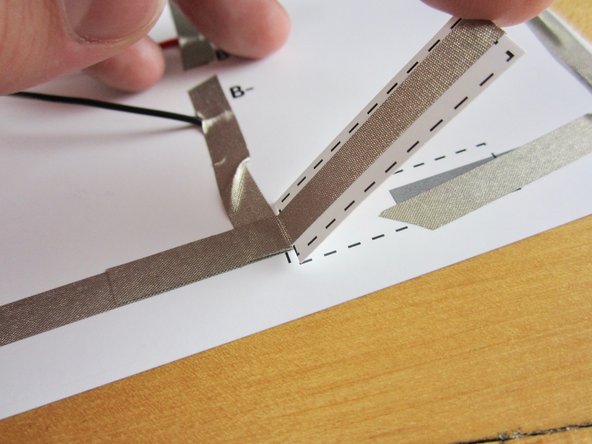
Run the tape up and around the back of the switch. Before you cut leave a long tail hanging off the end.
-
Use that tail and lay it over the same tape the connects to the negative battery and negative solar cell tape.
-
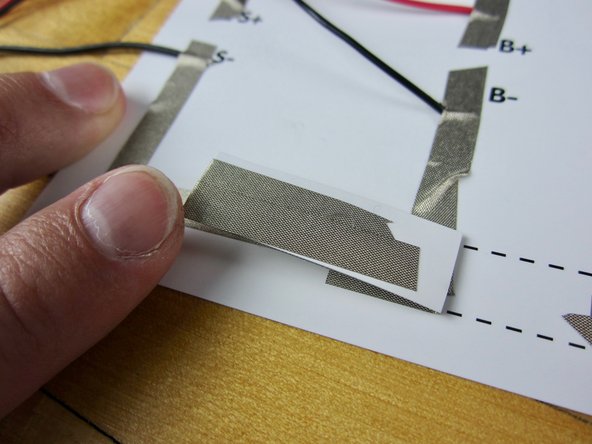
Cut a second piece of tape and recreate the process. Make sure to overlap this piece with the other piece a bit for a solid connection.
-
-
-
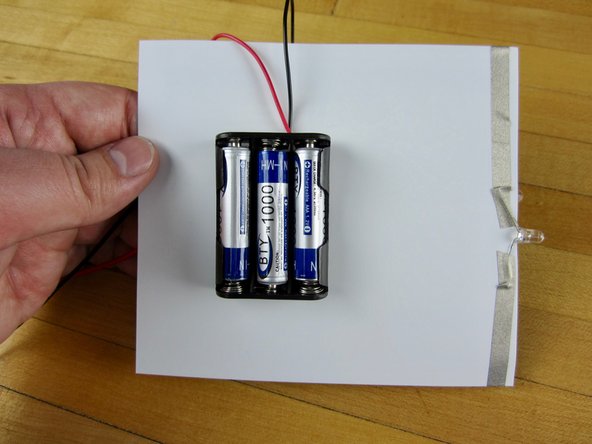
Insert your batteries
-
Press down on your switch. Your LED should light up.
-
Rechargeable batteries lose their charge over time and it's quite possible for yours to be dead. Try letting your solar panel charge up in direct sunlight (not artificial sunlight) for half an hour to an hour and try again.
-
-
-
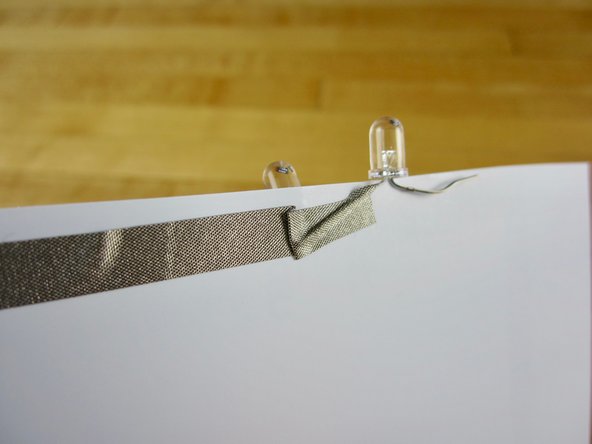
Overlap tape with the tape coming from your negative LED leg.
-
Run it down and around to the backside of your template.
-
Tape down the short, negative, leg of your second LED.
-
-
-
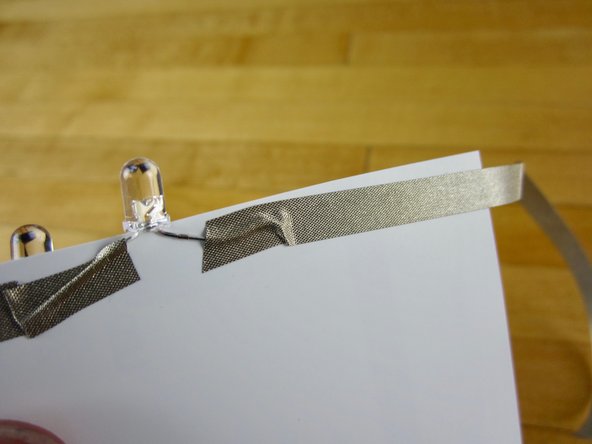
Repeat this process for the long, positive, leg of your LED.
-
Overlap tape with the tape that is connected to the positive leg of your first LED.
-
Run it around the to the backside of your template and over the long, positive, leg of your LED.
-
-
-
Press down on your switch. Both LEDs should light up.
-
If only the first one lights up your second LED is probably backwards. (The legs are in the wrong position)
-
Remove the second LED. Double check the legs. Use two new small pieces of tape to tape the legs down OVER TOP of the existing tape. Do not try and remove the tape once it's on the paper, it'll just rip things up.
-
-
-
Use some double sided tape, or a tape loop, to tape the battery pack to the back of your template.
-
You don't have to do this, but it may make it easier to hold.
-