Introduction
Use one of the five general project ideas/circuits outlined in this guide to help you add fun LED elements to your Holiday stocking! Downloadable circuit diagrams can be found at the bottom of this guide.
Video Overview
Featured Document
-
-
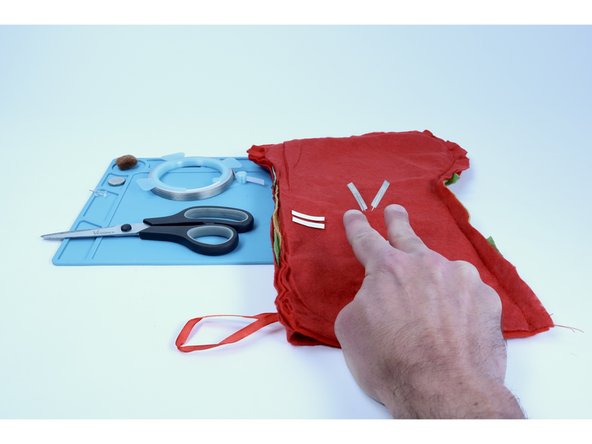
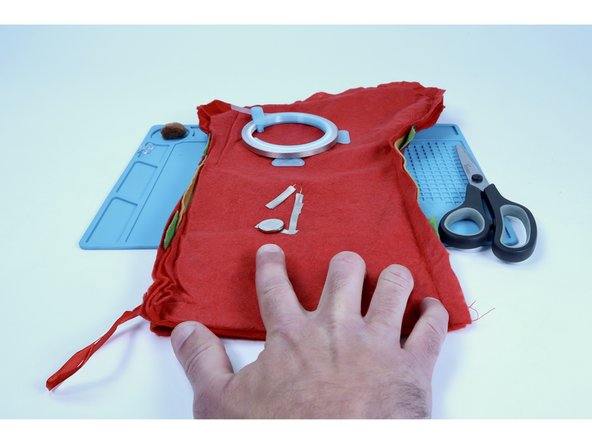
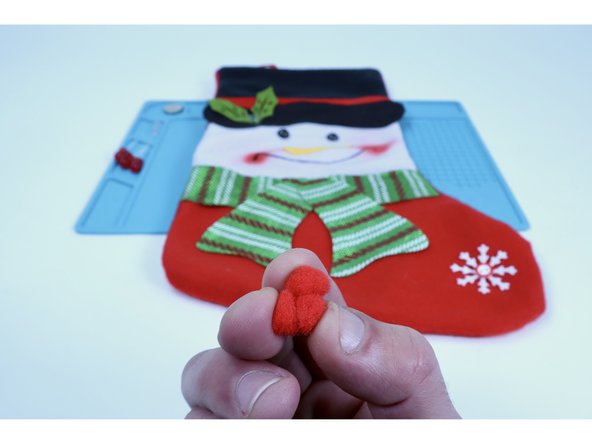
Oftentimes a stocking may have a single accent that could be replaced by an LED. In our project we are going to swap this reindeer's nose with a jumbo red 10mm LED.
-
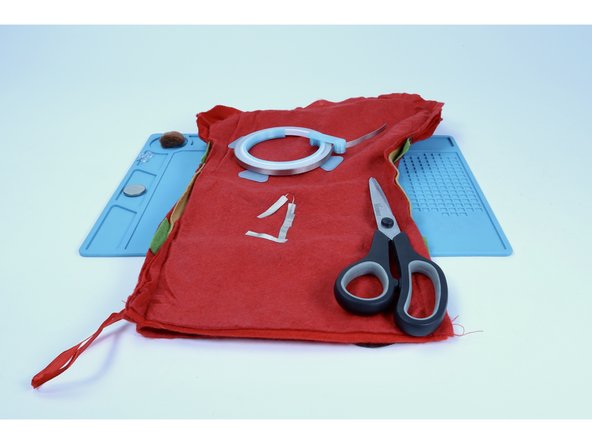
Begin by carefully removing the accent by hand. Cutting it away CAN work but it is also likely to cut the material below it. You will need some solid material there in order to thread an LED through and hold it in place. So, removal by hand is safer.
-
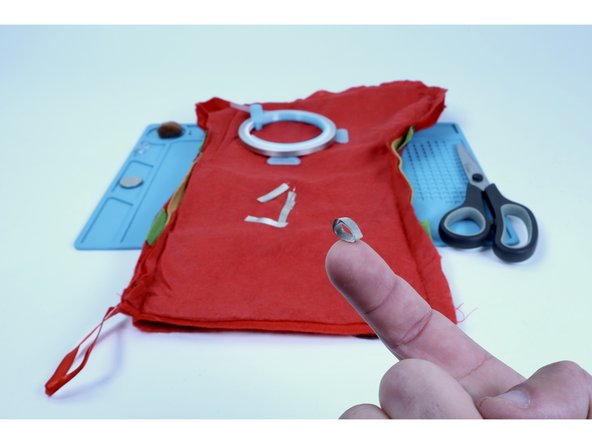
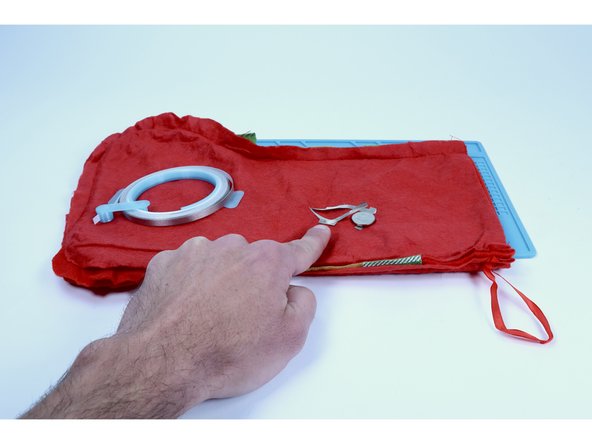
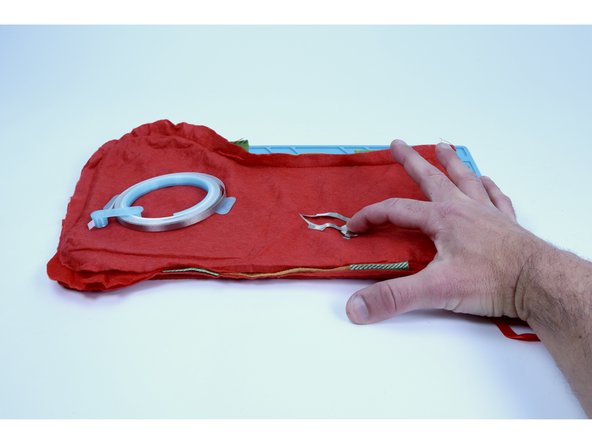
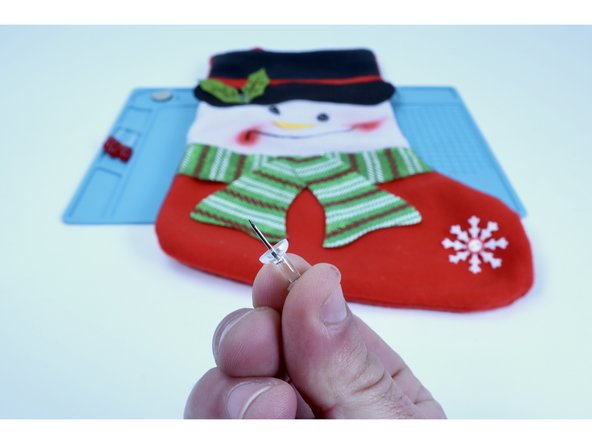
These accents are almost always held on by a blob of hot glue and may have several layers of material below THAT. For these reasons, use a push pin to make two "pilot holes" through the material where the accent was for the LED legs to be threaded through in the next step.
-
-
-
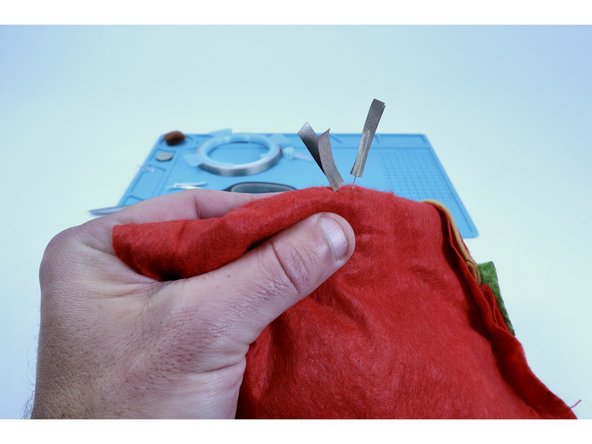
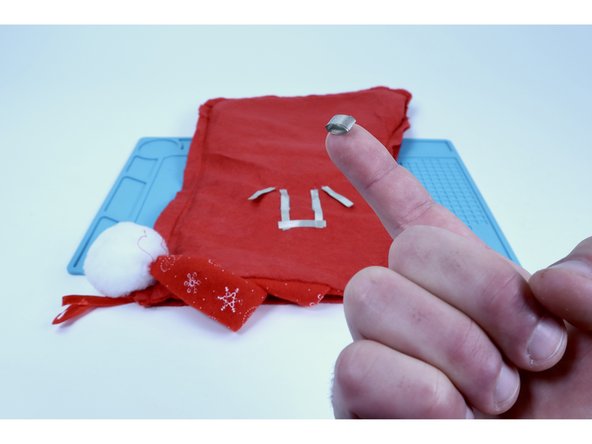
Thread your LED legs through those pilot holes all the way to the inside of the stocking.
-
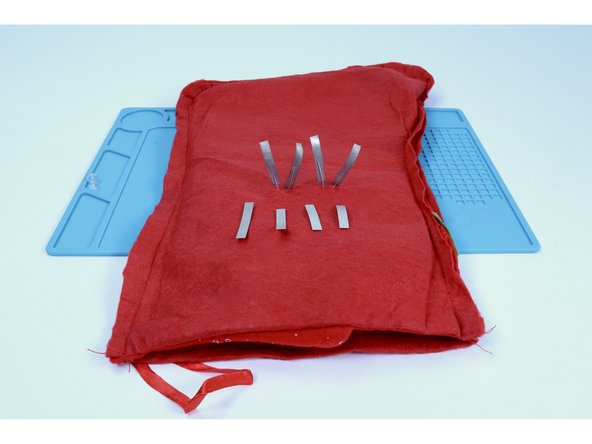
With scissors, measure and cut 4 small segments of conductive 1/4" Maker Tape that are about the length of the LED legs.
-
-
-
Note: The fuzzy fabric that your stocking is likely made of is an insulator & can prohibit electricity from traveling through the circuit as intended. What we aim to do in the next steps is to A) keep that fuzz off of the LED legs & B) create a bigger contact point for the rest of the circuit paths that need to connect to the legs.
-
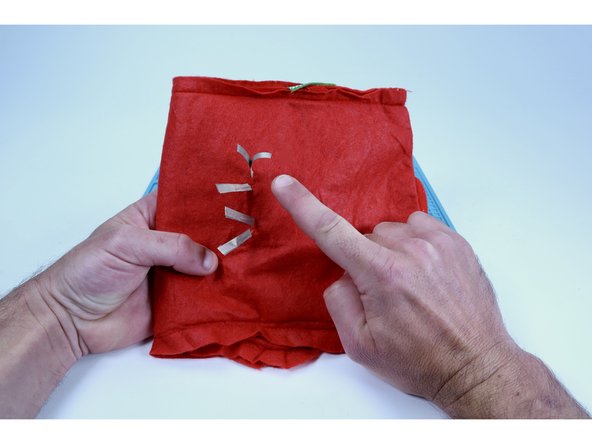
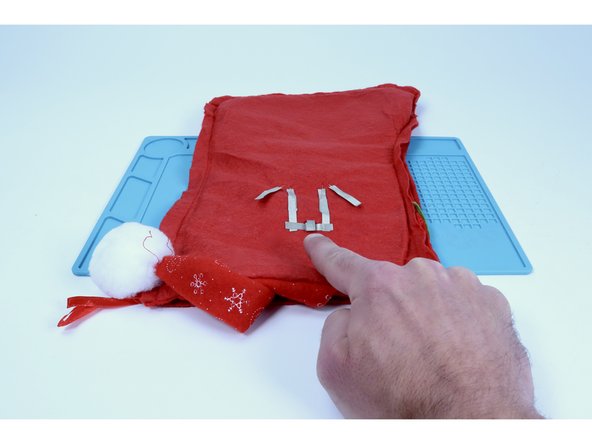
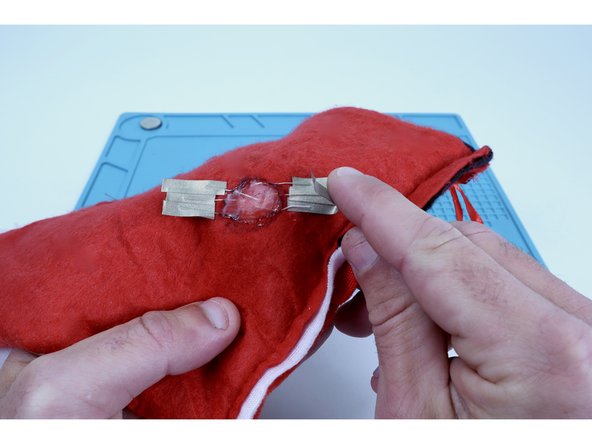
Turn your project inside out. Select two of your Maker Tape segments that you just cut. Peel and stick one of them to each of LED legs as shown in the first photo.
-
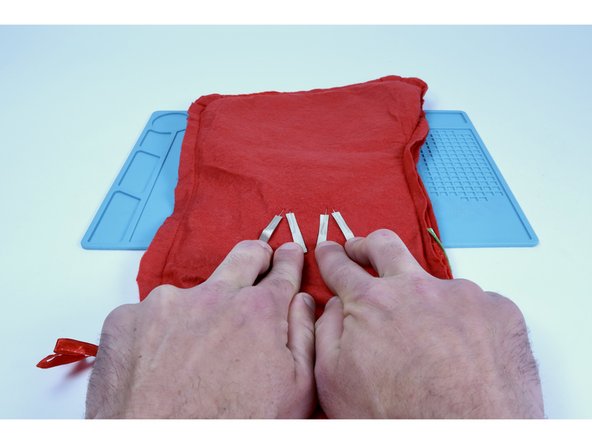
Now use the remaining two Maker Tape segments on the opposite side of the ones you just placed (sticky to sticky) so as to sandwich each LED leg between the tape.
-
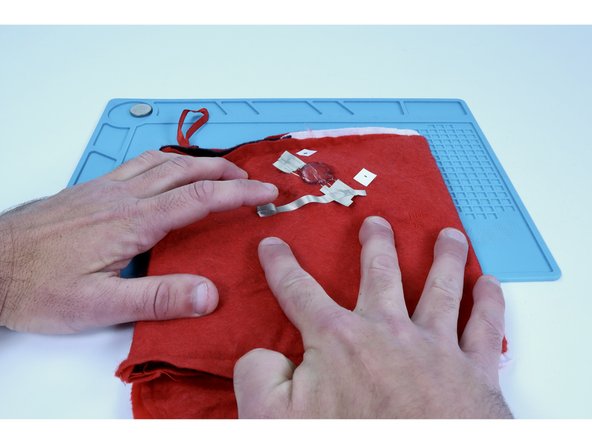
After the two LED legs have been sandwiched, bend them flat against the stocking fabric and upward toward the opening of the stocking. Eventually, the project will need to be turned right-side-out and the circuitry can often get jostled out of working condition. Having the circuit near the opening makes it easier to adjust afterward.
-
-
-
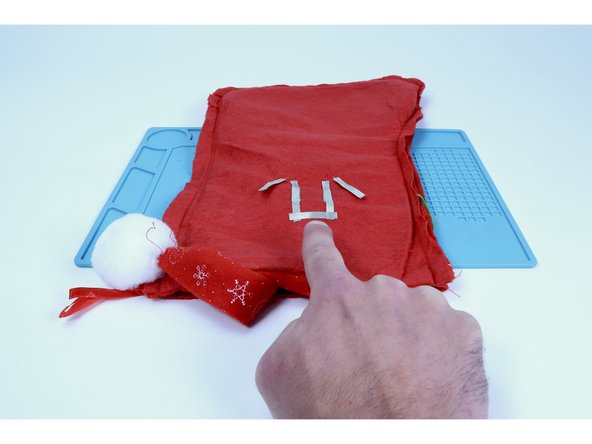
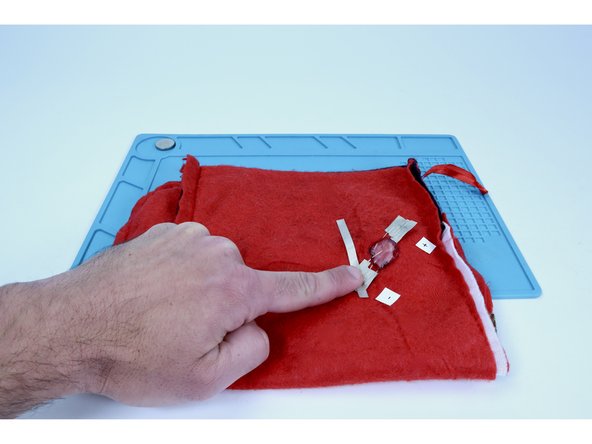
Cut and stick a new piece of Maker Tape as shown, connecting it to the shortest of the two LED legs back TOWARD the other (longer) leg. It should look a bit like an incomplete triangle.
-
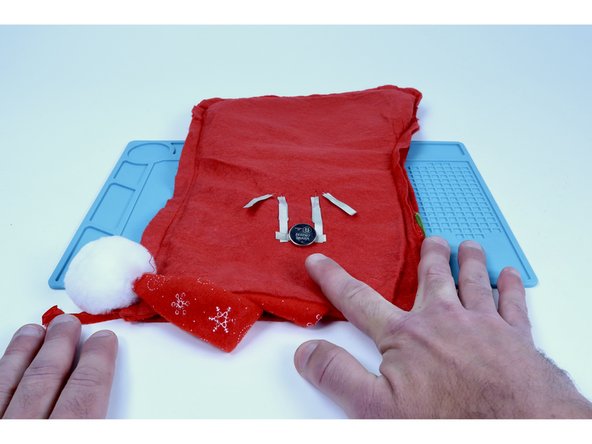
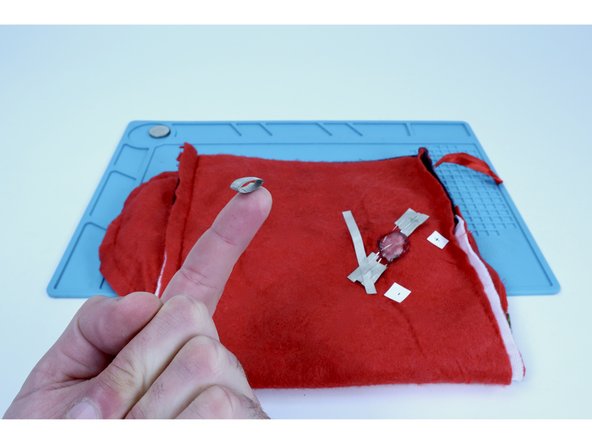
Cut another small piece of Maker Tape and make a tape loop with it.
-
Stick that tape loop to the end of the tape section you just added.
-
-
-
Stick your battery atop the tape loop so that the positive (+) side faces UP.
-
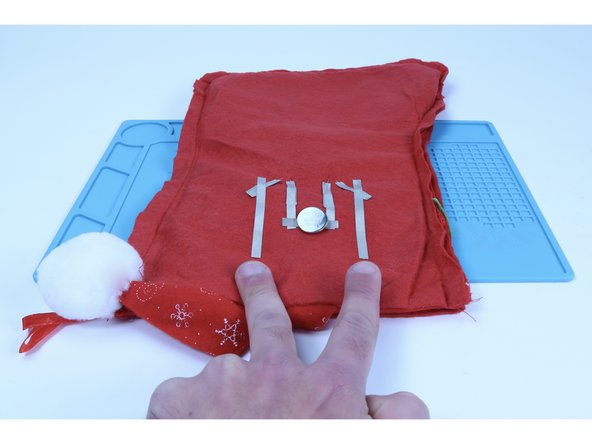
Measure, cut peel and stick one final piece of Maker Tape as shown. It should be able to reach from the remaining LED leg to the top of the battery. Connect one end of it to the remaining LED leg pathway so that the rest of that new piece is oriented toward the battery.
-
Sticking the opposite end of this new piece of Maker Tape to the top of the the battery will complete the circuit and turn the LED accent on. Peeling it back will turn the accent off.
-
-
-
TIP: Oftentimes a circuit gets jostled out of working condition when the stocking is turned right-side-out. The LED may flicker or not work at all. If you encounter this issue, try pressing/firming up every connection point within the circuit where either an LED leg meets the tape OR where one piece of Maker Tape is connected to another!
-
-
-
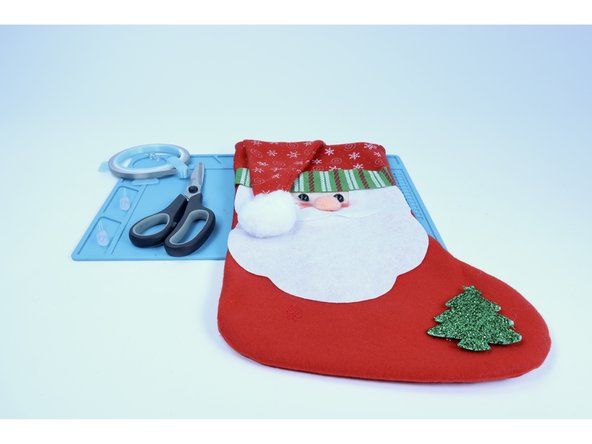
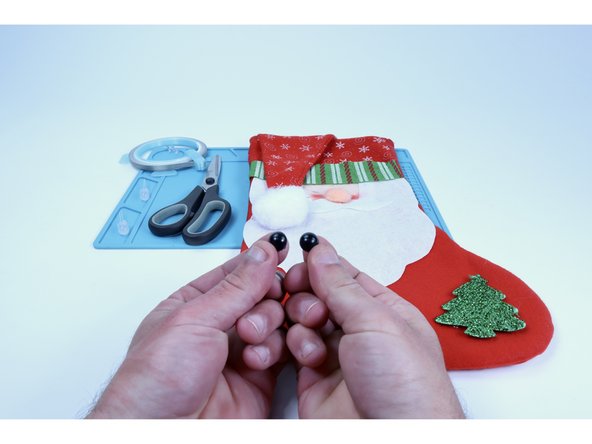
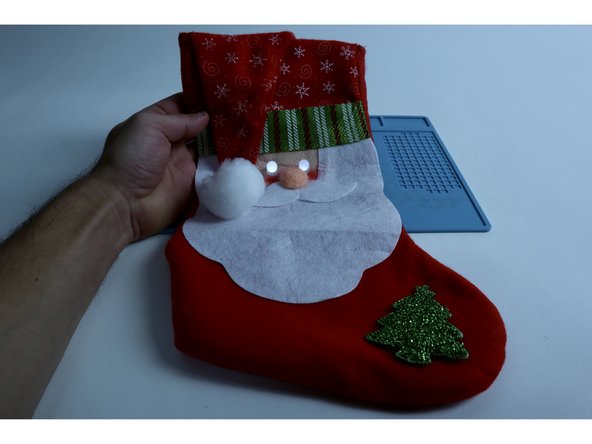
Oftentimes a stocking may have eyes as accents that could be replaced by LEDs. In our project we are going to swap Santa's eyes with 2 jumbo 10mm LEDs. You can use any color, though we find that colored LEDs end up making an existing character look a bit creepy. If that's what you're going for, have at it! Otherwise, try white.
-
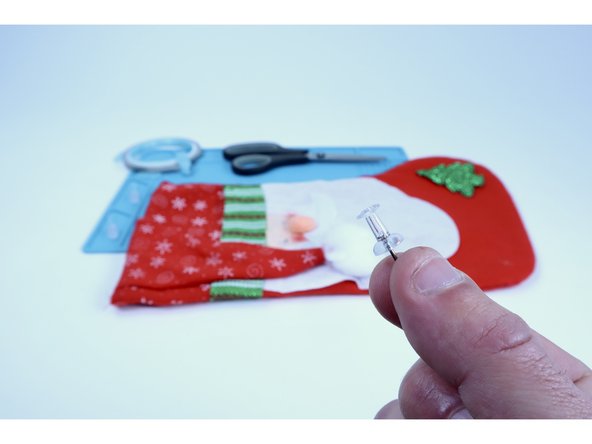
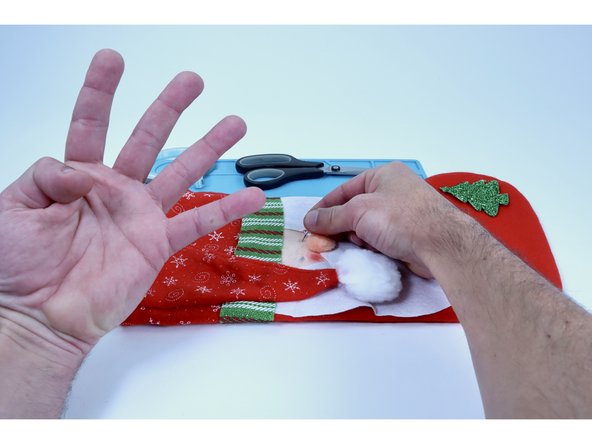
Begin by carefully removing the accents by hand. Cutting them away CAN work but it is also likely to cut the material below it. You will need some solid material in those areas in order to be able to thread the LEDs through the project, holding them in place. Removal by hand is less risky.
-
-
-
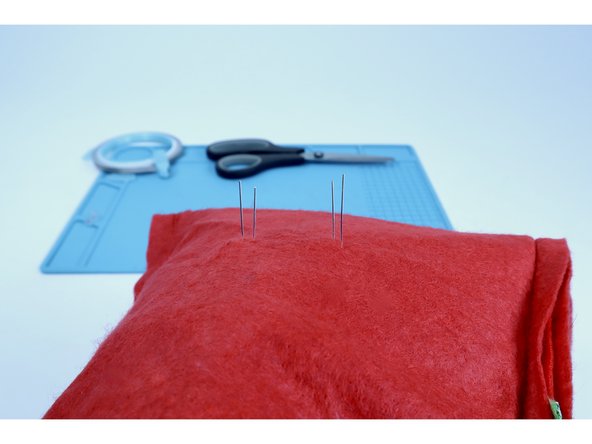
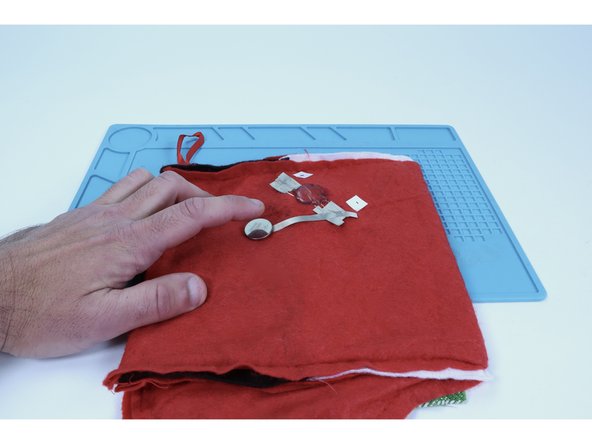
These accents are almost always held on by blobs of hot glue and may have several layers of material below THAT. For these reasons, use a push pin to make to make two "pilot holes" for each LED (4 TOTAL) through the material along a horizontal row where each accent eyeball was for the LED legs to be threaded through in the next step.
-
-
-
Before threading the LED legs through the holes you just made; know that you will need to orient each of them so that the short legs from each LED are threaded through the inner two holes of the 4 you made in a horizontal row.
-
Thread your LED legs through those pilot holes from the front all the way to the inside of the stocking. If you oriented the LED legs correctly they should look like photo 2. The outer legs should be longer while the inner legs should be shorter. If you got that wrong, simply pull the component(s) out, flip the leg orientation and reinsert.
-
-
-
Note: The fuzzy fabric that your stocking is likely made of is an insulator & can prohibit electricity from traveling through the circuit as intended. What we aim to do in the next steps is to A) keep that fuzz off of the LED legs & B) create a bigger contact point for the rest of the circuit paths that need to connect to the legs.
-
Measure and cut 2 pieces of Maker Tape PER LED leg (that's 8 TOTAL) that are each about as long as the LED legs themselves.
-
Turn your project inside out. Select two of your Maker Tape segments that you just cut. Peel and stick one of them to each of LED legs as shown in the second photo. Remember to note which ones are longer than the others.
-
Now use the remaining 4 Maker Tape segments on the opposite side of the ones you just placed (sticky to sticky) so as to sandwich each LED leg between the tape.
-
-
-
After the 4 LED legs have been sandwiched, bend them flat against the stocking fabric and toward the opening of the stocking. Eventually, the project will need to be turned right-side-out and the circuitry can often get jostled out of working condition. Having the circuit near the opening makes it easier to adjust afterward.
-
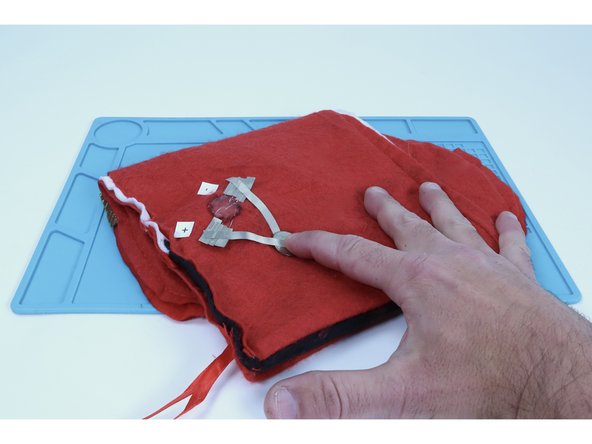
Recall that the two inner legs are the shorter legs. Cut two 2" pieces of Maker Tape. Peel and stick one to each of those two inner (-) legs and then TO the stocking as pictured (half on the leg/half on the felt).
-
Cut a small piece of Maker Tape that is long enough to span the distance between those two shorter legs. Peel and stick it as shown, connecting those two shorter LED leg pathways.
-
-
-
Cut another small piece of Maker Tape and make a tape loop with it.
-
Stick that tape loop to the middle of the tape section you just added.
-
Stick the battery to the tape loop so the positive (+) side faces UP.
-
-
-
Recall that the two outer legs are the longer (+) legs. Cut two 3" pieces of Maker Tape. Peel and stick one to each of those two outer (+) legs and then TO the stocking (half on the leg/half on the felt). The ends of these paths should extend beyond the battery as shown.
-
Cut a new piece of Maker Tape that is long enough to span the distance between those two longer leg pathways. Peel and stick it as shown, connecting those two longer LED legs.
-
Measure, cut, peel and stick one final piece of Maker Tape that connects to the last tape segment you placed and the top of the battery. Once connected, your LEDs will both light up. Disconnecting this piece of Maker Tape will break the circuit and the lights will turn off.
-
-
-
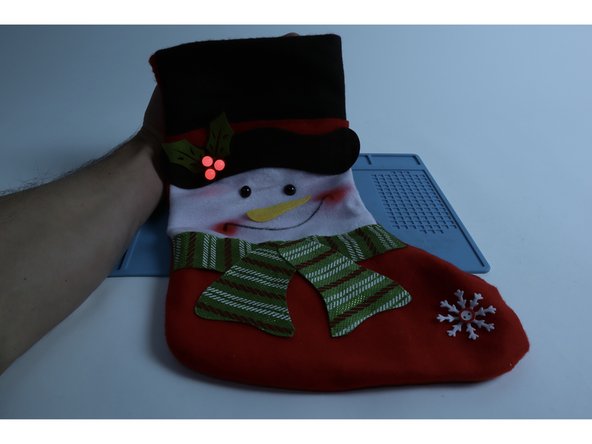
Turn your project right-side-out and use a black permanent marker to add some expressive pupils to the eyes (works best on projects with white LEDs)!
-
TIP: Oftentimes a circuit gets jostled out of working condition when the stocking is turned right-side-out. The LED may flicker or not work at all. If you encounter this issue, try pressing/firming up every connection point within the circuit where either an LED leg meets the tape OR where one piece of Maker Tape is connected to another!
-
-
-
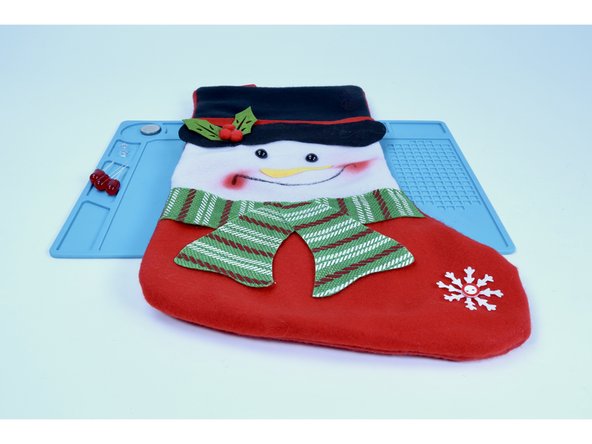
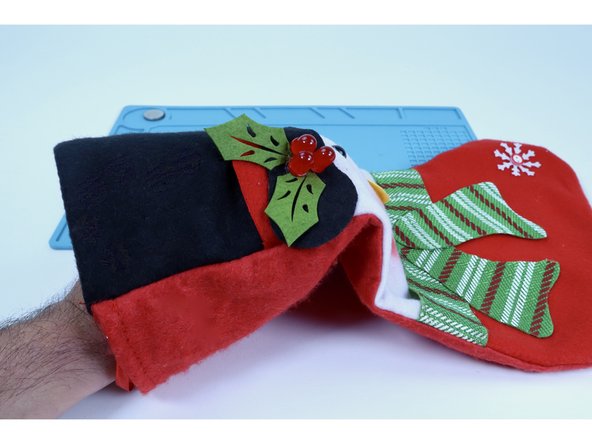
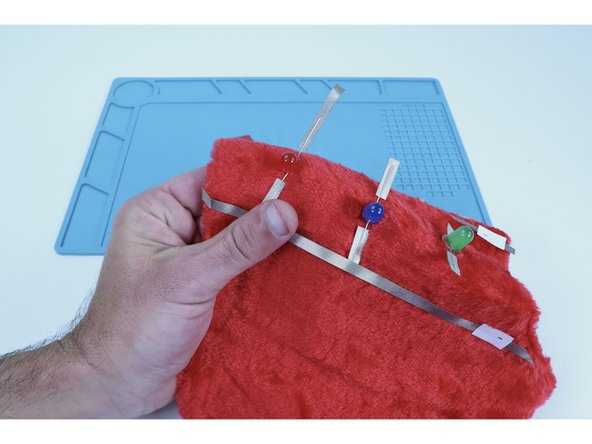
Oftentimes a stocking may have other clusters of accents that could be replaced by LEDs. At this point, things can get a little more intensive. Use the strategies found in this guide for 3-4 LEDs. In our project, we are going to swap the 3 holly berries on the snowman's hat with 3 jumbo red 10mm LEDs.
-
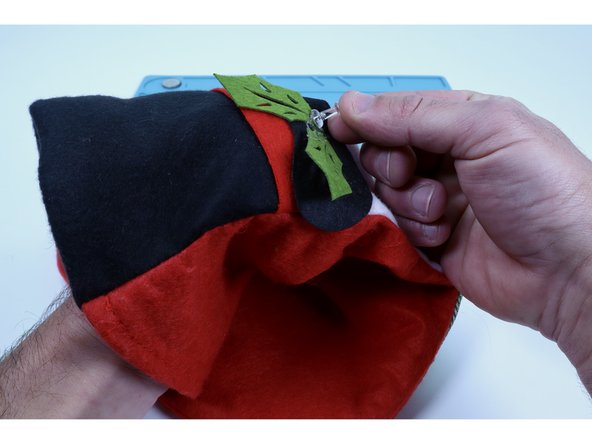
Begin by carefully removing the accents by hand. Cutting them away CAN work but it is also likely to cut the material below it. You will need some solid material in those areas in order to be able to thread the LEDs through the project, holding them in place. Removal by hand is less risky.
-
-
-
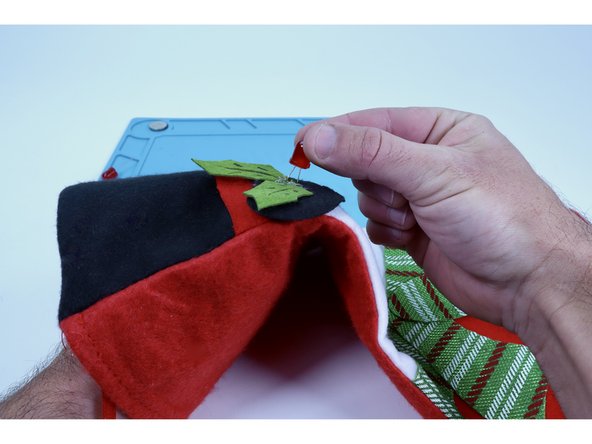
These accents are almost always held on by blobs of hot glue and may have several layers of material below THAT. For these reasons, use a push pin to make to make two "pilot holes" for each LED (6 TOTAL) through the material where each accent was for the LED legs to be threaded through in the next step.
-
-
-
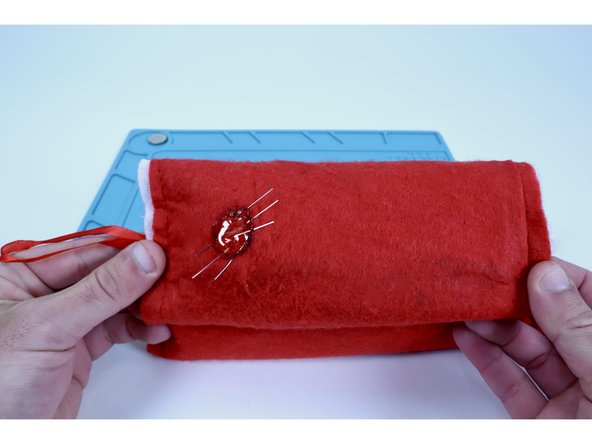
Thread your LED legs through those pilot holes from the front all the way to the inside of the stocking.
-
Be aware that the 6 LED legs will be fairly close together and will need to be organized a bit on the other side before connecting them to the rest of your circuit. This will be done in the next steps.
-
-
-
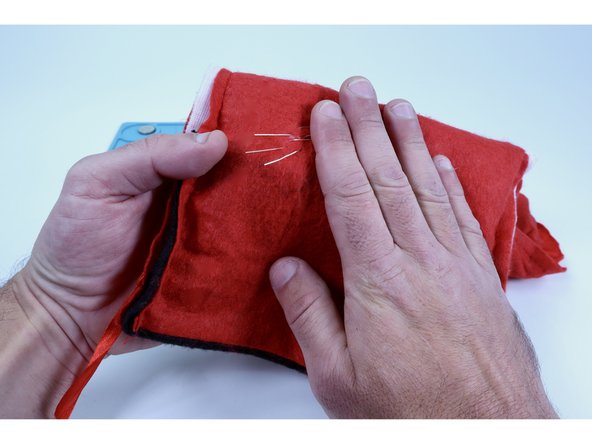
Each LED has a long and a short leg. You will need to identify all three of the shorter LED legs and bend them all in one direction so that they do not touch any of the longer ones. This will be the negative side of your circuit and will eventually be connected to the negative (-) side of your project's battery.
-
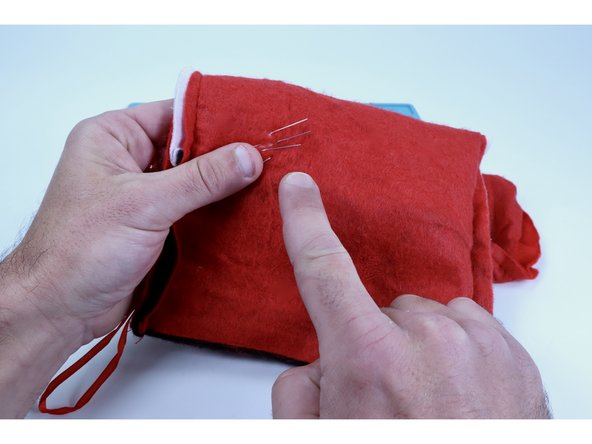
You will need to bend the remaining longer LED legs all in the opposite direction so that they do not touch any of the shorter ones. This will be the positive side of your circuit and will eventually be connected to the positive (+) side of your project's battery.
-
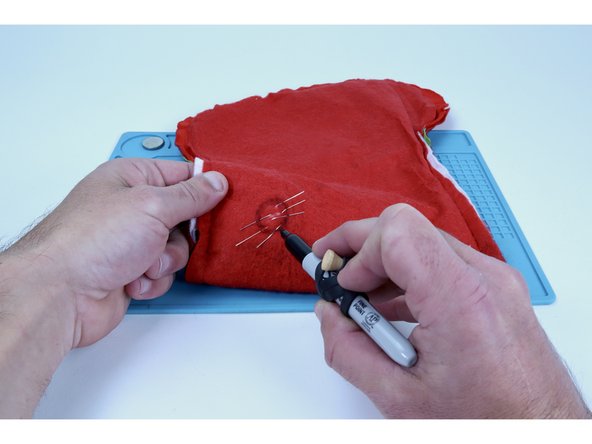
Hot glue is an excellent insulator and the points at which the legs of the 3 LEDs all enter/exit the fabric are very close together. In the next guide step we will be putting a blob of hot glue near the center of the cluster after we make sure the legs are not touching to hold them in that position.
-
We will still need most of the conductive metal from the LED legs to connect to with Maker Tape so the ends must stay glue-free. To guide the placement of the hot glue blob, use a marker to outline the area shown in photo 3. Stay within that circle in your next step.
-
-
-
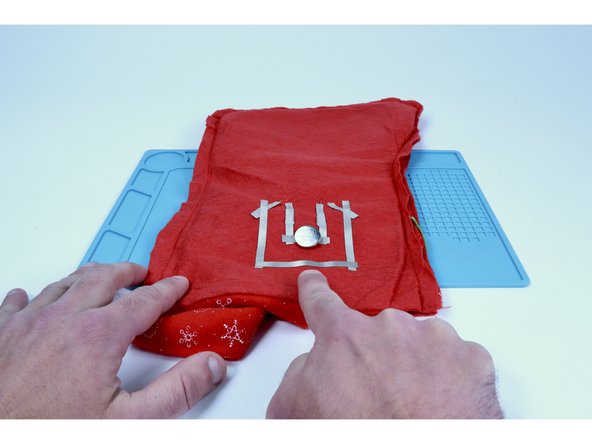
At this point, if you are finding it tricky to keep track of which cluster is positive (long legs) and which is negative (short legs), our suggestion is to label each side with a piece of tape and magic marker
-
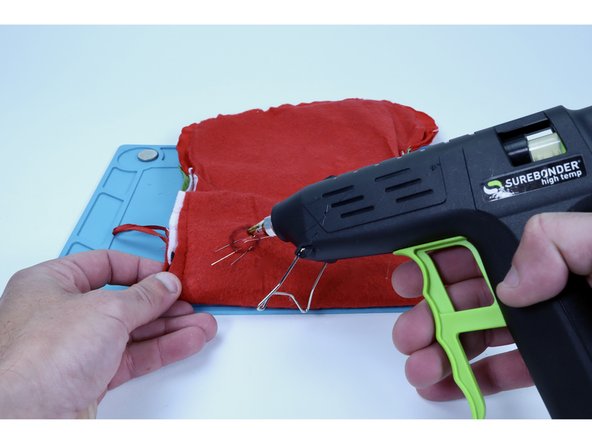
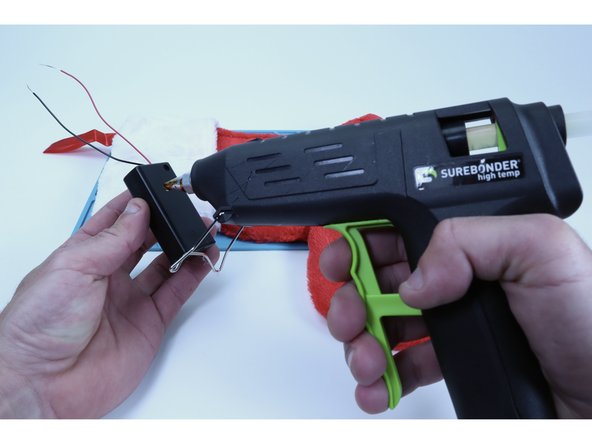
Once you verify that the 6 LED legs are not touching/separated by fabric, use a glue gun to fill the circle you just outlined with a blob of hot glue.
-
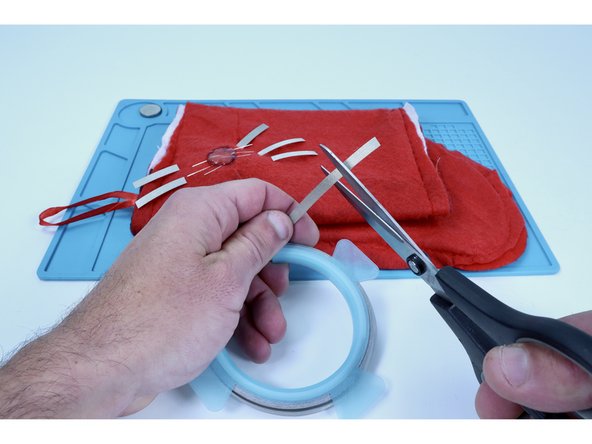
Measure and cut 6 pieces of Maker Tape that are approximately double the remaining exposed length of the LED legs.
-
-
-
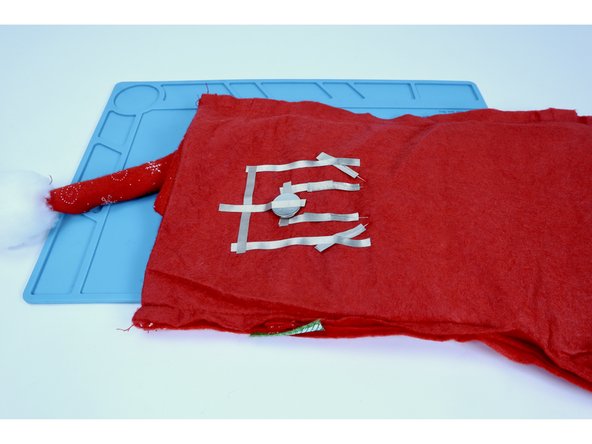
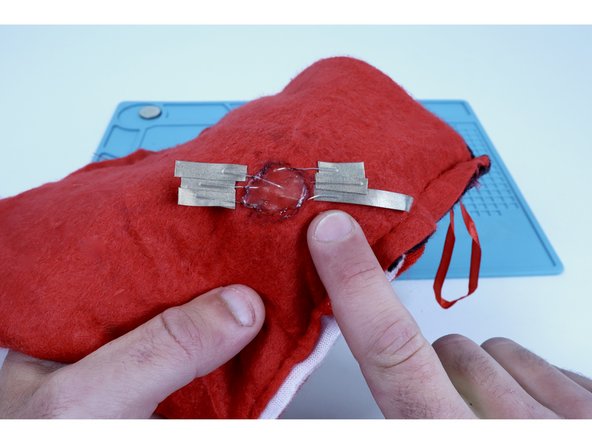
Using 3 overlapping pieces per side on your overall cluster, stick half of each individual piece of Maker Tape that you prepared to an LED leg and fold over on itself to stick the sticky sides together. This is shown in photos one and two.
-
When done correctly, this will create two electrically connected Maker Tape "pads" with the two separate clusters of same polarity LED legs sandwiched in between.
-
-
-
Cut a slightly longer piece of Maker Tape than you've cut so far for this project and press it atop the Maker Tape pad for the negative (short) legs while guiding it at an angle generally toward the stocking opening.
-
Cut a smaller piece of Maker Tape and make a tape loop out of it.
-
Stick that tape loop atop the other end of this newest tape path.
-
-
-
Stick your battery atop the tape loop so that the positive (+) side faces UP.
-
Measure, cut, peel and stick one final piece of Maker Tape that will span the distance between the positive (long leg) Maker Tape pad and the top of the battery.
-
When this connection is completed, the LEDs will all turn on and when the Tape is peeled back from the battery, the project will turn off.
-
-
-
TIP: Oftentimes a circuit gets jostled out of working condition when the stocking is turned right-side-out. The LED may flicker or not work at all. If you encounter this issue, try pressing/firming up every connection point within the circuit where either an LED leg meets the tape OR where one piece of Maker Tape is connected to another!
-
-
-
Many stocking are just plain fabric with no existing design. In this version of the project we will add circuit path stripes and a AA battery pack that will allow you to wire and power up as many LEDs as you might care to!
-
Begin by applying hot glue to a AA battery pack.
-
Choose a spot on the back side of the stocking to stick that battery pack to. We have ours pictured near the middle on the cuff but after having assembled it, noticed that its weight would have been better positioned directly behind the hanging loop.
-
Measure, cut, peel and stick two long pieces of 1/4" Maker Tape that go from the cuff down to the bend along each side of the stocking shape as shown. Your LEDs will be placed along pathways you make on the front side and those pathways will eventually be connected around the edge to meet these pathways.
-
-
-
Measure and cut two pieces of Maker Tape that are about 3-4" long.
-
Stick one end of one to any spot along the length of one of the longer side paths, then inward atop the stocking fabric, then doubled back on itself around the exposed wire of the nearest battery lead. Repeat this step with the remaining piece of Maker Tape for the opposite side.
-
-
-
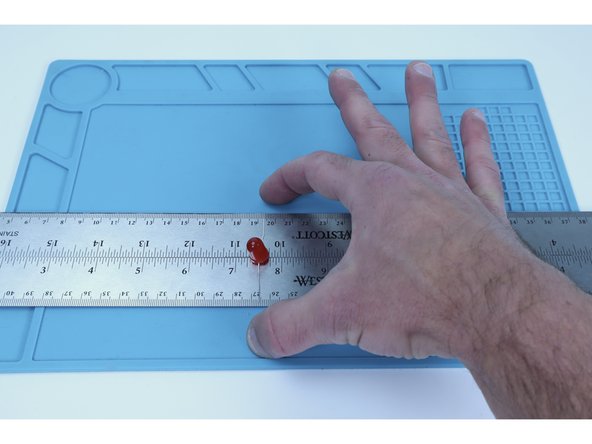
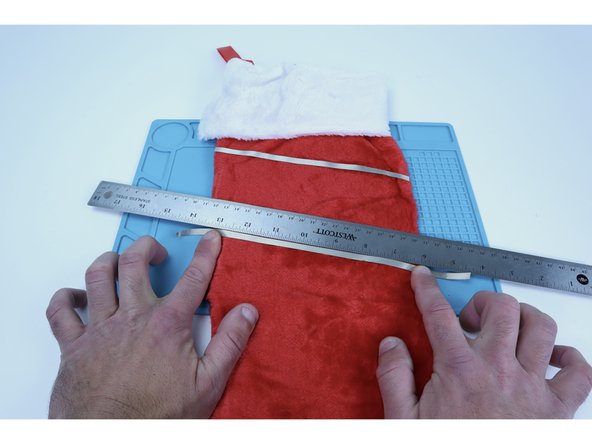
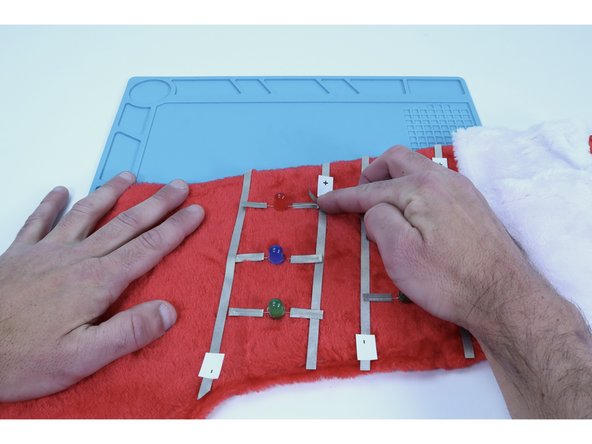
Notice that when bent outward in opposite directions, the span of any single LEDs two legs is about the width of two rulers side-by-side. We will use two rulers to help us create pathways that the LEDs can sit between and still contact on both sides.
-
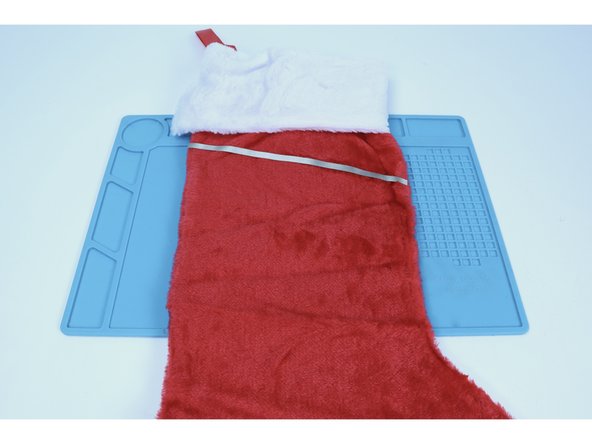
Flip your project over to the side opposite the battery pack.
-
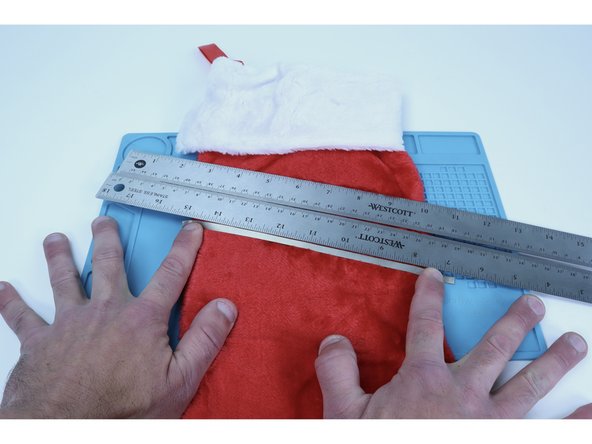
To begin, measure, cut, peel and stick a single pathway out of Maker Tape that goes from stocking edge to edge.
-
Place two rulers on top of that first path. Then measure, cut, peel and stick a second one as shown using the ruler to make sure this path runs parallel to the first one along its' entire length.
-
-
-
You just created the first of (2) Two-Path stripes that LEDs will be placed between. Let's add another so we can add even MORE LEDs!!!
-
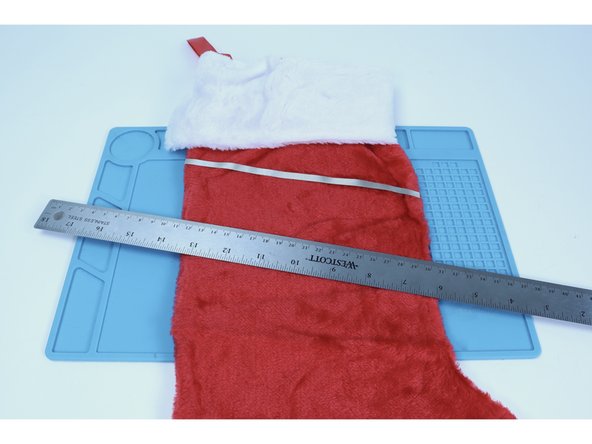
To put some space between the first two circuit paths and these next two, lay one of the rulers over the top of the last Maker Tape path you placed and use the opposite edge to guide the placement of a new path.
-
Now measure, cut peel and stick a new Maker Tape path along the lowest edge of the single ruler so that it goes from edge to edge on the stocking.
-
-
-
Lay the two rulers over the top of the last Maker Tape path you placed and, just as you did to complete the first two-path stripes, use the lower edge to guide the placement of the next edge-to-edge Maker Tape path.
-
Now measure, cut peel and stick this new path as shown using the rulers to make sure this path runs parallel to the one above it along its' entire length.
-
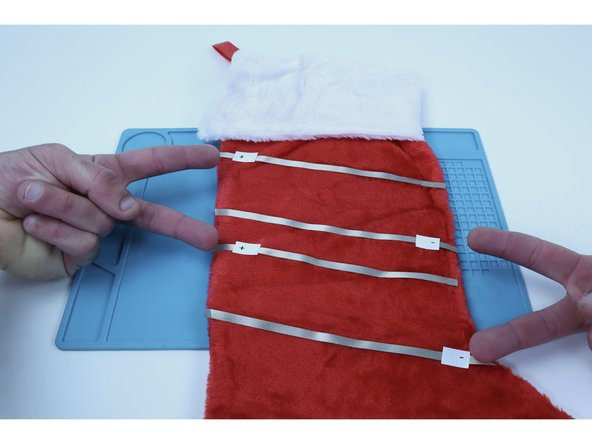
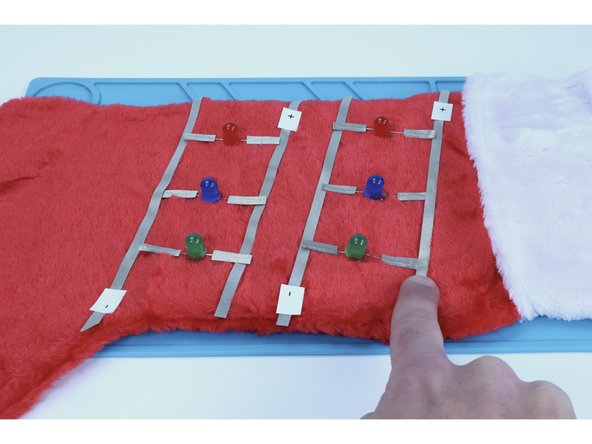
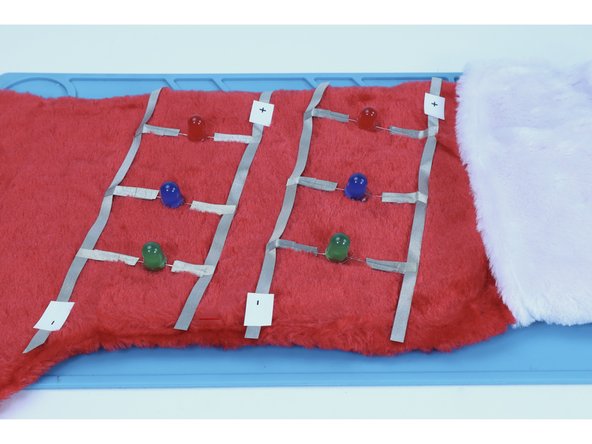
At this point, take a look at what you've created: two separate two-path systems that are actually VERY close to the two paths of the back. With some tape and a marker, label the paths as you see in the second photo. This will assist you in positioning your LEDs correctly between these two sets of stripes.
-
Top to bottom, they should be labeled (+), (-), (+), (-)
-
-
-
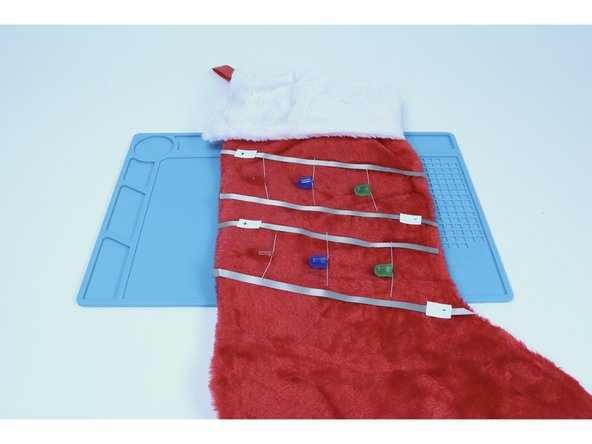
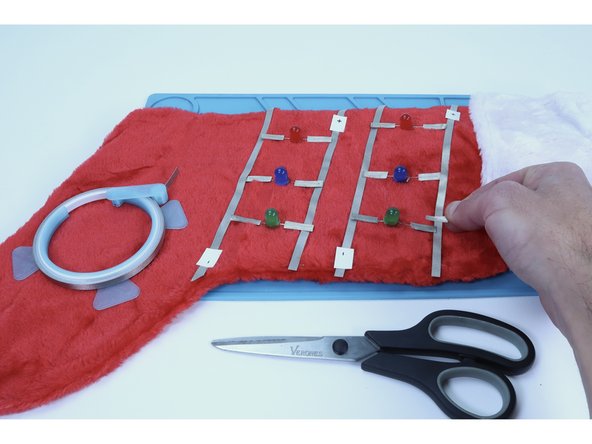
Bend the legs of your LEDs in opposite directions so that they can lay flat against the stocking fabric. Note that each LED has a long leg and a short leg. Lay them out as pictured so that the long legs are oriented toward the Maker Tape paths you labeled (+) and the short legs are oriented toward the paths labeled (-).
-
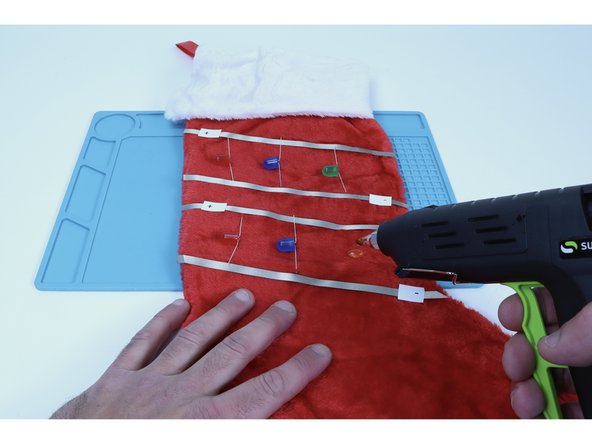
Make sure that the legs are able to reach and contact their respective paths and use a dab of hot glue to secure them in that position.
-
This will ensure that the LEDs stay in the orientation that you have them in now as you complete the next steps.
-
-
-
Measure and cut two pieces of Maker Tape for each LED you plan on using. We used 6 LEDs in our project. So, we cut 12 pieces of Maker Tape. These pieces should be approximately 2x the length of the LED legs themselves.
-
Stick half of each individual piece of Maker Tape that you prepared to an LED leg and fold over back on itself to stick the sticky sides together. This effectively sandwiches each LED leg between Maker Tape and will keep fuzz off the legs while also increasing the contact area for the next pieces of tape to be placed.
-
-
-
Now, snip and place small pieces (again, 12 in total for our project) of Maker Tape to connect the legs to their respective positive/negative long path.
-
When finished, all of your LEDs legs should be electrically connected to the longer outer paths as pictured in photo 3.
-
-
-
Recall that the paths on the back are electrically connected to the voltage source (your AA battery pack). Also recall that now all your LEDs are electrically connected to two separate (2) path arrangements on the front. The front and back, however, are NOT connected.
-
This next step will connect what's set up on the front TO what's been set up on the back.
-
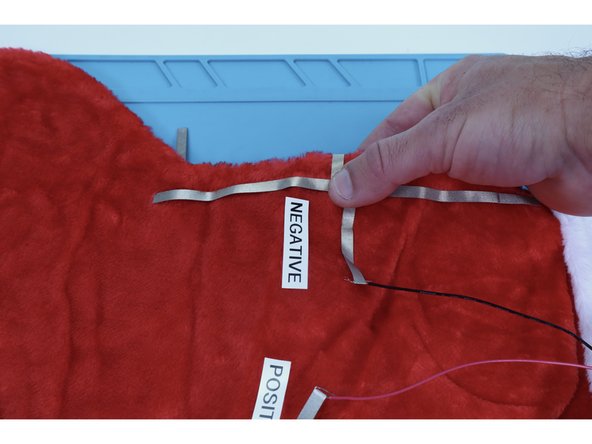
Cut two Maker Tape pieces that can reach from the ends of the (-) paths on the front AROUND the edge to connect to the negative (black) path set up on the back of the stocking. Peel and stick them into place as shown.
-
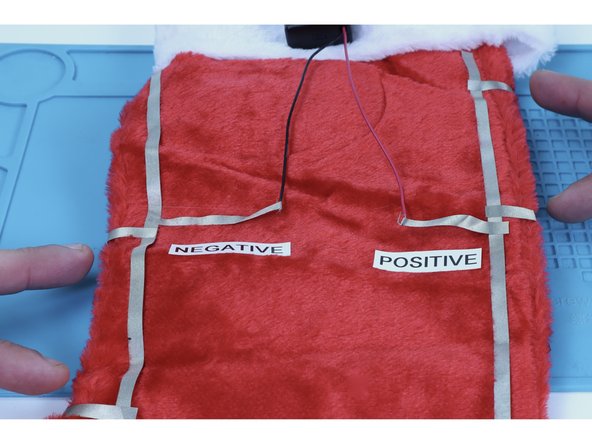
Repeat this process to connect the two positive (+) paths on the front AROUND the stocking edge to the positive (red) path on the back.
-
-
-
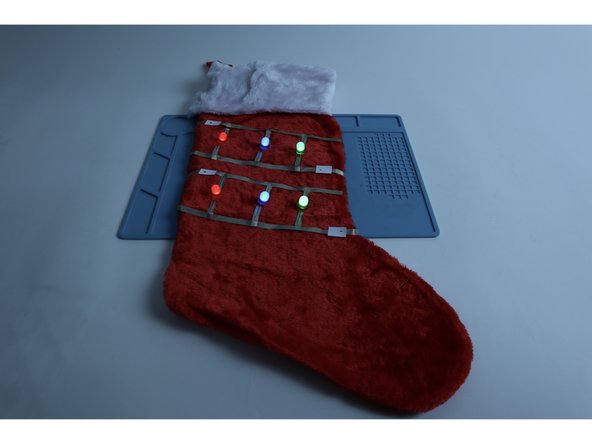
Congrats! You've just put the "MAS" (more) in Christmas...Santa will never overlook THIS stocking!
-