
Introduction
What do you do with an empty wall? You could add some nice pictures to it? Or cover it with a colorful house plant. We've even seen some people hide bare walls behind book cases. While all those options are valid we wanted to make something a bit more fun for our office visitors, so we designed this silly Sound Wall.
This project uses a Crazy Circuits Invention Board to create a capacitive touch wall that activates an inexpensive MP3 player module. This approach is pretty simple overall and can be reconfigured into a variety of formats. For our display we decided to use Bare Conductive Paint to make our designs permanent, however you don't have to use paint if you want more flexibility.
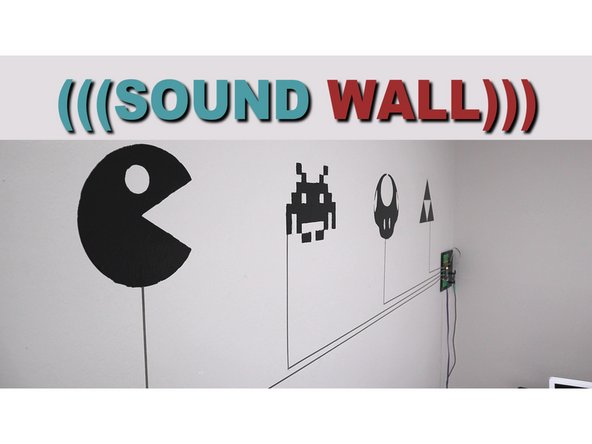
This activity is great for a school, museum, or library installation where sound effects can be tied to learning objectives or new graphics. It's also quite nice as a fun play room project if you have a small child who constantly wants to hear new Disney songs every week. If you don't have children you could always put up logos of your favorite sports teams that play their theme song, images from classic movies and have them play quotable moments, or do what we did and put up classic video game icons with retro sound effects. Whatever floats your boat.
Tools
Video Overview
-
-
Planning things out ahead of time will save you a lot of frustration and will help you create a long lasting and fun project. Ask yourself the following questions:
-
Do I want a permanent installation that never changes?
-
Do I want flexibility in my graphics, such as color?
-
How much use is this project going to get?
-
How portable do I want this?
-
You can choose to use conductive paint, or vinyl cut-outs (both are great for a wall) or you can build a portable version using posterboard or other materials.
-
-
-
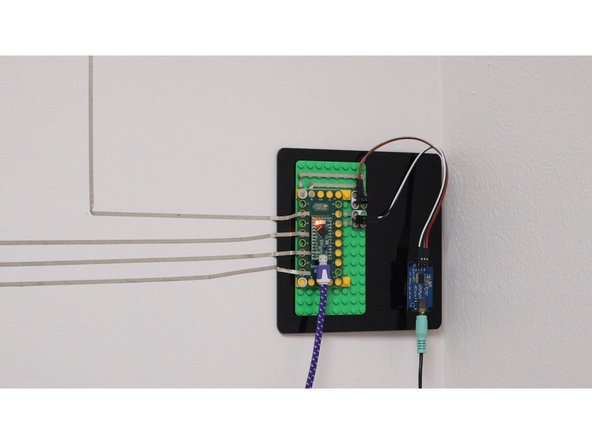
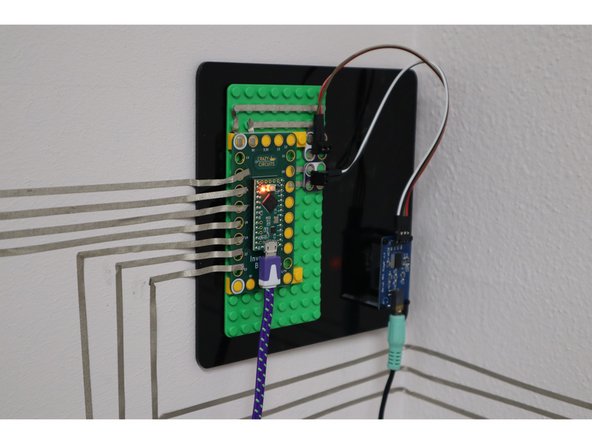
Crazy Circuits components are LEGO compatible which means it's really easy to create a mounting plate for the project using a few LEGO pieces.
-
Use some flat plates and lay out your pieces. We need to connect two screw terminals to the Invention Board in order to hook up ribbon cables. One Screw Terminal needs to connect to the 5V Positive hole as well as the Negative hole on the board, the other Screw Terminal needs to connect to Pins 9 and 10.
-
We're using 1/8th inch nylon conductive Maker Tape to make these connections.
-
Once in place, screw in the male sides of your ribbon cables. The connect Pin 9 to the TX and Pin 10 to the RX on the Mp3 Module. The Positive and Negative junctions match up to the Positive and Negative pins on the Mp3 Module.
-
Why are we using the Crazy Circuits Invention Board and not a cheap Arduino Nano MakeyMakey? The Invention Board is using a Teensy LC at its core which has built in capacitive touch, something the Nano does not.
-
This means that you can just 'touch' a point and activate the board. If we used the Nano we'd have not only touch a point but also have our body touching a 'ground' connection. This isn't very elegant and also removes the ability to activate a touch point THROUGH vinyl or paper.
-
-
-
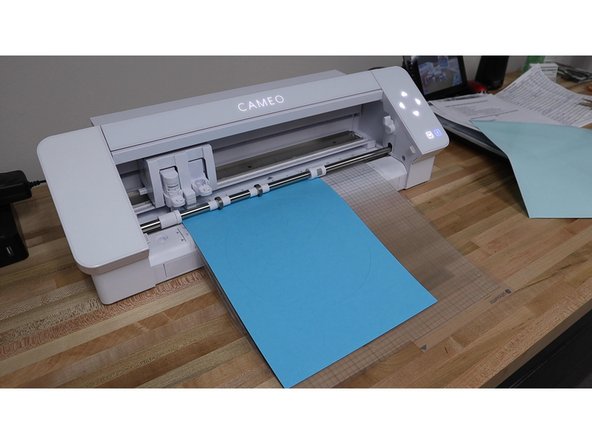
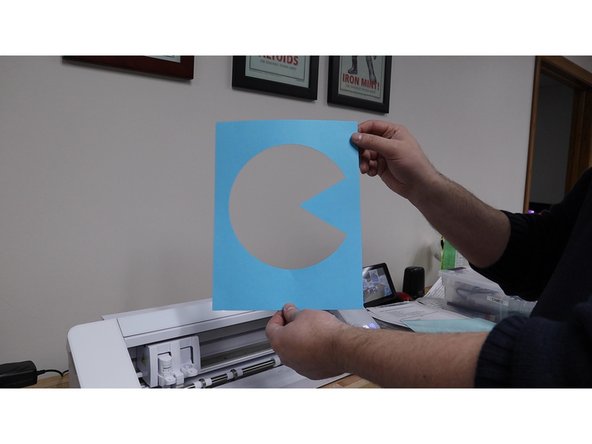
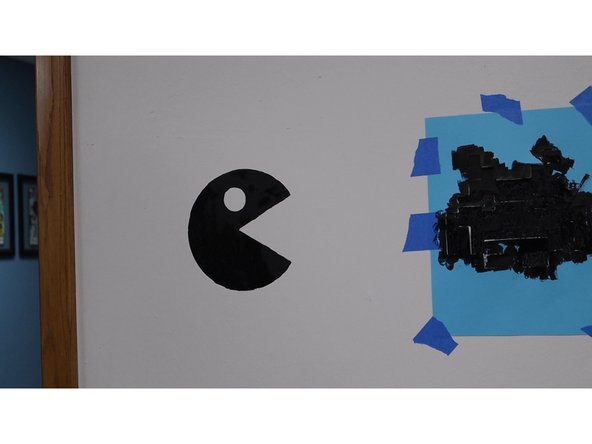
We used a Silhouette Cameo to create simple paper stencils for our project. You could also do something similar by hand or with a laser cutter. If you're so inclined you could also buy stencils off Amazon or Etsy.
-
While paper stencils worked fine for a couple of our images, they proved to be difficult with our more complicated Space Invader. We really should have sprayed the back with a light adhesive so the stencil would fully stick to the wall. A smarter option would have been to just make a vinyl stencil.
-
If you're not planning on using conductive paint graphics on your wall you can pretty much just ignore this step.
-
-
-
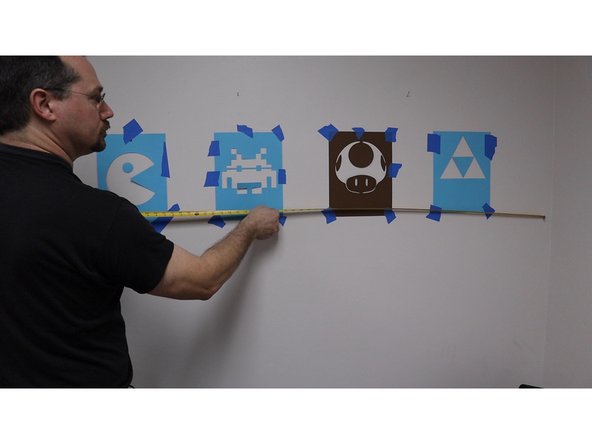
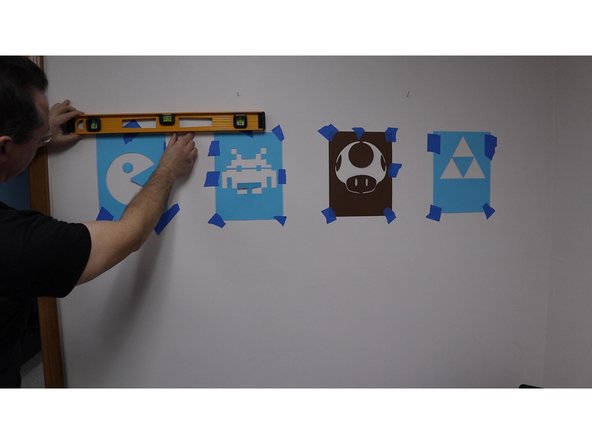
Before painting make sure you measure everything out for spacing and then check to make sure things are level. Nothing is more annoying than one graphic slightly higher than the others, especially when painted on the wall.
-
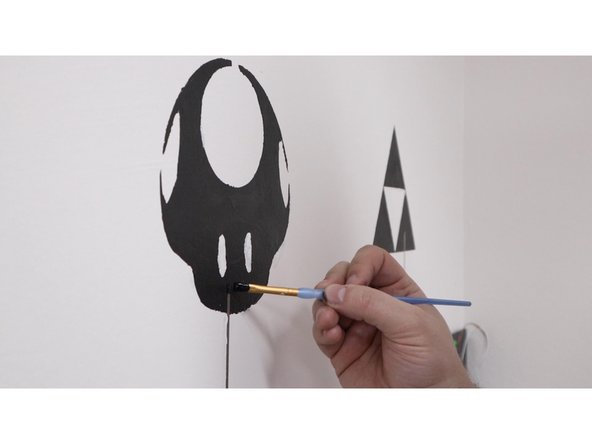
Once everything is in place try your hand at painting!
-
Bare Conductive Paint can be tricky to work with. It easily smears and is kind of thick. One trick you can try is adding a very small amount of water to it to help thin things out.
-
Make sure you're applying an even layer, and don't go thick otherwise you'll be waiting hours for it to dry.
-
Once you've painted you can remove the stencils. If you want to do any touch up wait until after the paint dries.
-
DO NOT try to use a wet rag or paper towel to clean things up, you'll just smear the paint everywhere. You're better off getting some of the same wall color and painting over it.
-
-
-
Since we have a laser cutter in our workshop we cut out a small mounting plate that we could stick to the wall. It's also quite easy to just use double sided tape and stick the LEGO plate to a wall as well. We used some self sticking velco in case we ever wanted to move the mounting plate or change things up.
-
Make sure you pins 15-23 pointing towards your graphics as thats where the majority of the Touch Points are located. (7 of the nine touch points are on that side, with two more opposite)
-
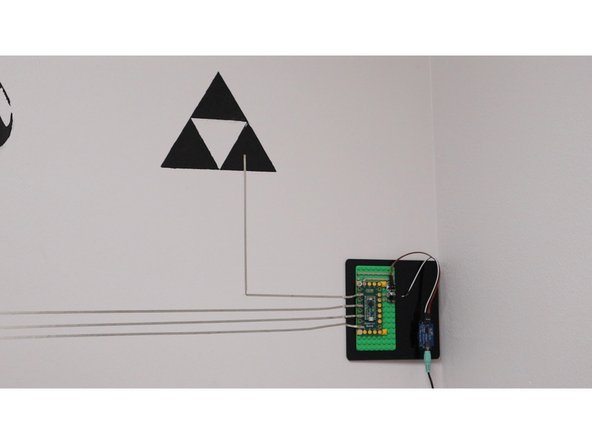
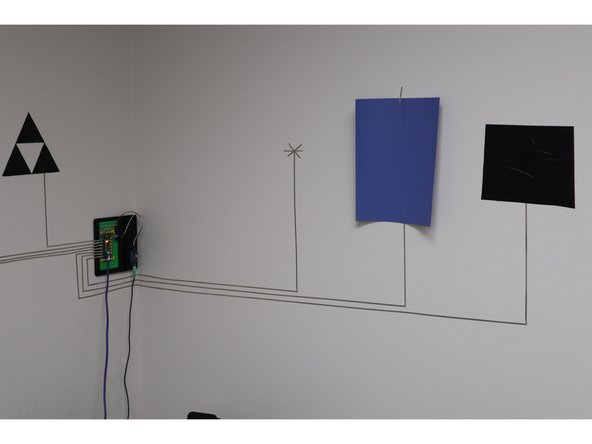
We decided to mount our board about belt high to the right side of our graphics so we could more easily access power and set our speakers on an end table. If you've got small children you can easily mount this up high or down low.
-
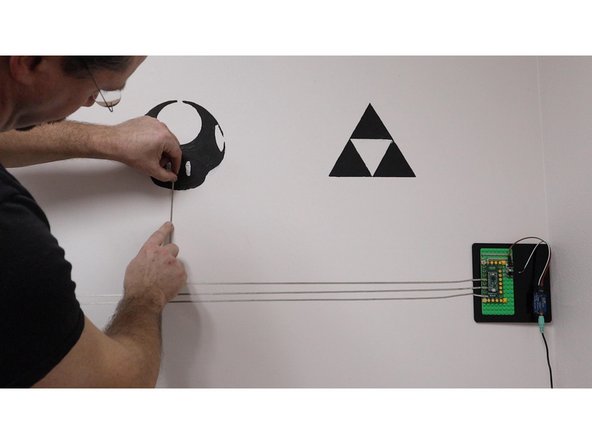
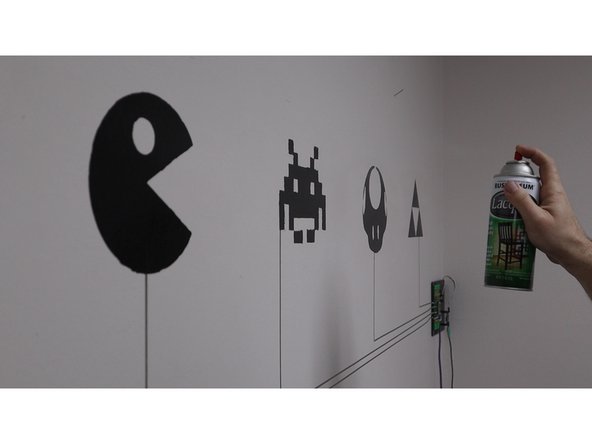
Run 1/8th inch Maker Tape from your graphics to the appropriate Pin on the Invention Board. Make sure that the tape overlaps your conductive paint at least an inch.
-
When you connect it to the pin (copper circle) of the Invention Board make sure that the tape isn't touching any other pin. While we have no idea of how far we can run tape successfully for this project, we did run ours at least six feet to the furthest graphic.
-
Since we only have four graphics we decided to use every other Pin as not to crowd things. If we ever wanted to add more graphics we can always rearrange our tape. Maker Tape is extremely strong and conductive on both sides which means you can easily remove a section and then bridge it with another piece of tape.
-
Note: To make life easier buy some cheap USB powered speakers that have a 1/8" input, then buy a 2 port USB wall adapter. Plug both the speakers and Invention Board into that adapter. If you mount things up high on a wall use a single USB extension cable and a cheap USB splitter/ hub to power both the board and Speakers.
-
-
-
Once your paint is dry touch up everything.
-
For us this was covering the conductive tape on our graphics with more paint, as well as using some wall colored paint to fix a few errors in our graphics.
-
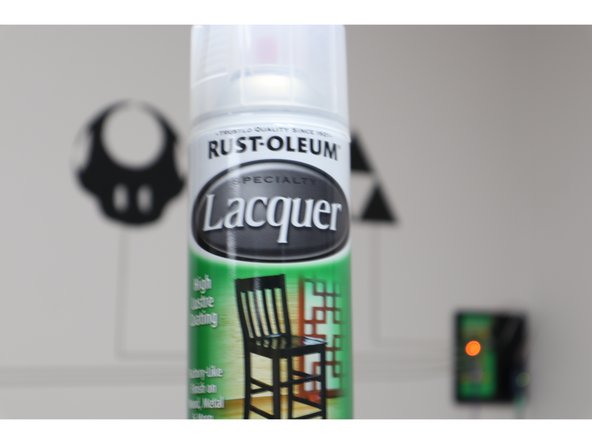
Once the touch ups are dry use some clear spray paint to seal up the conductive paint.
-
One major benefit of Bare Conductive Paint is that it's very water soluble and easy to clean up, however if you have any moisture on your fingers you'll also melt away already dry paint. A clear coat of spray paint solves this problem.
-
As we're using capacitive touch with this project we don't actually have to touch the paint itself for our body to make electrical contact with the circuit.
-
Years ago we made a small capacitive touch piano that we took to education trade shows with us. Thousands of people touched and played it without any problems or major wear. Every now and then we'd add a new layer of spray paint to it just to be safe.
-
-
-
Click this link to download a ZIP file our code, resources, and test sound files.
-
If that link doesn't work, because we've probably updated something and forgotten to update this link, try the files on our GitHub Repo. At the writing of this guide our code and files are at a 1.0 Version.
-
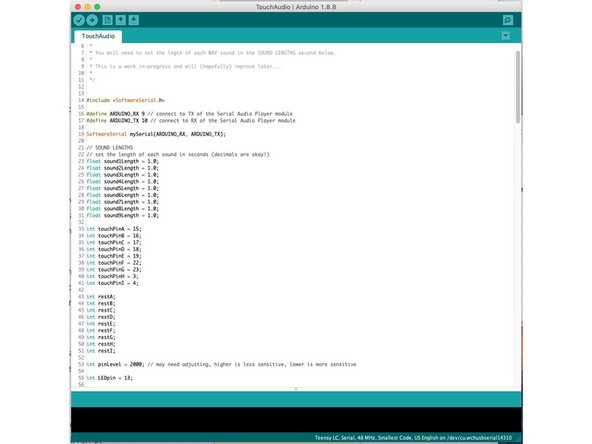
Overall you shouldn't have to change anything in it. The code is pretty simple. Touch a Touch Point and it plays an assigned numbered audio file.
-
Two settings you can and may want to change are the (1) length of wait time between inputs and (2) the sensitivity of the Capacitive Touch.
-
1. In lines 23 - 31 you can change how much time each pin waits before accepting a new input. For instance if you want to be able to very quickly tap a Touch Point over and over and over again and have the sound file start up again every time you press it, change the length of time to 0.5 seconds.
-
2. On line 53 you can change this number to increase or decrease the capacitive touch feature. If you raise the number the sensitivity DECREASES, if you lower the number the sensitive INCREASES. Increased sensitivity means you can (probably) activate a touch point from a couple of inches away.
-
We keep ours at a sensitivity of 2,000. This means that people have to make physical contact with the paint on the wall and don't randomly activate it when walking by. Even at that low of a sensitivity we can still activate the Touch Points through piece of paper or piece of vinyl.
-
-
-
Download the free Arduino software if you don't already have it.
-
Since we're using a Teensy LC inside the Invention Board you'll also need to download some additional resource files for that board. See the instructions on the PJRC website.
-
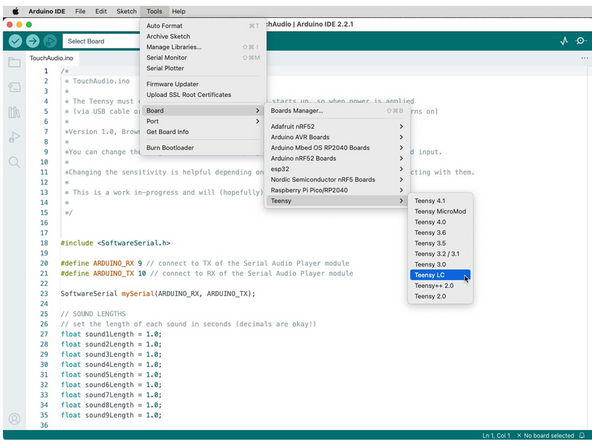
Under the Tools menu choose the Boards submenu and then choose Teensy LC.
-
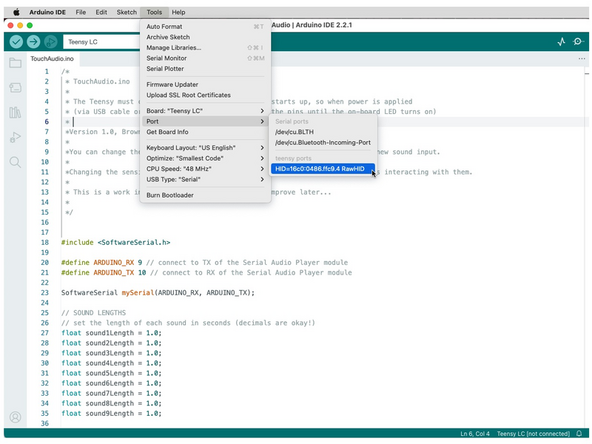
You may also need to select the Teensy in the Port submenu. It will be listed under the 'teensy ports' section of the submenu.
-
-
-
We've set things up so that certain pins are connected to certain folders. Change the file in that folder whenever you want a new sound effect. For instance Pin 15 is assigned to Folder 01, Pin 16 to Folder 02, Pin 17 to Folder 03, and so on. (If you ever forget, this is all laid out in the code.)
-
Windows Users: Format the micro SD card in FAT. Create folders number 01-09 on the card. Drop the mp3 or wave files into each of those folders. Put the micro SD card into the MP3 module.
-
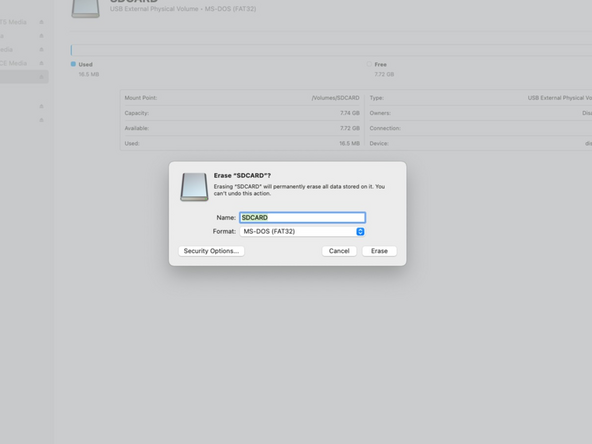
Mac OS User: Open up Disc Utility and format the micro SD card as MS DOS (FAT32). Create folders on the card numbered 01-09. Drop your MP3 or WAV files into those folder.
-
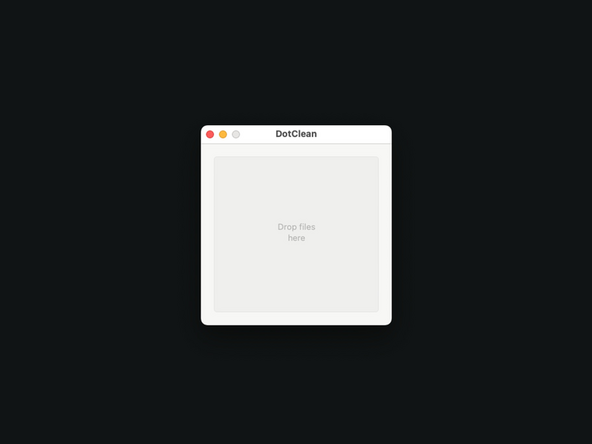
Note: Mac OS create small invisible files that confuse the MP3 module so we created a work around. Download this application we wrote (called DotClean) and copy it to your Applications folder.
-
Follow the instructions for getting the application running. Once it is running it will present a small window...
-
Highlight all the folders (with the audio files in them) and drag them into the application's window. This will remove the invisible files. You'll have to do this every time you change the sound files, which is why it's helpful to keep it in your Applications folder.
-
-
-
Stick the micro SD card into the mp3 module, plug in your speaker, and plug in your Invention Board.
-
STOP! Before you touch anything wait until the little LED on the Invention Board turns on. The code has a five second capacitive touch 'calibration' that takes place every time it powers up. Once the LED is on you're good to go.
-
No Sound? Make sure your speakers are plugged in and powered. Double check the SD card. Check connections between the Invention Board and M3 board. Make sure you are using MP3 or WAV files. Still not playing? Try to increase the sensitivity in the code.
-
Too Much Sound? If sound files are constantly playing, change the sensitivity and the time delays.
-
Wrong Files Playing? (Especially in Mac OS) Did you use the script to clean up the invisible files? Are your tape lines connected to the right pins? Did you use numbered folders? Try changing the file name of the files in the folders to numbers.
-
Code Not Uploading? Make sure you downloaded the Teensy plugin for the Arduino IDE. Make sure Teensy LC is selected. Make sure your Arduino is plugged into your computer.
-
-
-
If you have access to a vinyl cutter, such as Silhouette Cameo, you might as well give yourself the option to change out graphics quickly and easily. As a big bonus you can also do vinyl in a variety of colors or buy remade vinyl stickers from Amazon and Etsy.
-
When you'll want to do is run tape to set points on the wall, lined up nice and level. Use sheets of paper as place holders for spacing everything out.
-
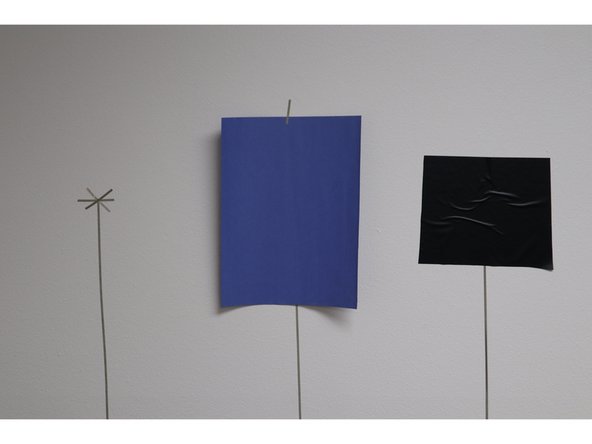
Next, cut several 1-2 inch pieces of Maker Tape. Make a simple asterix design by overlapping tape across the end point of your main tape line. This provides a larger surface area for a touch point.
-
Lay your vinyl stickers, or even paper cut outs, over the top of these asterix points.
-
Alternatively you could also make small circles of conductive paint at the end of your paint lines, or even use a square of aluminum tape (just make sure the Maker Tape goes on top of the aluminum tape, since the bottom of the aluminum tape is not conducive).
-
Once your graphics are in place you may need to play around with the capacitive touch sensitivity in the code a bit to create a reliable interface. Keep in mind that children have a low body mass and may not be able to as easily set off the touch points at lower sensitivity.
-
-
-
This project easily scales up and down. Build a big graphic on a wall with conductive paint, or use some chrome plated LEGO bricks to make a small scale sound effect board for kids. It's all pretty easy.
-
Since our Maker Tape goes onto pretty much anything you could make a sound board on glass entirely out of tape. Maybe a fun Tron inspired circuit board layout that says "Greetings Program!" when you touch it.
-
You could also try making a wearable out of it! Adding Maker Tape to a shirt or jacket that plays sound effects when you touch certain parts of it. Or, god forbid, an actual working Piano Neck Tie.
-
Conductive Dough from Squishy Circuits would also make a nice three dimensional touch interface to play around with.
-
As long as the end points of your tape lines is also conductive, and isolated from the other Touch Points, the sky is the limit. If you were reallllllly keen to be wild you could even use PEOPLE as your Touch Points. Then every 'high five' they received would activate a sound effect!
-


Cancel: I did not complete this guide.
One other person completed this guide.
