
Introduction
Make a Snowman hat that lights up when you put it on!
There's a full-color version as well as a black & white version that makes a great coloring activity.
You can make this project (and many more!) with our Paper Circuits Kit.
Video Overview
Featured Document
-
-
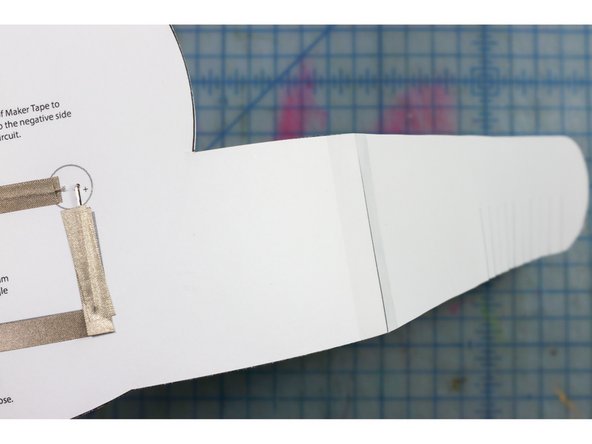
Print the template double-sided so that the circuit prints on the back of the reindeer design.
-
If you'd like to color the snowman, print out the snowman coloring template (pages 3-6). Use colored pencils or markers to color your project before proceeding to the next step.
-
-
-
Cut out the shapes. For best results, cut from the front side in case your print doesn’t line up properly with the back.
-
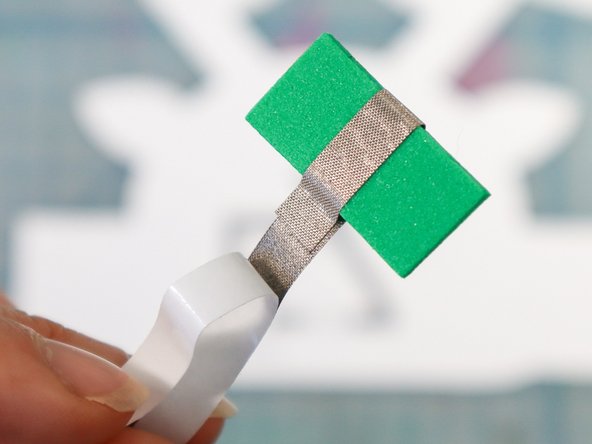
Cut the small rectangle out of craft foam.
-
-
-
Add Maker tape to the top and bottom lines as shown.
-
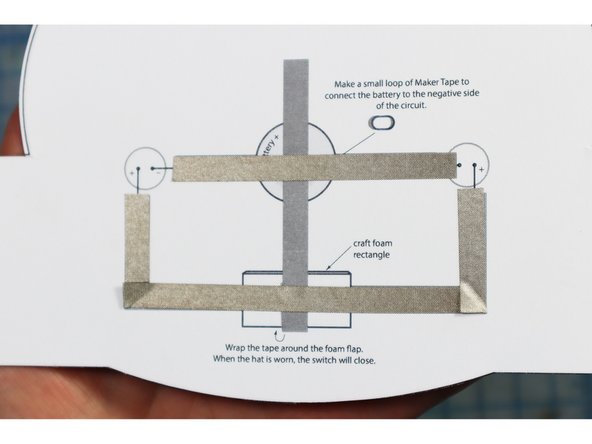
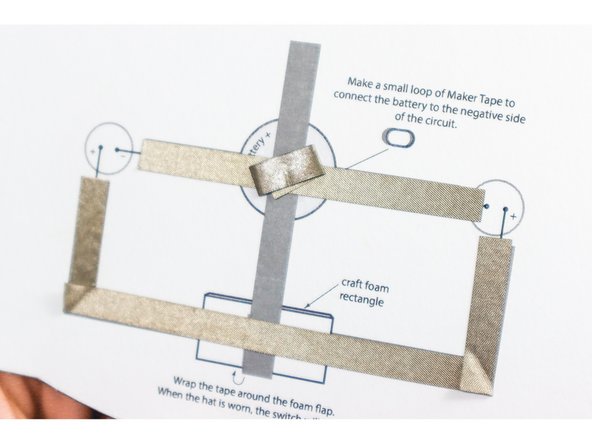
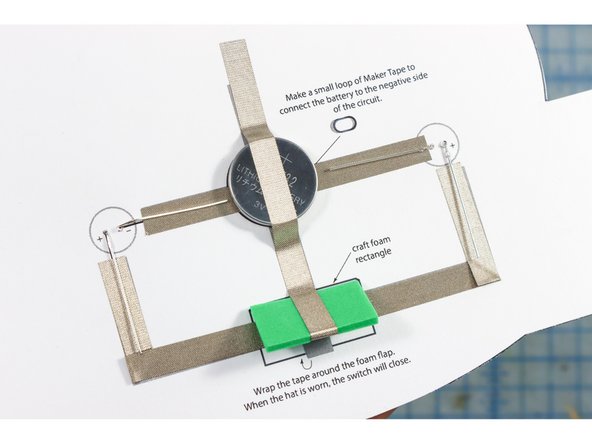
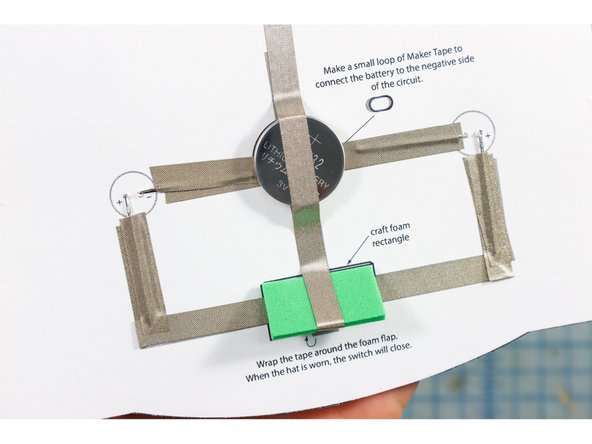
Make a small loop of Maker Tape to connect the battery to the negative side of the circuit as shown.
-
-
-
Wrap Maker Tape around the foam rectangle as shown.
-
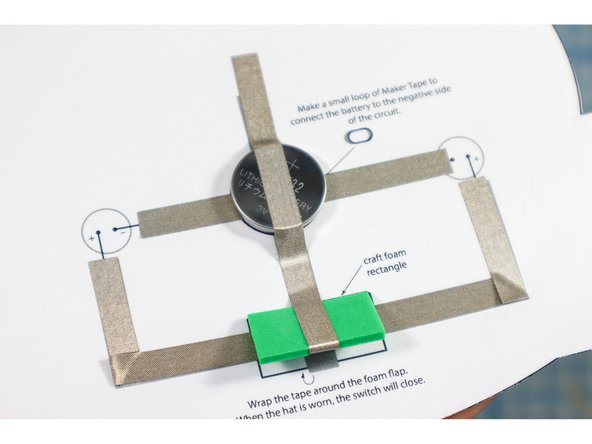
Place the battery on top of the loop of tape with the positive side up.
-
Position the rectangle over the template, and continue to lay the Maker Tape over the line, then over the battery as shown.
-
-
-
Insert the LEDs from the front of the template by making small holes where shown.
-
Thread the LEDs through the holes, paying attention to the + and - notations.
-
Bend the LED legs down on top of the Maker Tape and add another piece of Maker Tape on top of each leg to secure it.
-
-
-
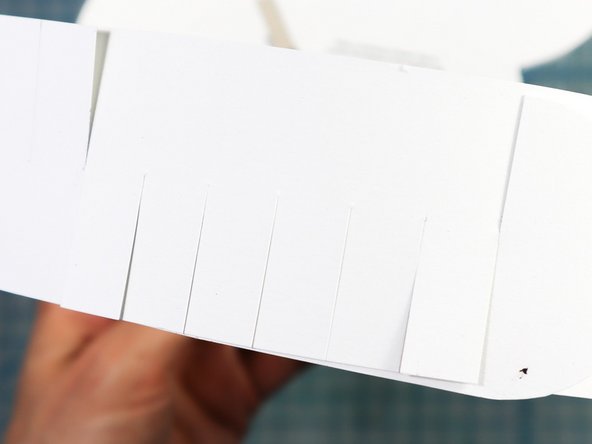
Tape the headband pieces to the sides of the paper as shown. One side's fringe will face up and the other will face down so that you can interlock them as shown.
-


Attached Documents
