
Introduction
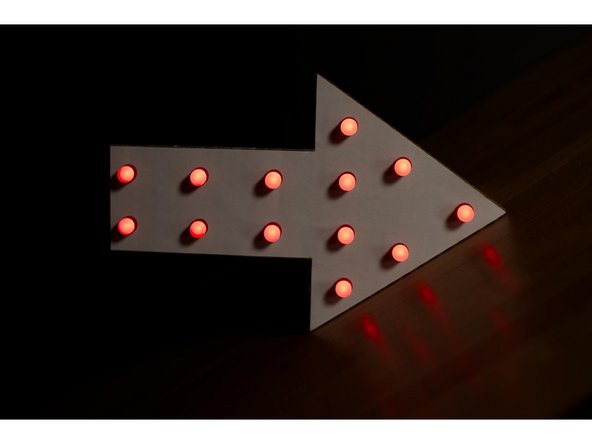
Print out the template, glue it to cardboard, and make a fun Light Up Arrow Sign.
Featured Document
-
-
Gather your materials.
-
You'll also need a piece of cardboard to match the size of the arrow.
-
-
-
Print out the paper template and glue it to a piece of cardboard.
-
Cut out the shape of the arrow.
-
-
-
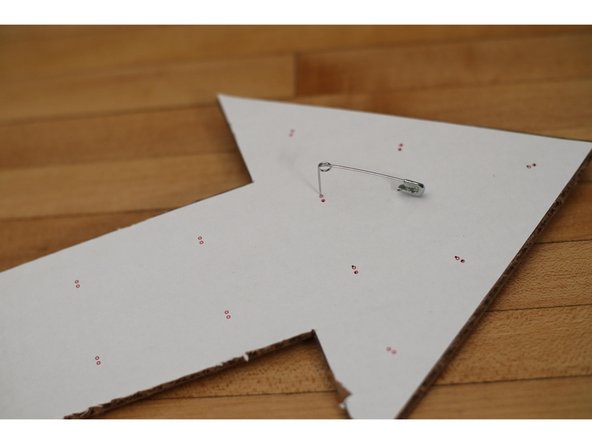
Use a large safety pin to poke holes in the arrow where indicated.
-
The LED legs are narrow, so a large safety pin should work fine. If you only have a small safety pin, wiggle it around to widen the hole.
-
-
-
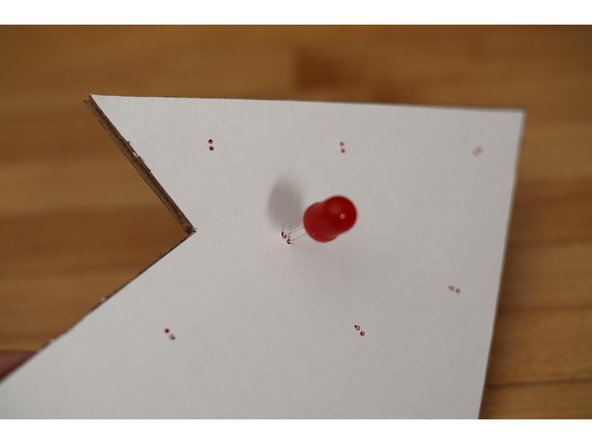
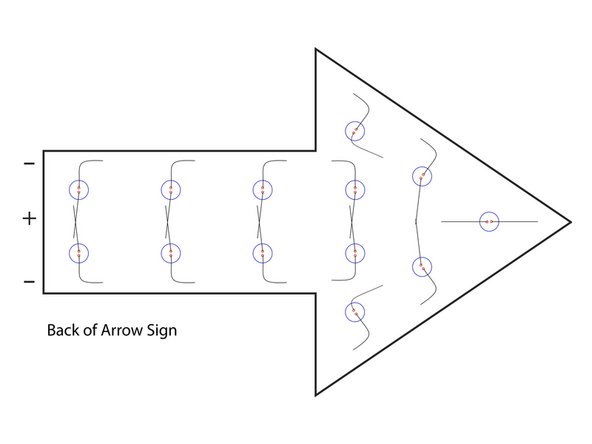
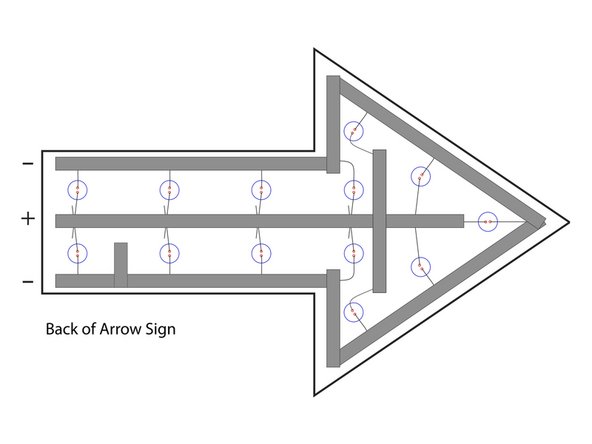
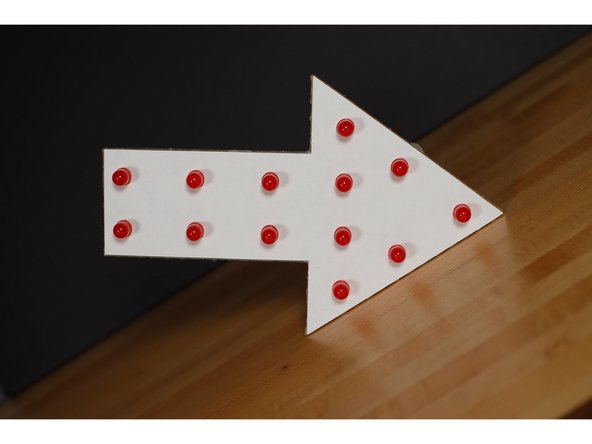
Put the legs of the LEDs through the holes with the longer leg (positive) towards the center of the arrow and the shorter leg (negative) towards the outside of the arrow.
-
Bend the legs over to so they don't hang off the edge of the arrow.
-
Make sure none of the positive legs overlap with the negative legs or your circuit won't work.
-
-
-
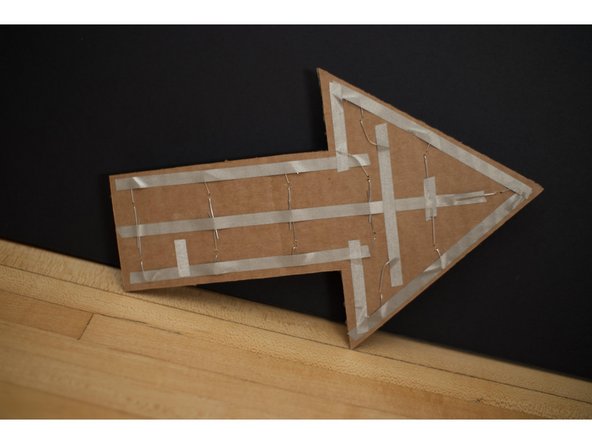
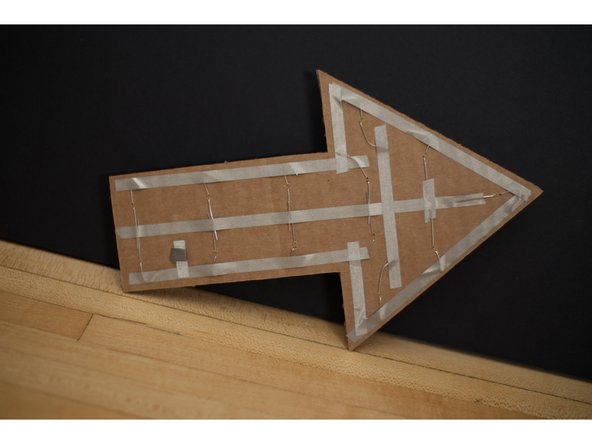
Connect all positive legs together with tape down the center of the arrow.
-
Connect all negative legs together with tape down the outside edge of the arrow.
-
Add a small piece of tape for the battery to attach to.
-
-
-
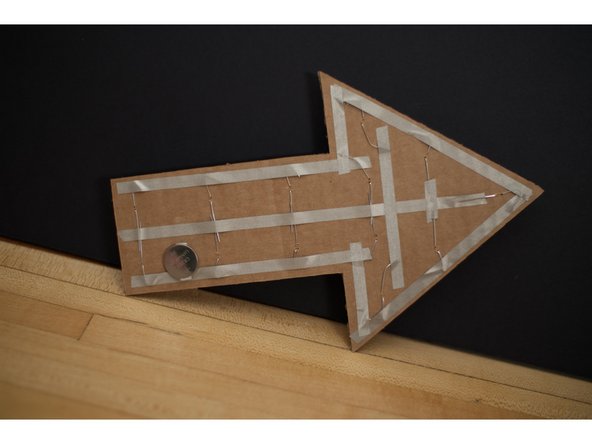
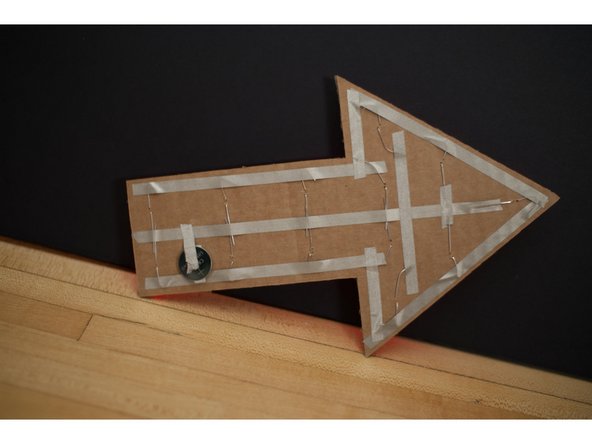
Use a tape loop at attach the battery's negative side to the tape on the arrow.
-
Use a short piece of tape to connect the center (positive) piece of tape to the top of the battery.
-
-
-
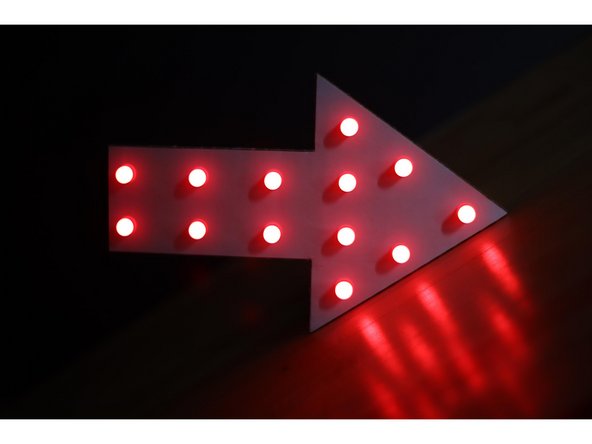
If you've connected everything correctly, it should light up!
-


Cancel: I did not complete this guide.
One other person completed this guide.
Attached Documents
