Introduction
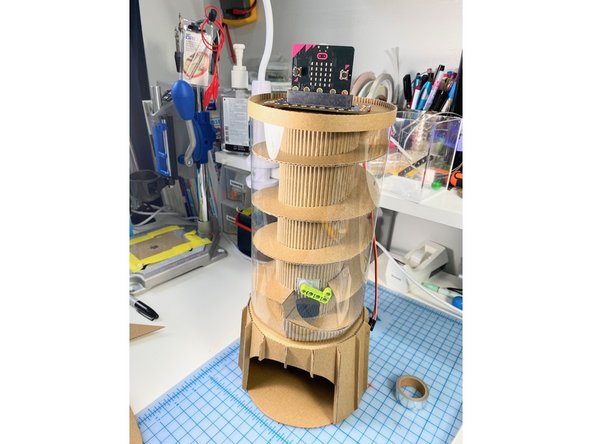
A Touch-Free micro:bit Gumball Machine. When you place your hand in the base of the rocket, the machine administers a gumball, without touching a thing!
Video Overview
-
-
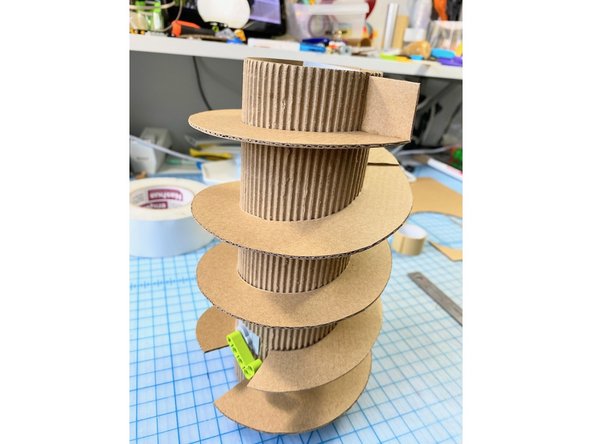
We made the center tube by peeling the paper off of one side of the corrugated cardboard and rolling it inside the core of a roll of tape. This gave me a 3-inch outer diameter tube.
-
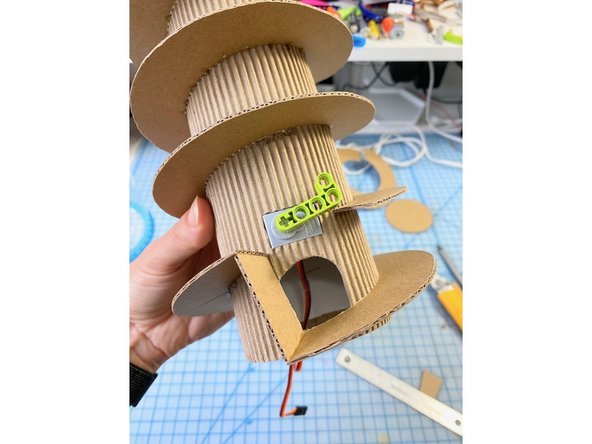
We cut a small rectangular hole in the tube a few inches from one side and glued the servo in place.
-
We used duct tape on the inside of the tube to secure it.
-
-
-
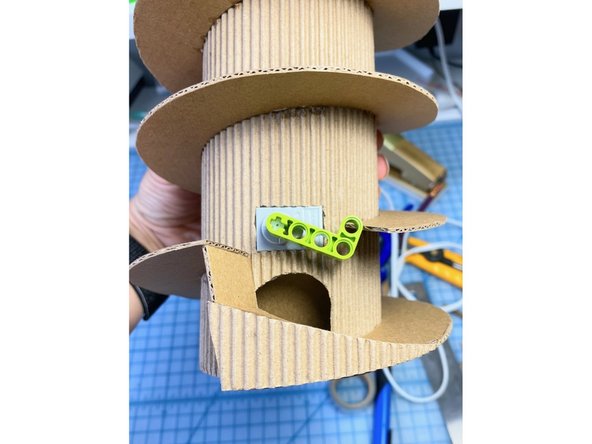
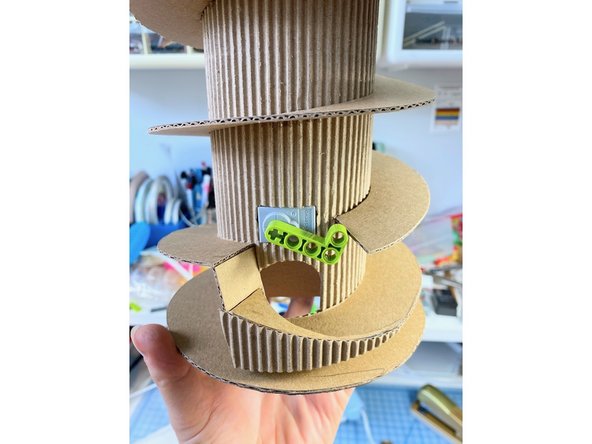
We attached a LEGO Beam to the servo and tested the placement of the gumball.
-
Here's how it will work: the gumball will fall down into the bottom of the beam's "V" and get stuck. When the servo turns, it will move the gumball to the left and at the same time prevent the next gumball from falling until it returns to its original position.
-
-
-
We measured the gumballs (ours were about an inch) and added 1/8th of an inch for some wiggle room.
-
We multiplied that measurement by 2 and added the diameter of the center core (which was 3 inches).
-
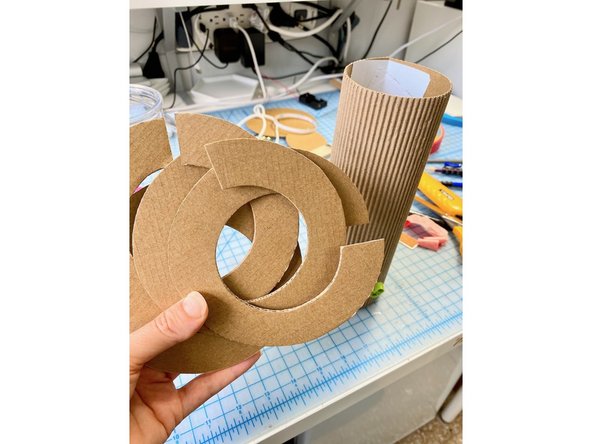
We cut cardboard disks with that diameter.
-
We cut 3-inch circles from the center of each disk to accommodate the center tube.
-
We cut slits into the circles to separate them and create the corkscrew. We used super glue to keep the corkscrew pieces in place - making sure that they were placed at the correct angle to allow the gumball to fall downwards.
-
At the beginning of the track, we added a piece to stop the gumball from falling to the next level.
-
In the middle, we made the track stop at the LEGO beam and start again just after.
-
At the end, we cut a hole for the gumball to escape, and added a piece to block the end of the track.
-
-
-
We created an extra piece that directs the gumball through the hole. We added the front triangle to this piece for decoration.
-
-
-
Here's how we created the template for the base:
-
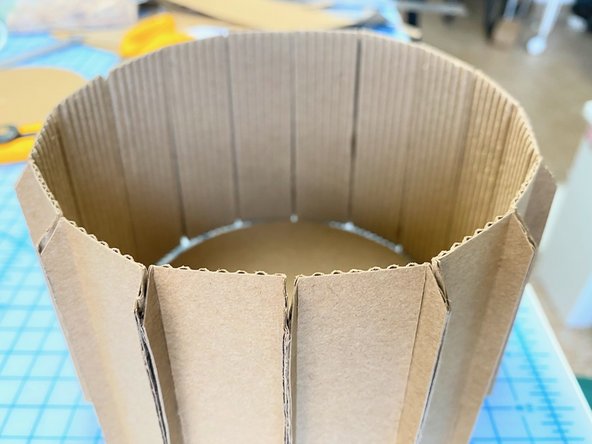
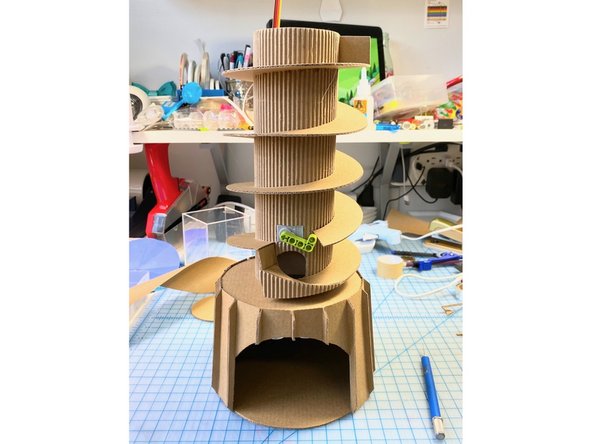
Our goal was to create a cylinder-like shape with many flat sides that was slightly larger at the bottom than the top.
-
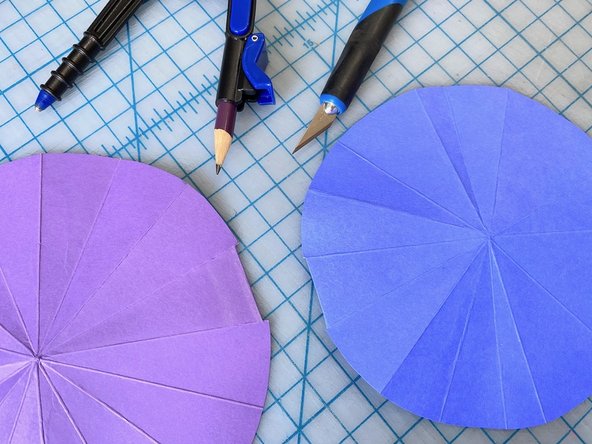
To figure out the correct measurements, we cut one circle from paper that was a bit larger than the base of the gumball track, and another circle that was a little bit bigger than that.
-
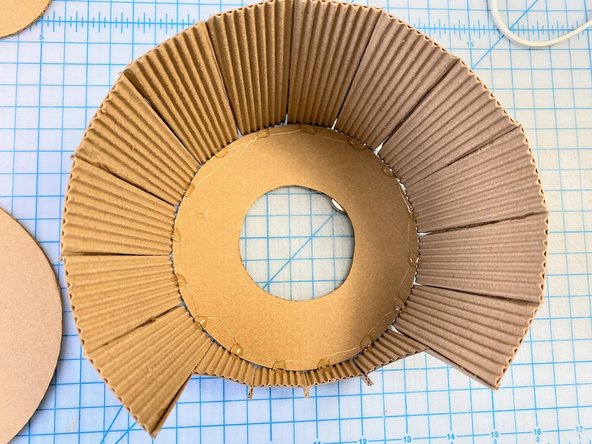
To figured out what the measurement of the top and bottom of our trapezoid template would be, we folded the paper into 16 pieces like a pizza and measured the straight length between the ends of the folds on both pieces. (You can see the notches in the first picture.)
-
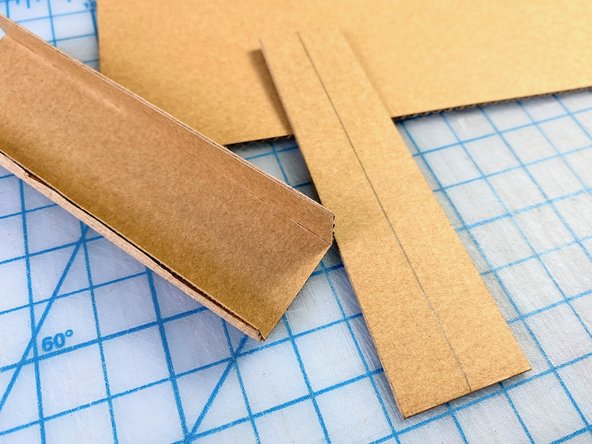
We then created a template using these measurements and the height that we wanted the base to be. (2nd photo.)
-
-
-
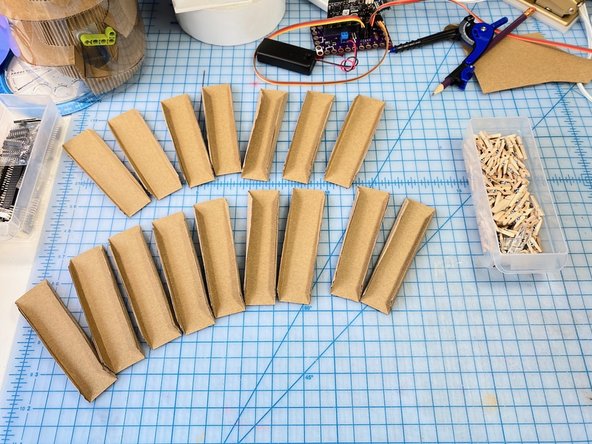
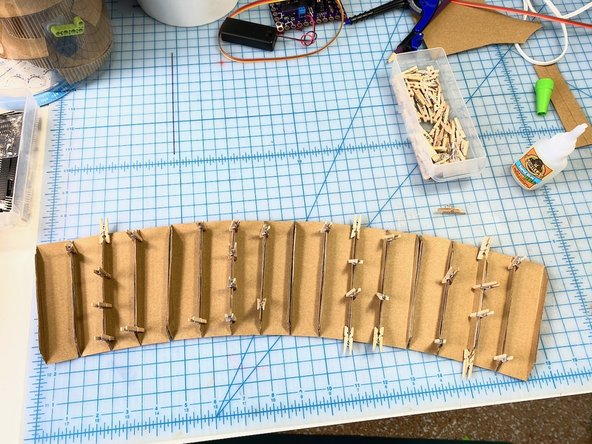
We cut out 16 of these shapes with a 1/4 inch extra on the edges to glue them together and create the vertical lines.
-
We glued them all together with superglue.
-
-
-
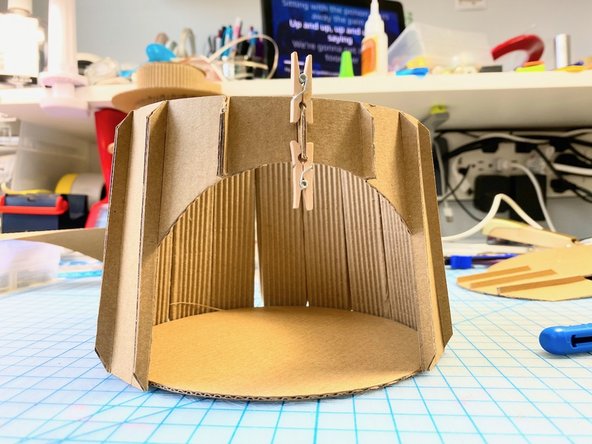
We cut a large dome shape from the front of the base to be a place to insert your hand.
-
-
-
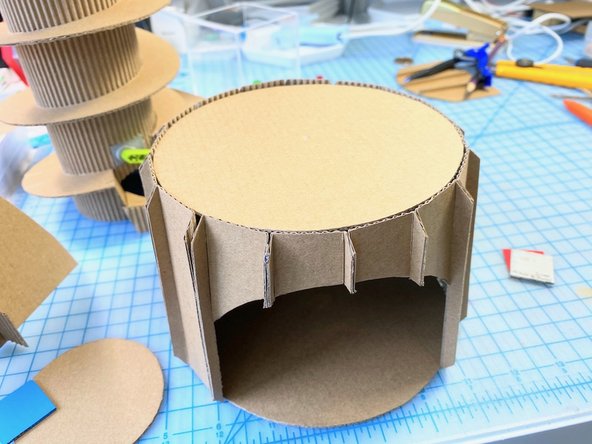
We glued a cardboard circle to the top and bottom of the base.
-
We cut a 2-inch circle in the top to allow the gumball to pass through.
-
-
-
We added a piece of cardboard at an angle to rebound the gumball toward the person's hand.
-
-
-
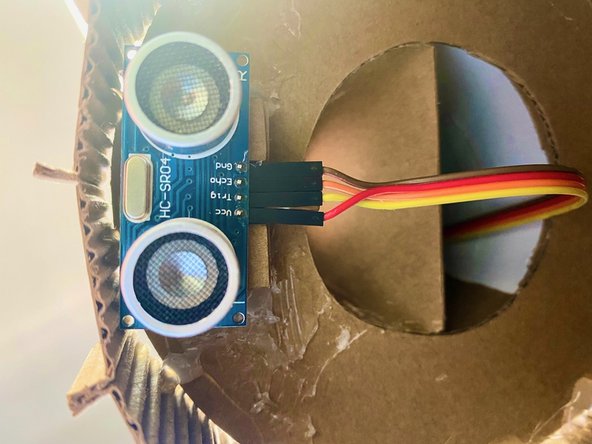
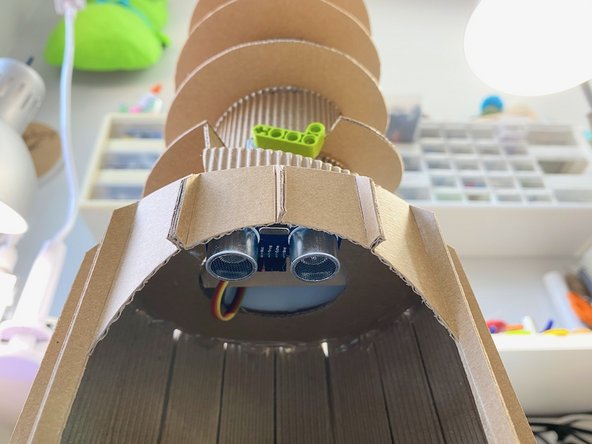
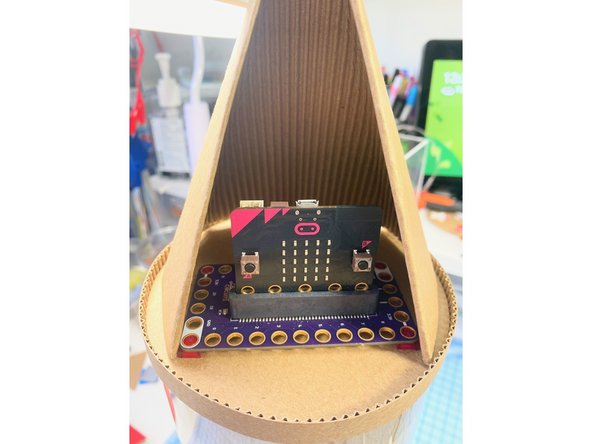
We glued the distance sensor in place inside the base, just under the front lip.
-
We ran the wires up the center tube.
-
-
-
We cut a piece of plastic to wrap around the track and secured it in the back with clear packing tape.
-
-
-
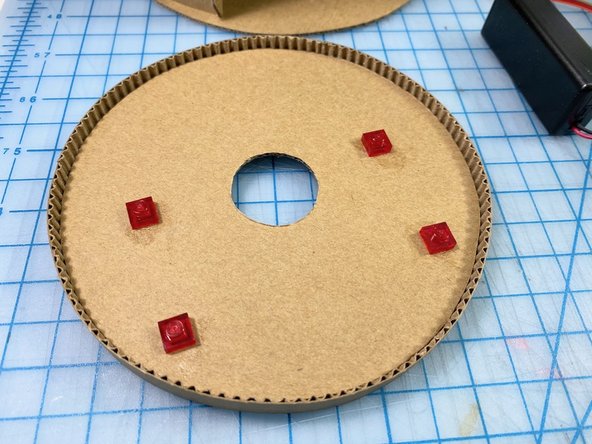
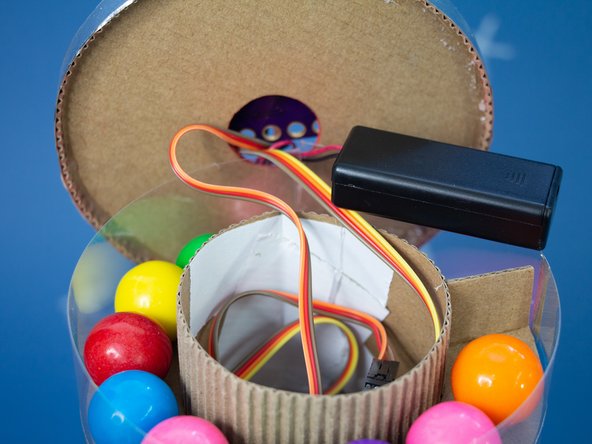
We made a top with another circle of cardboard and cut a circle out of the center large enough to put the battery pack through.
-
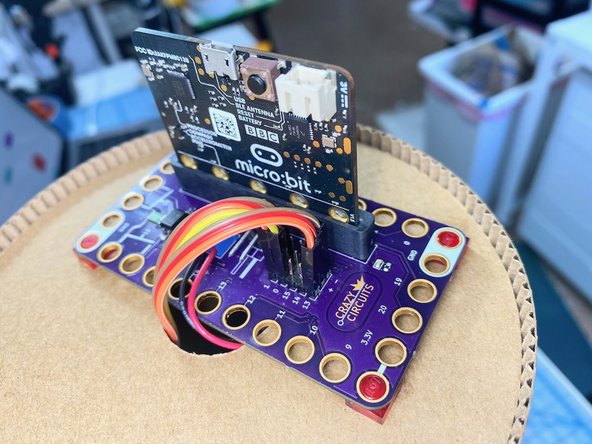
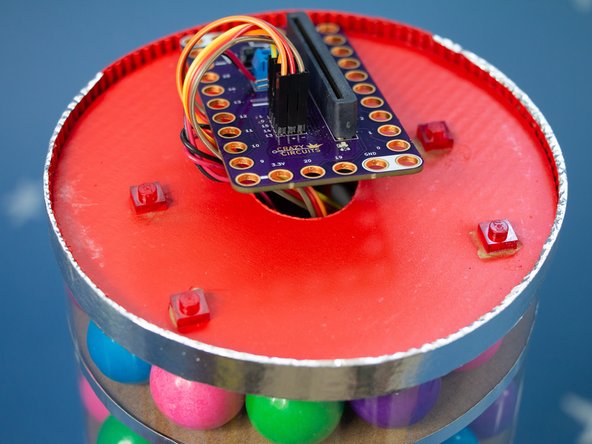
We superglued LEGO pieces in place to connect to the Bit Board.
-
-
-
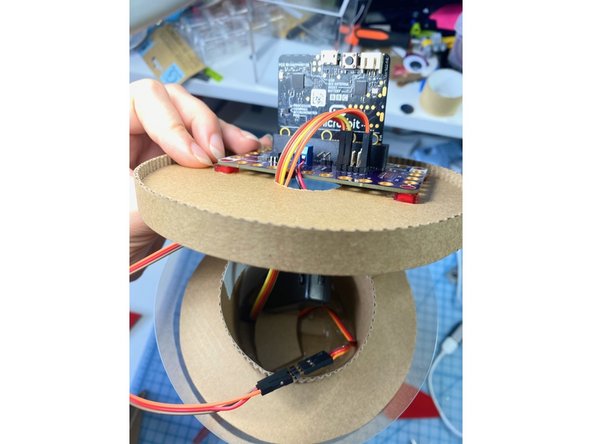
We threaded the wires from the distance sensor and the servo motor through the center tube and up through the hole in the top.
-
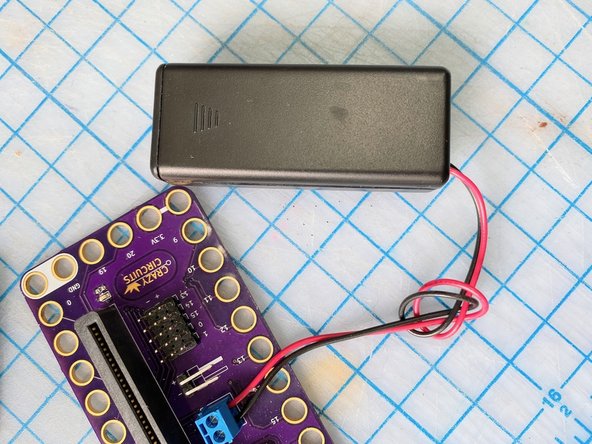
We connected the battery pack to the screw terminal and placed it through the hole to rest inside the center tube.
-
We connected the servo motor to pin 13 and the distance sensor to pins 0 and 1.
-
We placed the micro:bit into the Bit Board.
-
-
-
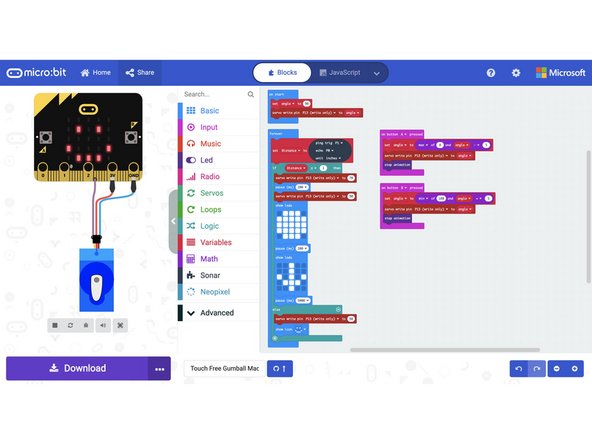
We used makecode.microbit.org to program our board. It uses a simple drag and drop block interface.
-
We loaded the following code for our Touch Free Gumball Machine program: https://makecode.microbit.org/_7V6YC5eVP...
-
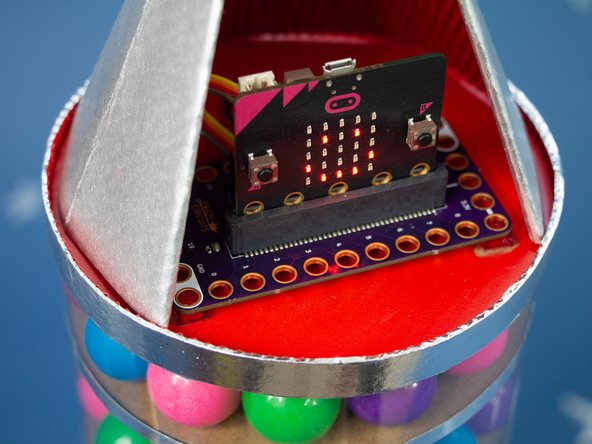
This code shows a smiley face on the micro:bit until the distance sensor detects a hand underneath.
-
Then, It shows a gumball on the screen and moves the LEGO beam attached to the servo up and down to dispense one gumball.
-
It shows a down arrow to let you know that it is dispensing. It waits 5 seconds before resetting to give you time to remove your hand and eat your gumball before dispensing another.
-
-
-
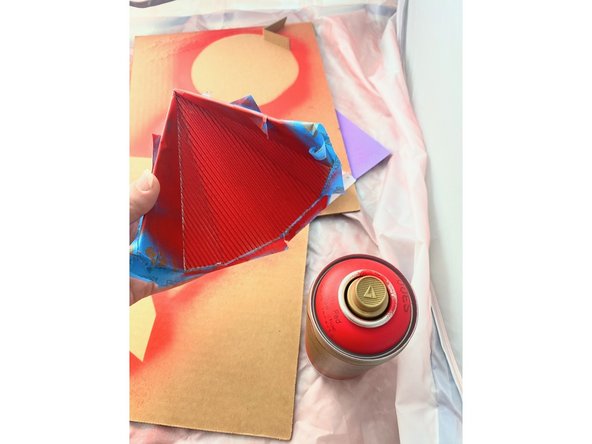
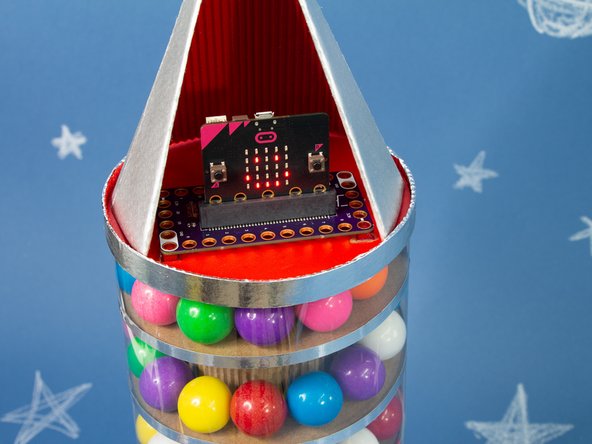
We added a cone to cover the top of the rocket and wings to the sides.
-
-
-
We used silver and red spray paint to add color and shine.
-
We added aluminum foil tape along the edge of the gumball track to accent the spiral shape.
-
We also used the same tape for pinstripes on the wings.
-
We added silver washi tape to the edge of the top.
-
-
-
To add gumballs, we removed the top cone and the top.
-
We added the gumballs one at a time to allow them to travel around the track and get trapped by the LEGO piece.
-
We replaced the Bit Board and electronic components, making sure the battery pack was on before we placed it inside the center tube.
-
We placed the cone on top.
-
-
-
With the machine on, just place your hand under the rocket and the servo will dispense a gumball into your hand - no touching needed!
-