Introduction
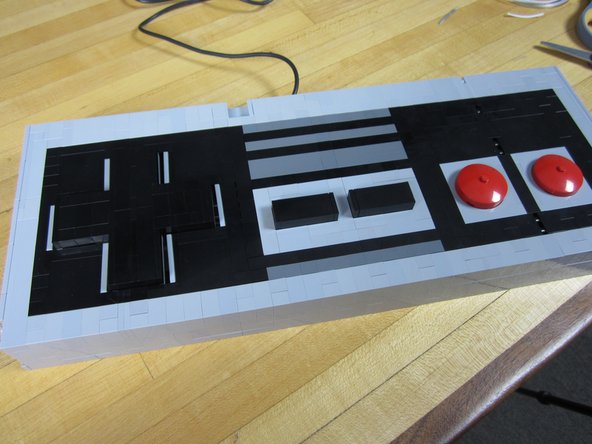
This variation on our NES Controller project makes use of a very large amount of LEGO bricks in order to make a very large USB game controller in a classic NES style. While fundamentally no different then the original project, it does require a gross amount of LEGO parts in order to build.
On the upside it's really fun to play Super Mario Brothers on a massive oversized game controller.
Video Overview
-
-
Download the free LEGO Digital Designer software.
-
Download our Giant LEGO NES Controller file for use with LEGO Digital Designer. (Click the link and then click the Download button found on the site.)
-
Within LEGO Digital Designer you can grab a parts list. Use this list and buy way too many bricks from BrickOwl or BrickLink.
-
Once all your parts show up use the "Generate Steps" feature built into Digital Designer to create your own directions.
-
We spent around $125 buying up all the bricks for this project. This makes the project a bit more expensive than most LEGO kits, but quite a bit less than the big kits being sold these days.
-
-
-
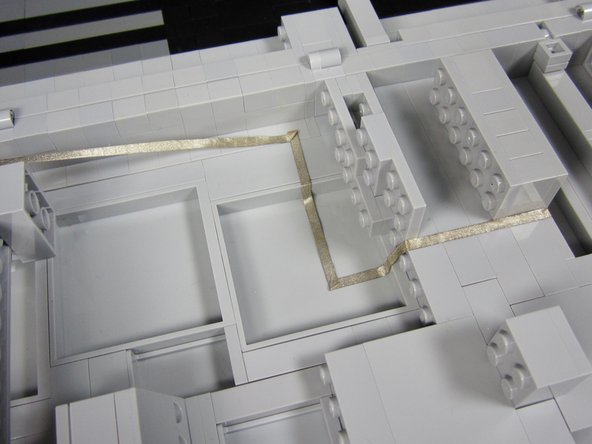
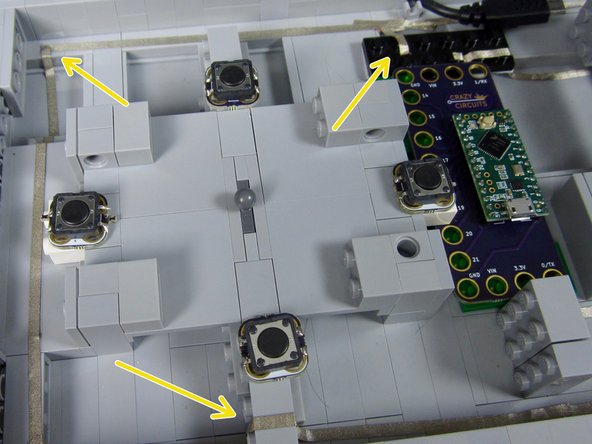
Figure out where you're going to put everything inside your controller.
-
We used some slightly smaller sized Jumbo Pushbuttons for the D Pad. You can get your own made up by grabbing files from our GitHub and then getting them made from OSHPark. We'd just recommend using our standard ones.
-
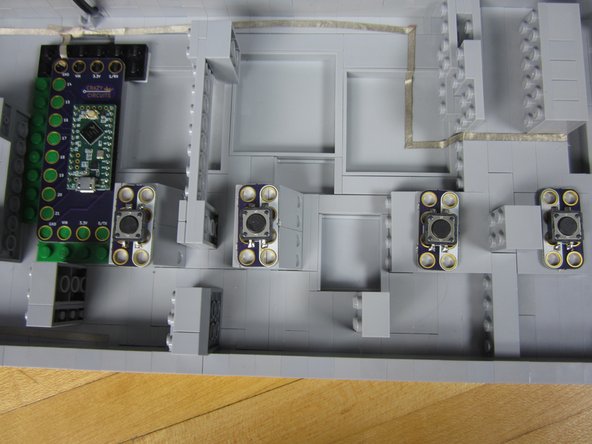
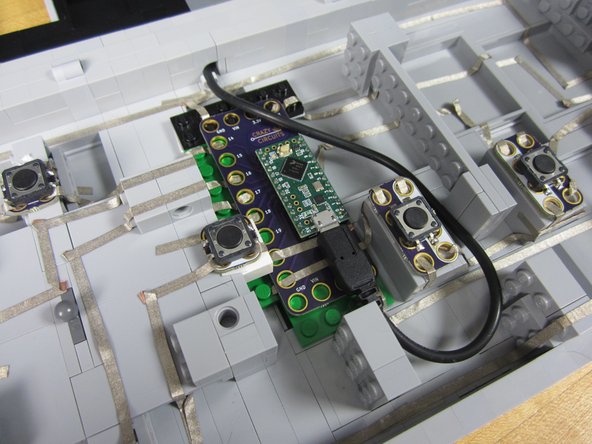
Since the inside of our controller is smooth we cheated a bit and taped down some plates so that the Invention Board was more secure. We also used double sided tape to secure down all the buttons.
-
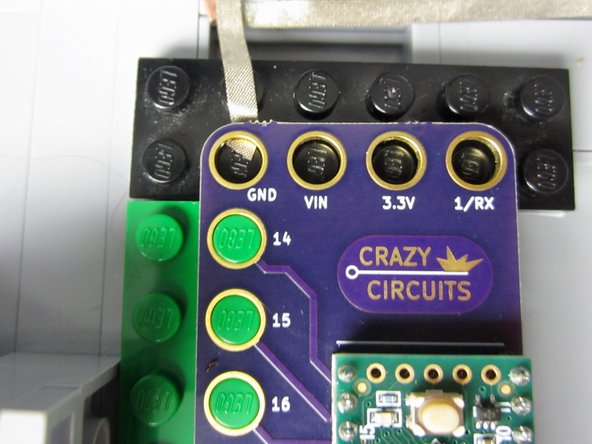
We used a slightly different prototype version of our Invention Board for this project, since we were worried about spacing. However our standard board would also fit just fine in the space available.
-
-
-
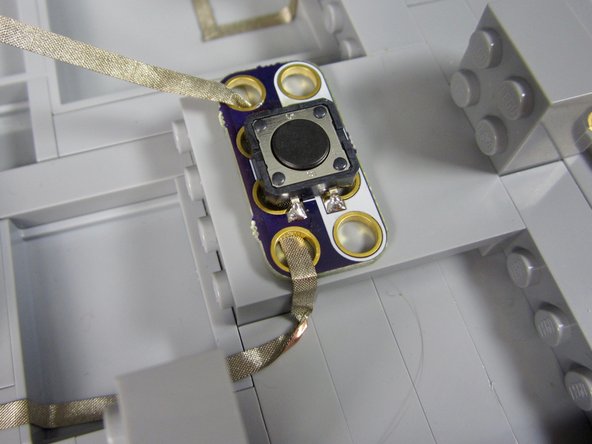
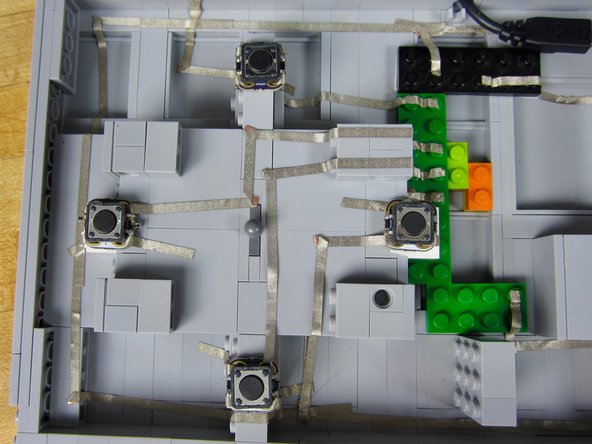
Run a very long line of tape from a Ground connection on the Invention Board all the way to the end of the board.
-
We'll be using this to hook up Ground for several buttons.
-
-
-
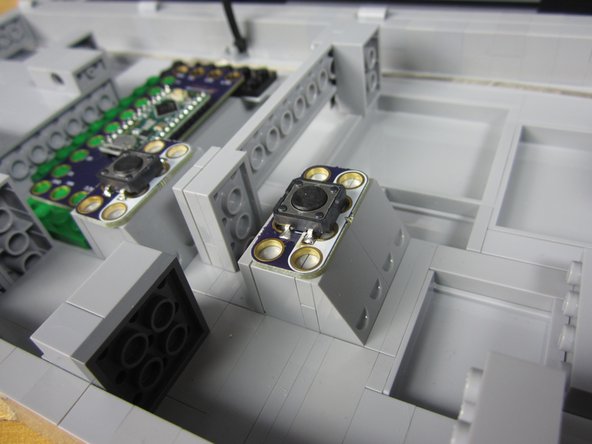
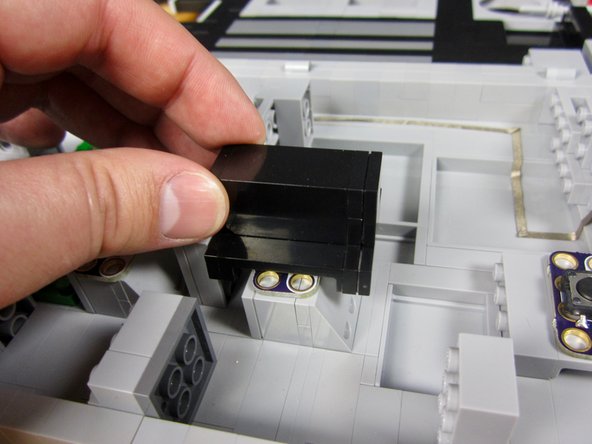
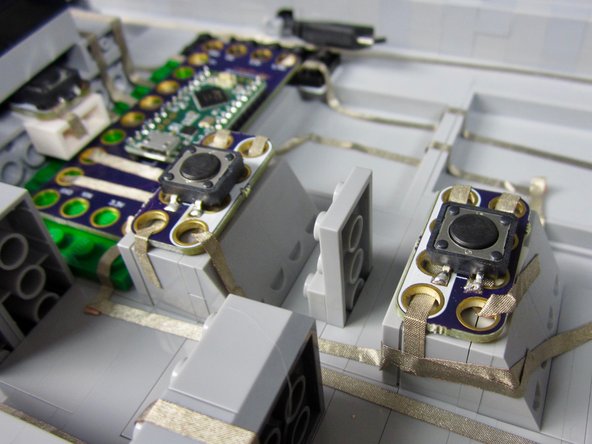
Use a small piece of double sided foam tape to secure down all the Pushbuttons.
-
Our current code doesn't allow for a "Start" and "Select" button. None the less, we wired them in anyways so we can eventually add functionality when we update the code.
-
-
-
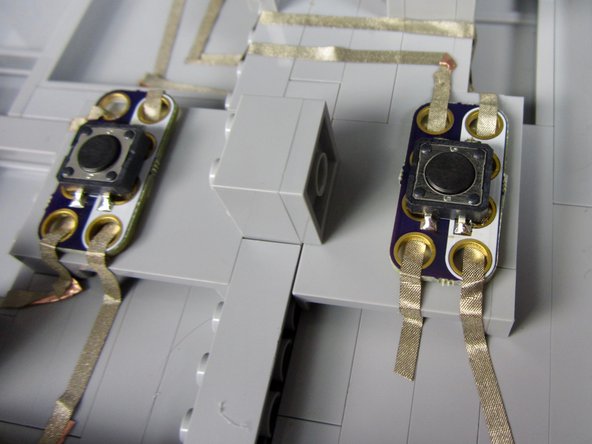
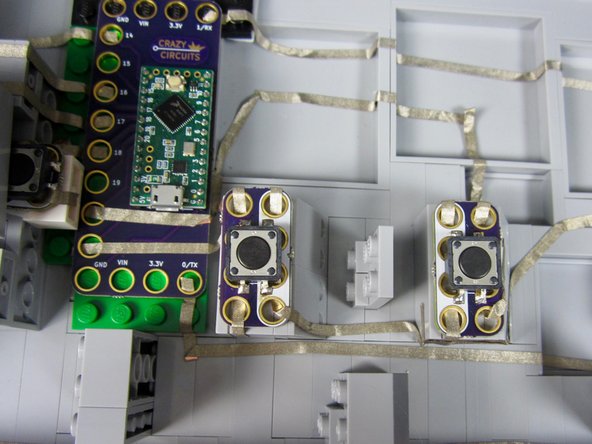
Connect the colored side of the B button to Pin 0.
-
Connect the colored side of the A button to Pin 1.
-
Connect the white side of each button to the Common Ground.
-
The Pins you use don't matter. You can easily change that in the code.
-
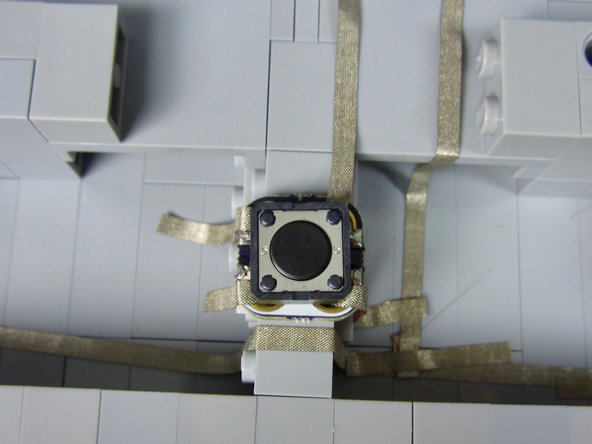
We weaved the tape through the holes to make a solid connection. It helps to test your connections with a Multimeter.
-
-
-
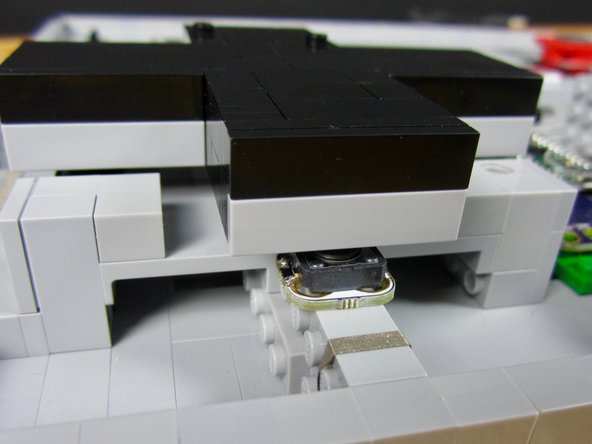
Position and tape down the four D pad buttons.
-
Put your LEGO D Pad in place and test to make sure each button is being pressed. You should hear a little "click" then pressed.
-
-
-
Make a Common Ground line from your Invention Board around your D Pad.
-
Feel free to attach it to the original Common Ground you made. Test with a Multimeter to make sure all your connections are strong.
-
-
-
Connect each of the D Pad buttons to the Invention Board.
-
We used Pins 14, 16, 17, and 18. Again, it doesn't matter which numbered pins you use as we can change things in the code.
-
Don't overlap lines of tape. This can cause issues such as shorts and problems with digital signals. When in doubt just redo a line. The tape should peel up and be reusable.
-
-
-
Our current software doesn't have code for the Start and Select buttons. Yet.
-
If you want to wire in the Start and Select buttons do so now.
-
-
-
If you've never used the Invention Board before, STOP! Read the Invention Board User Guide. You need to install both the Arduino Software as well as some additional software for programing.
-
Open up Arduino. Open a new project window. Copy and Paste in this code.
-
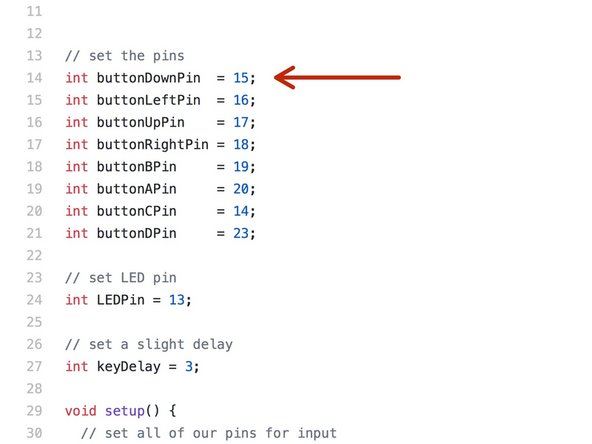
You're probably going to need to change a but of code. Lines 14-21 let you change which Pin is which button.
-
For instance, in Line 14 says that Pin 15 is the "Down" button. If you connected your "Down" button to a different pin you need to change that number. Same thing for all the other pins.
-
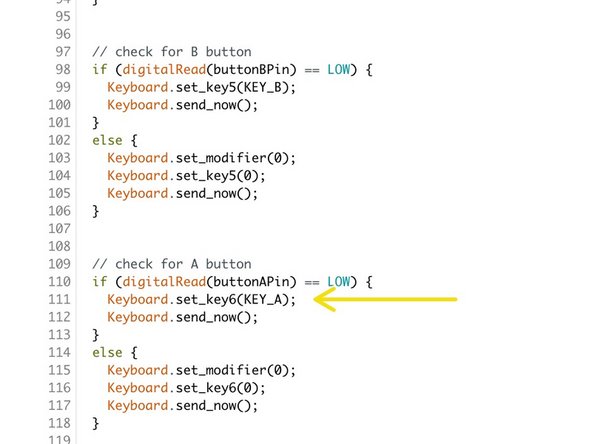
Our code makes your computer think that our Invention Board is a USB Keyboard. When you press one of your Pushbuttons your computer types a keyboard key. You can change which keys are pressed in the code.
-
For example, line 111 control shows that the "A" Pushbutton will in fact type the letter A when pressed. If you change Key_A to Key_F that button will now type the letter F. The other buttons are controlled the same way.
-
-
-
Seriously. Test everything again with a multimeter.
-
Make sure your double sided tape is holding your buttons down.
-
Make sure you code is correct. When in doubt, open up a text document and start pressing buttons. Does the "Up" make your curser go up? Does the "A" button type the letter A?
-
-
-
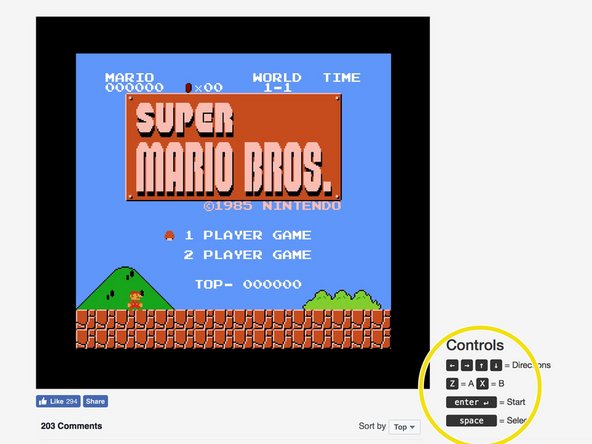
Use this link to play Super Mario Brothers in your web browser.
-
Notice how this website requires you to use the Z and X keyboard keys to control Mario. You'll need to slightly modify the code and re upload.
-
There are many many places online that allow you to play classic video games in a web browser or on your computer.
-
If you've got access to a Raspberry Pi you can use your controller with that system as well.
-