
Introduction
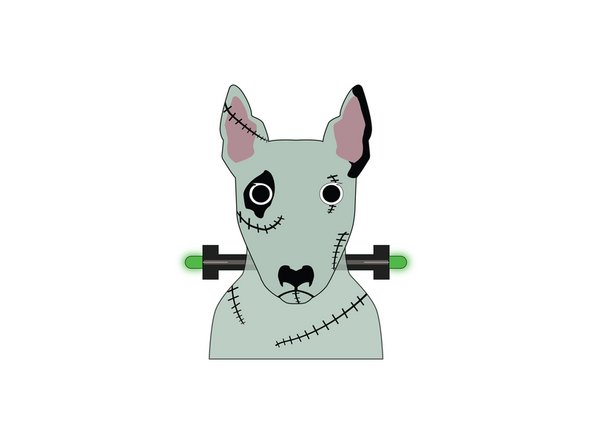
This dog is back from the grave! Create your own "scarier terrier" paper craft project. Use science to reanimate this dog with Maker Tape and LEDs.
You can make this project (and many more!) with our Paper Circuits Kit.
Tools
Parts
Featured Document
-
-
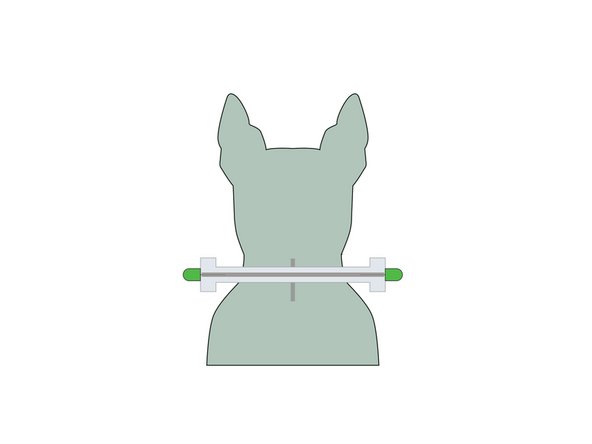
The bolt will have an LED at either end, and we’ll use Maker Tape to hold them down and connect to the circuit.
-
Place the LEDs onto the bolt so that the positive (longer) legs are on the front side.
-
(Make note of which side is the front! It will be important later.)
-
Tape down the LED legs with Maker Tape. You can use one long piece or overlapping pieces.
-
-
-
Flip the bolt over and apply Maker Tape to the negative (shorter) legs in the same fashion.
-
Your bolt is now ready for the next step!
-
-
-
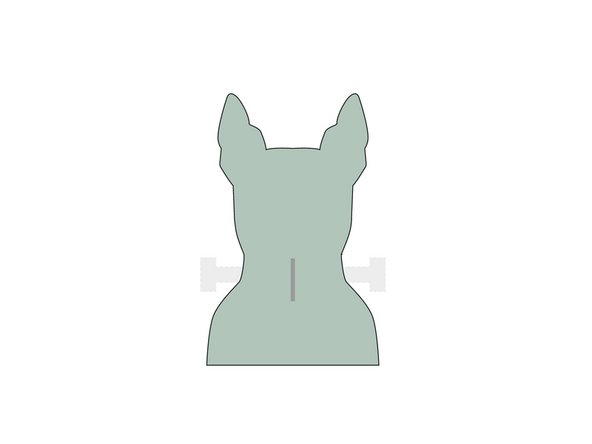
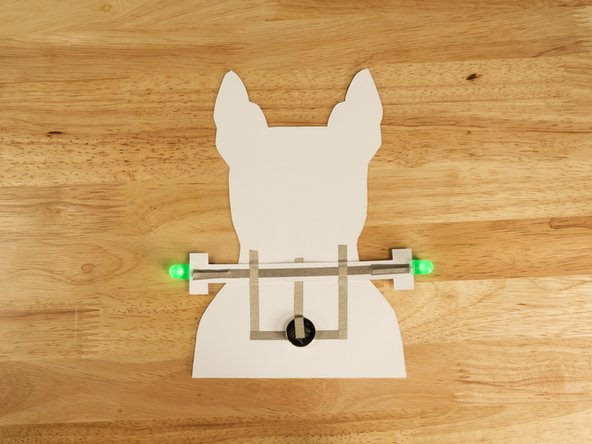
On the back of the head add a piece of Maker Tape vertically. It should be long enough to stick out of the top and bottom sides of the bolt.
-
-
-
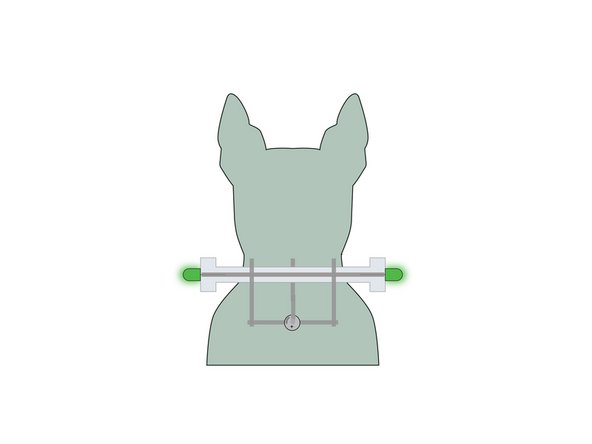
Using Maker Tape, create a “Tape Loop” and stick it down to the vertical piece of tape.
-
-
-
Attach the bolt to the Tape Loop.
-
Make sure the positive side is facing down and that the Maker Tape strip is touching the Tape Loop.
-
We now have our positive connection!
-
-
-
Add two more vertical strips of Maker Tape. These will be the negative connection to the LEDs.
-
Tip: You don’t need to use two strips, but it helps hold the bolt in place more securely. If you only use one strip you can use regular tape for the other side.
-
-
-
Add a horizontal strip of tape that connects the two vertical strips of negative tape.
-
If you only used one vertical strip in the previous step then you only need to connect the piece to that one strip.
-
-
-
Add another Tape Loop. This one will hold the battery in place and provide power to the circuit!
-
-
-
Stick the battery down to the Tape Loop. Make sure the positive (+) side is facing up.
-
-
-
Finally, add one last piece of Maker Tape that connects the vertical positive strip to the top of the battery.
-
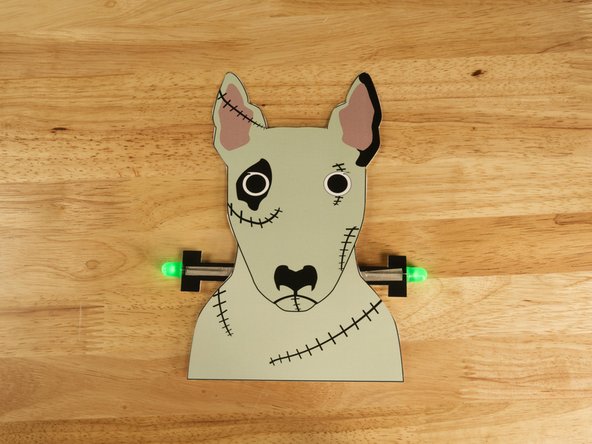
Your circuit should light up! 😃
-
-
-
At least you won't have to walk your new dog!
-


Attached Documents
