
Introduction
Our LEGO Ferris Wheel is now even more awesome thanks to the addition of a micro:bit to light it up and spin the wheel.
Video Overview
Featured Document
-
-
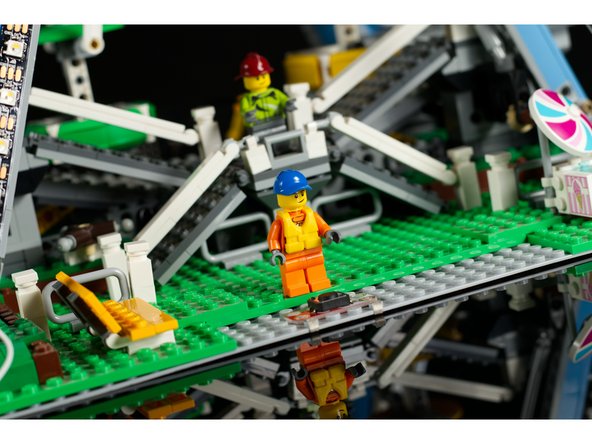
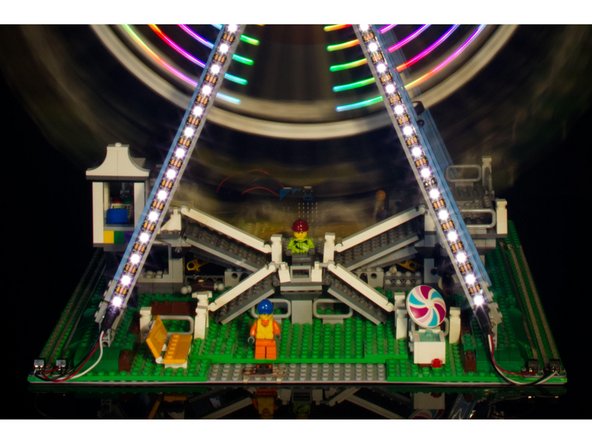
The LEGO Ferris Wheel kit we have is large, standing nearly two feet tall! Ours already had a LEGO motor attached to it that could run from a 9 volt battery, but we wanted to have it controlled by a micro:bit, and we figured we should add some fancy lights as well.
-
If you don't have this LEGO kit don't worry, you can still follow this guide for the basics of how we set up ours to be controlled by a micro:bit and Bit Board.
-
-
-
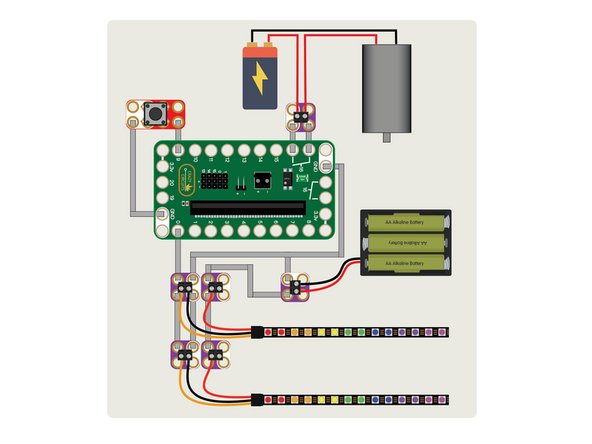
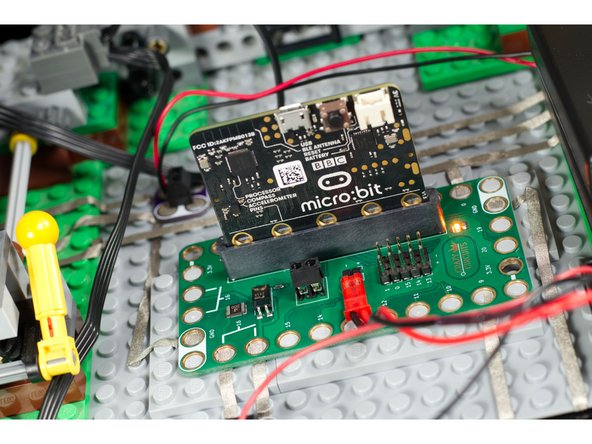
Our circuit for this project may look complex, but we'll break it down step-by-step.
-
We definitely used some long runs of Maker Tape to connect everything, and there are three different power sources, but seeing the Ferris Wheel spin and light up made it all worth it!
-
Like all of our Crazy Circuits projects, we'll be building our circuit "board" onto a LEGO baseplate. Luckily the Ferris Wheel had plenty of open space to allow us to build directly onto it, so no additional plate was needed.
-
-
-
Once we've determined where our Bit Board will go, we can add the button. It needs to be connected to Pin 9 on one side, and to GND (Ground) on the other.
-
We ran our button all the way to the front of the Ferris Wheel, but you can put it wherever you want.
-
Tip! You can also run Maker Tape underneath your project.
-
-
-
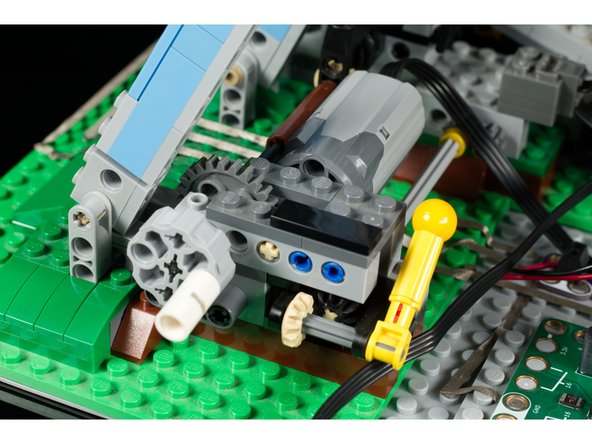
We used a LEGO motor to spin our Ferris Wheel around. We modified it by cutting and stripping the wires so we could connect it to a 9 volt battery.
-
Since we wanted the micro:bit to be able to turn the motor on and off, we took advantage of the built-in relay on the Bit Board. We just ran the positive wire from the battery to a screw terminal than then connected with Maker Tape to the two connection points for the relay.
-
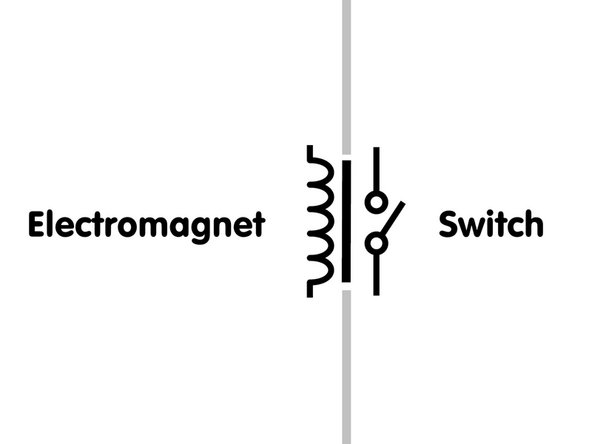
If you are not familiar with how a relay works, it's basically an electromagnetic switch that can be turned on complete a circuit, but the circuit is physically separated from the control device.
-
This allows us to turn on a 9 volt motor the same way we would turn on an LED with a micro:bit, by just setting a pin to "high". Our micro:bit is isolated and protected from the 9 volt power that runs through the "other side" of the relay.
-
-
-
NeoPixels are pretty awesome. They are available in many forms, and for our Ferris Wheel we used NeoPixel strips, which can be cut to any length.
-
NeoPixels are controlled by a single "data line" which means one wire connects to the Bit Board for the micro:bit to do its thing.
-
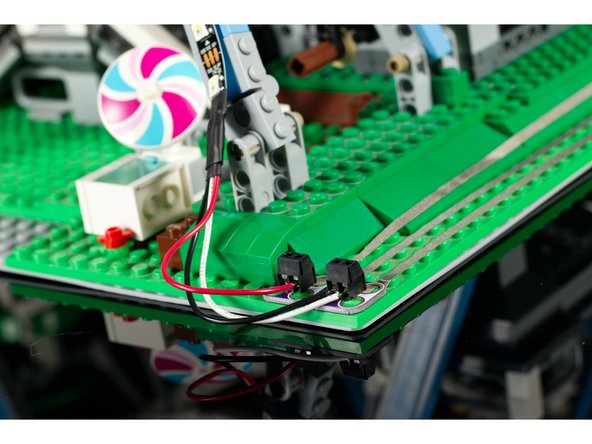
NeoPixels need to be powered separately from the Bit Board, so we added a 4.5v battery pack with 3 AA batteries. Positive from the battery pack goes directly to the NeoPixel strip, and negative from the battery pack goes to the NeoPixel strip and to the GND connector on the Bit Board.
-
In most cases where a micro:bit acts as the "brains" of something, but isn't providing power, you should connect all of the negatives together. Not doing so can result in irregularities in how your circuit operates.
-
Note that when we used the relay in the previous step we did not connect the negative of the 9 volt battery to our ground because the relay completely isolates the power, and just acts as a special kind of switch.
-
-
-
We added a second strip of NeoPixels so we could light up both sides of our Ferris Wheel.
-
Our second strip is connected in parallel to our first strip. This means that the number of "pixels" in our strip (as you will see in the code) is still the same, and the two strips will display the same colors at the same time.
-
-
-
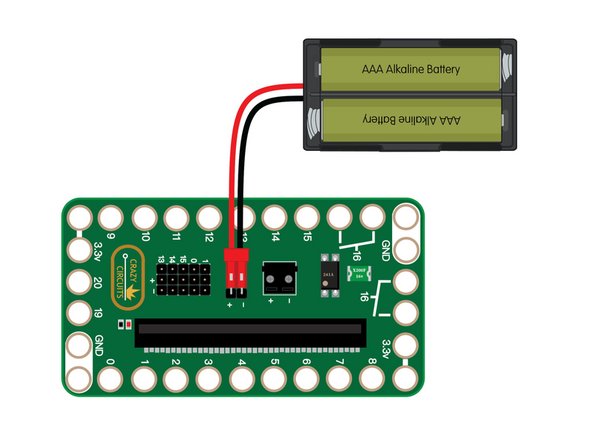
For some projects we just power the micro:bit by plugging in a USB cable, but for this one we're using a 2 AAA battery pack to provide 3 volts to the Bit Board which will then power the micro:bit.
-
This battery pack is what powers the "brain" of our project (the micro:bit) while the NeoPixel battery pack and the 9 volt battery for the motor do the bulk of the grunt work providing power to our circuit.
-
-
-
Connect a USB cable to the micro:bit and then plug it into your computer.
-
We'll be using makecode.microbit.org to program our board. It uses a simple drag and drop block interface.
-
We're going to load the following code for our Ferris Wheel program: https://makecode.microbit.org/_8vi6s2e37...
-
When we press the button it will cause the motor to run and the lights to turn on for approximately 30 seconds. You can change this by altering the repeat and pause values in the forever section.
-
-
-
Once you've got your micro:bit programmed, and have everything connected and all power turned on, press that button!
-
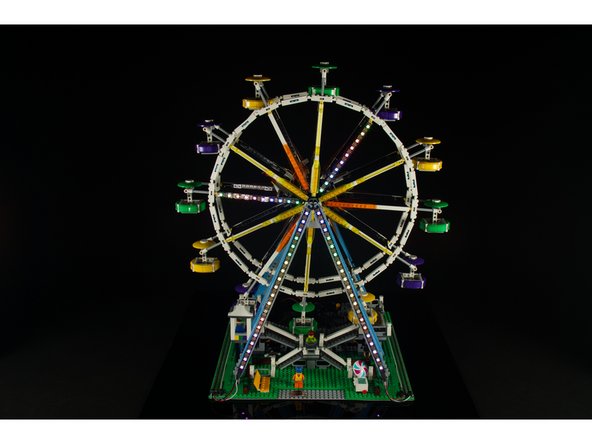
If everything is in place the Ferris Wheel should start rotating and the NeoPixel strips should light up.
-
If any parts of the project do not work as expected, walk through some troubleshooting steps. Is all the tape in place and connected properly? Are your batteries all still good? Are the screw terminals all tightened up?
-
Enjoy your micro:bit powered Ferris Wheel!
-


Cancel: I did not complete this guide.
One other person completed this guide.
Attached Documents
