Introduction
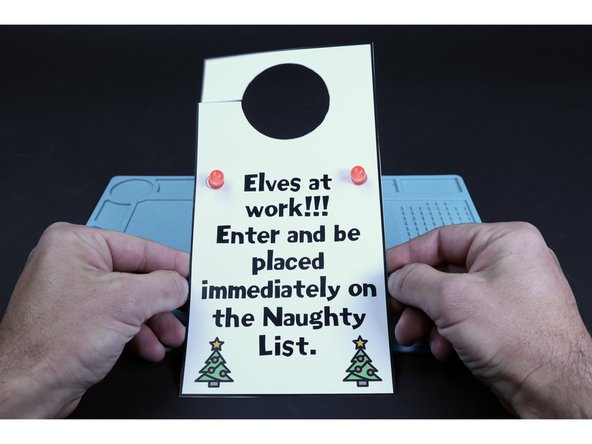
Use the printable template and this guide to make a fun, light-up door hang for anyone who needs some present- wrapping privacy during the holidays!
You can make this project (and many more) with our Paper Circuits Kit.
Featured Document
-
-
Gather the materials listed and print the template (we used heavy card stock) on your paper of choice.
-
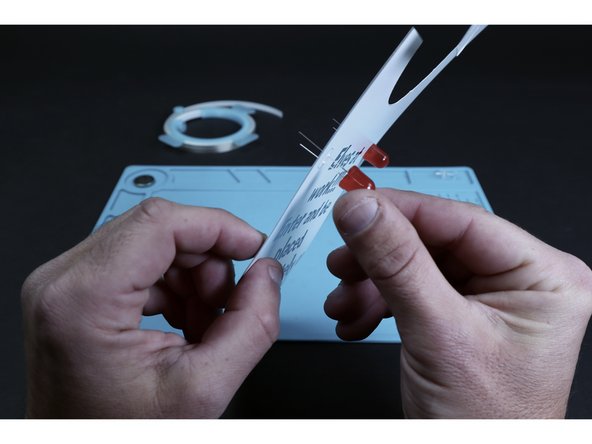
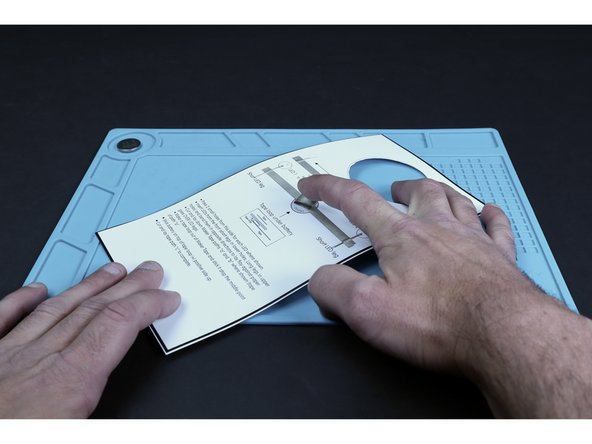
Using a scissors, cut around the shape as well as on the dotted lines indicating the door handle hanger.
-
-
-
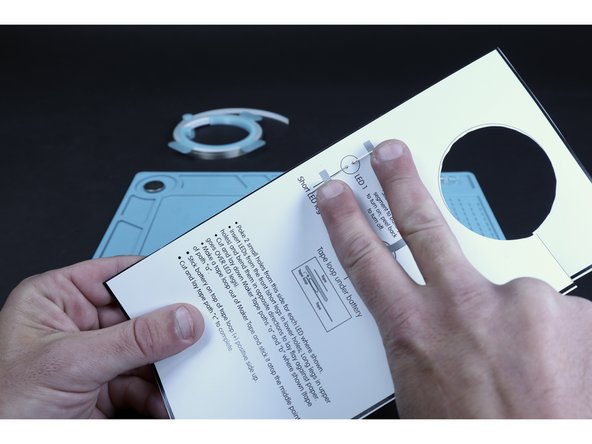
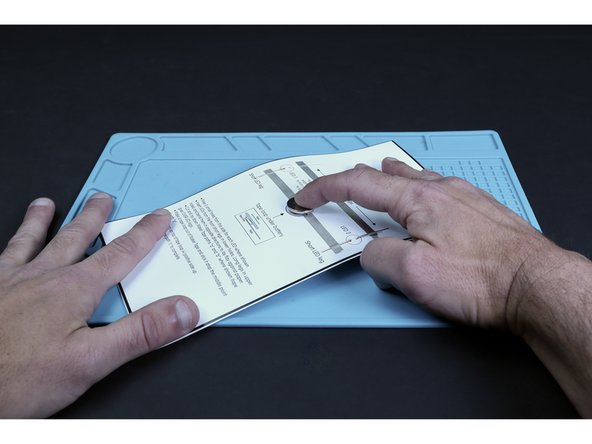
Flip the project over to the circuit diagram side.
-
Using a thumb tack or push pin, poke holes for each of the two LEDs as indicated by the four small black dots (two for each LED).
-
-
-
Each of the pairs of holes you just poked is for a single LED. From the front, thread the legs of each of your two LEDs into one of those pairs of small holes. Take care to insert the long LED legs into the upper holes and the shorter LED legs into the bottom holes.
-
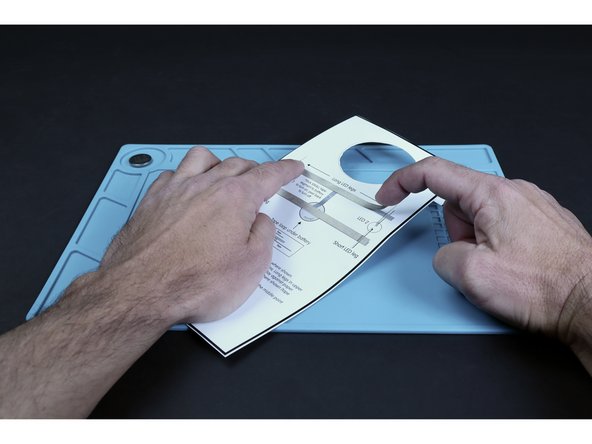
Flip your project over to the circuits side. Bend the LED legs in the directions shown on the diagram so they lay flat against the paper.
-
-
-
Use the circuit diagram to help you measure and cut the four Maker Tape segments involved in the circuit (1 of those 4 segments is for the Maker Tape loop).
-
Peel and stick the two longest Maker Tape pathways where shown on the diagram. The tape should go OVER the LED legs.
-
-
-
Flip your project over to the circuits side. Bend the LED legs in the directions shown on the diagram so they lay flat against the paper.
-
-
-
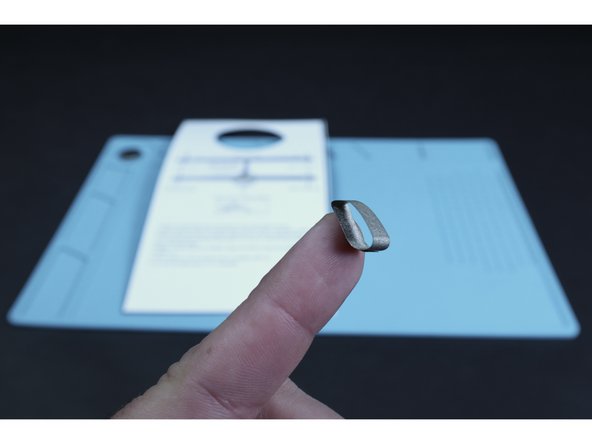
Use the smallest remaining Maker Tape segment to create a tape loop.
-
Stick the tape loop atop the middle point of the tape path that crosses the battery.
-
Stick the battery atop the tape loop with the positive (+) side facing UP.
-
-
-
Peel and stick the final Maker Tape pathway where pictured. Sticking it to the top of the battery will turn the LEDs on the opposite side ON, while peeling it back will turn the LEDs OFF.
-