
Introduction
Learn to make a pressure sensor with Maker Tape and use it to sense when your sneakers are stepped on.
Video Overview
Featured Document
-
-
Cut a u-shaped piece of felt that fits inside the back of your sneaker.
-
After testing the fit, cut another piece the same as the first.
-
Cut two more pieces, 1/4 inch smaller than the first two. Fold the felt to cut three slits in those pieces as shown.
-
Cut a piece of Velostat in the same shape as the smaller pieces.
-
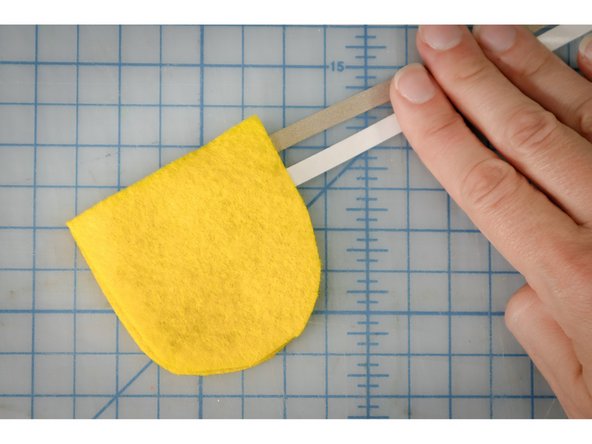
Cover the large pieces with maker tape as shown. Allow one long piece to cross over all the pieces, and another on the second piece, slightly lower than the first. When the pieces are placed on top of one another with the maker tape facing itself, the two long pieces should stick out of the same side, but not be touching.
-
* To add lights to both sneakers, repeat all steps to make another sensor.
-
-
-
Start with one of the pieces with Maker Tape.
-
Add the small piece with holes.
-
Add the Velostat.
-
Add the other small piece with holes.
-
Add the other piece with Maker Tape, making sure the Maker Tape is facing the inside of the pile for both pieces.
-
-
-
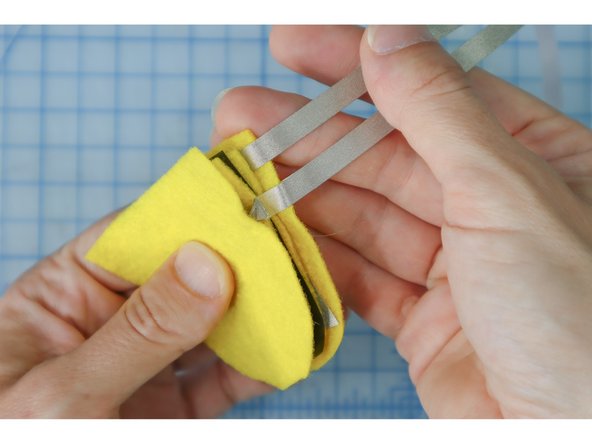
It's important that the two long pieces of Maker Tape exit the sensor on the same side, but do not touch each other.
-
-
-
With the sensor laid out correctly, use a needle and thread to stitch around the sensor to keep it together as shown.
-
-
-
Place the sensor inside the shoe with the Maker Tape pieces along the inside of the ankle. (For example: on the left shoe the Maker Tape pieces will be on the right, and on the right shoe the Maker Tape pieces will be on the left.
-
Remove the backing from the Maker Tape and adhere it to the inside of the shoe and over the edge, making sure the two pieces don't touch.
-
-
-
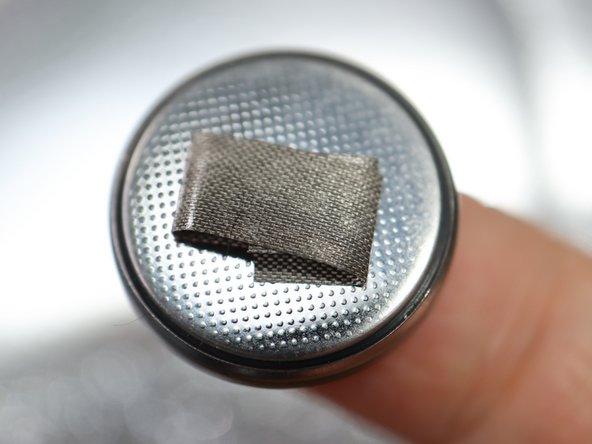
To add the battery using only Maker Tape, first put a small loop of tape on the negative side as shown.
-
Then, start a 1-foot piece of Maker Tape towards the back of the shoe as shown, and place the battery on top of it.
-
Stick the piece of Maker Tape connected to the sensor to the top of the battery as shown, making sure it doesn't touch the other piece.
-
-
-
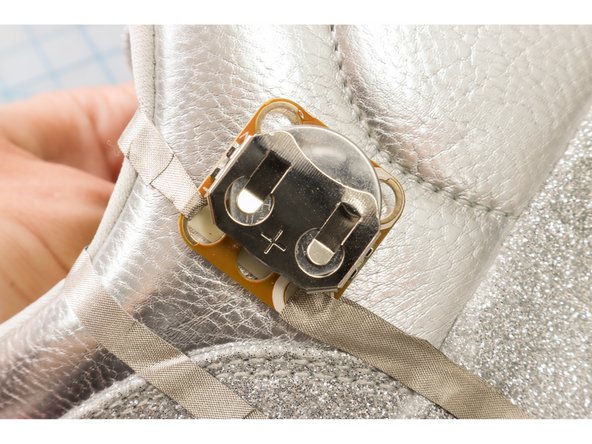
Use a piece of double-sided mounting tape to attach the Crazy Circuits battery holder to the shoe. Insert the Battery.
-
Using the piece of Maker Tape closest to the front of the shoe, thread it through the battery pack's "+" hole and stick it back onto itself as shown.
-
Start a new piece of Maker Tape from the "-" hole as shown. About 1 foot of Maker Tape is a good length to start with.
-
-
-
Continue creating a path of Maker Tape around the sole of the shoe. See the diagram for details.
-
-
-
To add the LEDs, bend the legs back and forth to make them shorter. You could also cut them, but we found that this method of bending them stays connected longer.
-
Use small pieces of Maker Tape to connect the LEDs to the circuit as shown.
-
Tip: You can check that the LED is working and that the polarity is correct by holding the LED in place and pressing the sensor. If it lights up, you're ready to tape it in place!
-
-
-
Your shoes are now ready to lace up and light up!
-


Attached Documents
