
Introduction
Create your own light up Christmas Tree using a few LEDs, a CR2032 battery (or two) and some Maker Tape.
There's a full-color version as well as a black & white version that makes a great coloring activity.
You can make this project (and many more!) with our Paper Circuits Kit.
Parts
Video Overview
Featured Document
-
-
Print off the template, trace it, and cut out your tree.
-
If you plan on freehand cutting your body, be sure to read all the directions first. Pay special attention to how we create the battery holder.
-
-
-
Apply Maker Tape as shown.
-
Don't let the tape on the left side overlap the tape on the right side. One side will be negative and one will be positive. so if they touch you'll have a "short circuit".
-
When making the small offshoot bits of tape, press down firmly on the overlapping parts. This will help the connection.
-
Maker Tape can be overlapped and still work just fine since it's conductive on the top and bottom surface, and all the way through!
-
-
-
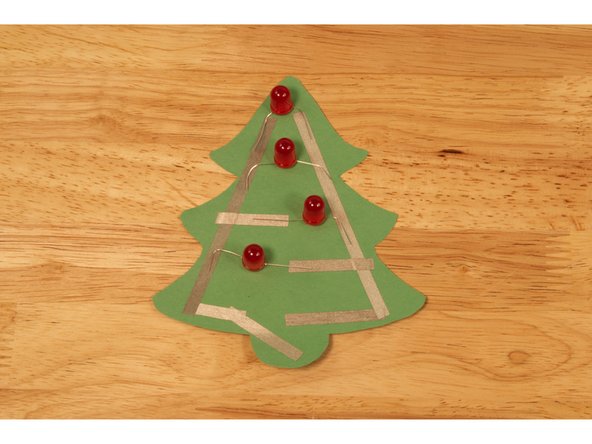
Lay out your LEDs. Bending the legs as needed.
-
On LEDs the long leg is positive and the short leg is negative. For this project we want all long legs pointing left and all short legs pointing to the right.
-
-
-
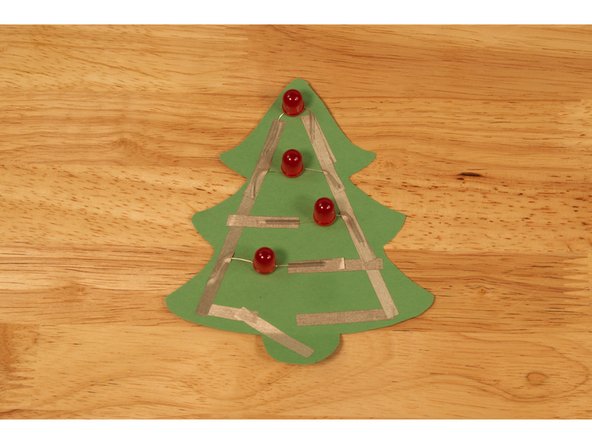
Use a piece of Maker Tape to secure down each of the legs.
-
Do this to all LED legs.
-
-
-
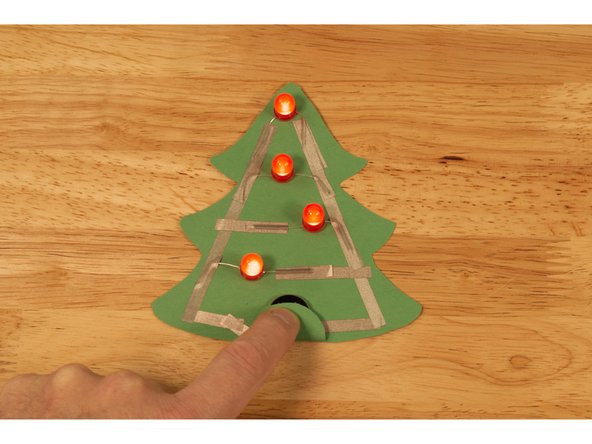
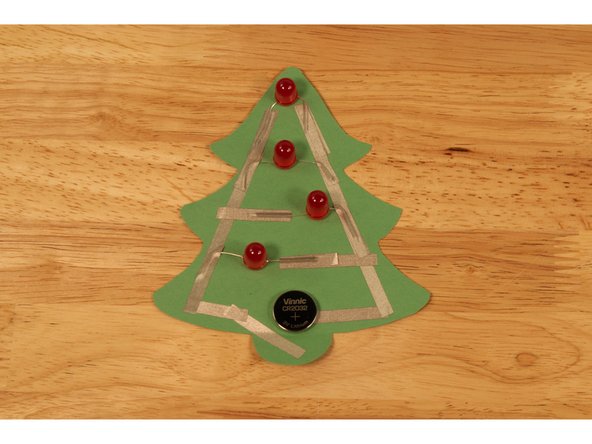
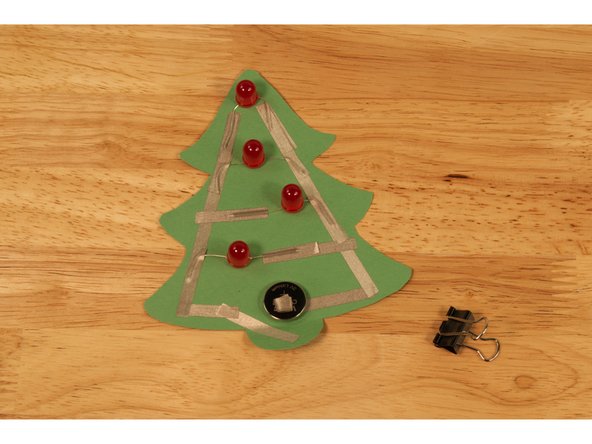
Place a battery in your circuit so that the negative side is touching the tape that leads to the right side of the tree.
-
Fold over the tab at the bottom so the positive side tape (from the left side of the tree) is touching the top of the battery.
-
All of the LEDs should light up!
-
If one or all of the LEDs do not light up, try flipping over your battery. You may have one or more of the LEDs reversed.
-
-
-
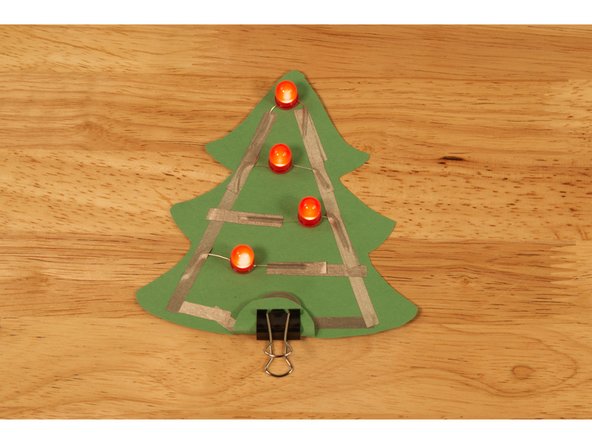
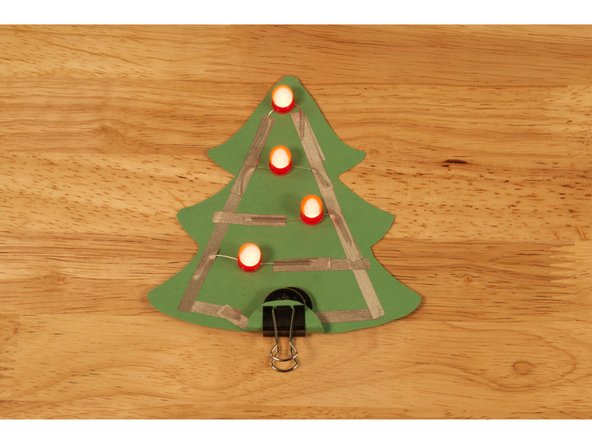
Once your circuit is complete and works properly you can add a binder clip to hold the battery in place.
-
At this point your Christmas Tree is done, but we have a few more tips...
-
-
-
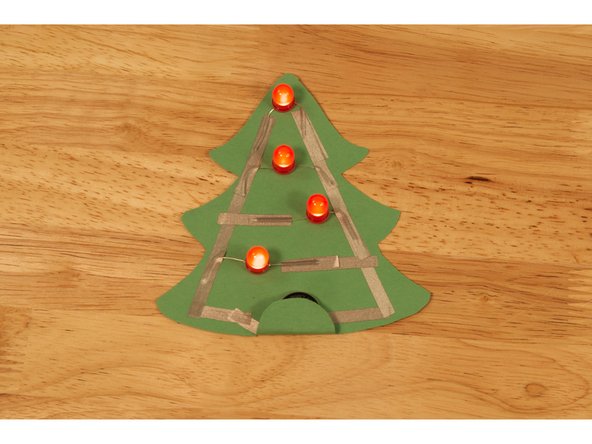
While the binder clip works great to hold the batter in place, we can also use two loops of Maker Tape to turn our circuit on.
-
Add a small loop of Maker Tape to the tape on the tree where the battery will sit, and another loop to the top of the battery.
-
You can then fold the tab over and the tape should hold it in place and light up your circuit!
-
-
-
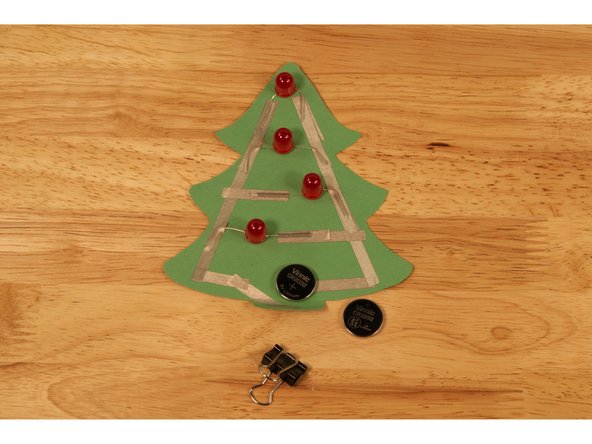
One fresh CR2032 battery should be enough to light up your tree, but if it seems dim you can add a second battery.
-
If you use a binder clip it should still be able to fit over two batteries.
-
If you are using Maker Tape loops just add another loop between the two batteries to stick them together.
-
Make sure you stack the batteries so the negative sides are facing down (towards the tree) and the positive sides are facing up (towards you).
-


Attached Documents
