
Introduction
This Cuttlefish won't ink you, but it will light up for you if you're nice. Creating it is simple and requires only a few basic parts. Simply download our PDF template and follow this guide!
Featured Document
-
-
Use templates and a scissors to trace and cut out shapes.
-
-
-
Fold the circular top of the smaller shape where shown to create a tab.
-
-
-
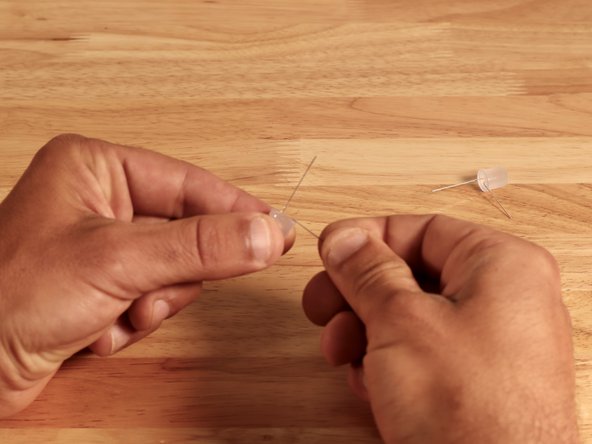
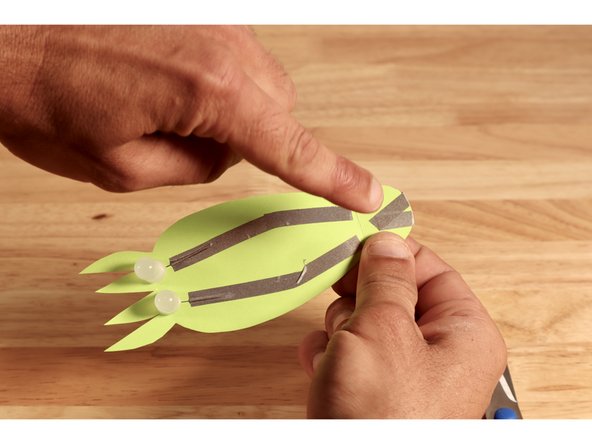
Locate the short LED legs and bend them outward as pictured.
-
-
-
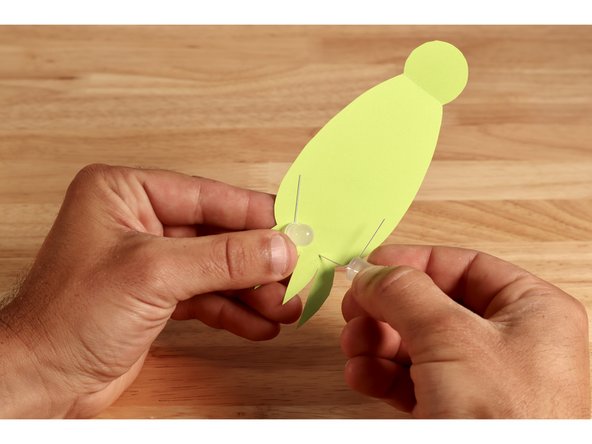
Poke the long LED legs through the template just above the arms of the cephalopod. Bend THOSE legs flat against the opposite side of the shape toward the tab.
-
-
-
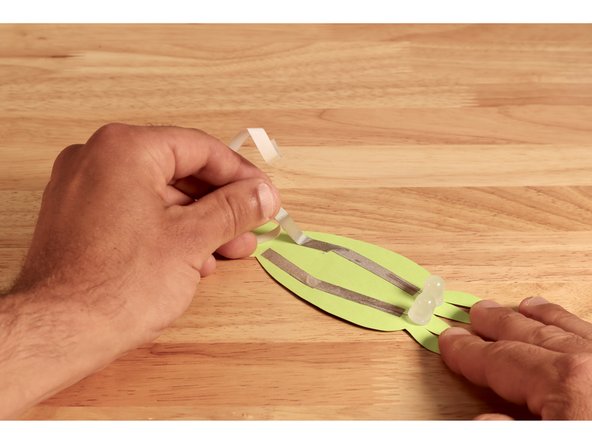
Lay Maker Tape pathways on top of each of the LED legs on the front side so that the two paths are close to one another at the fold line of the tab.
-
-
-
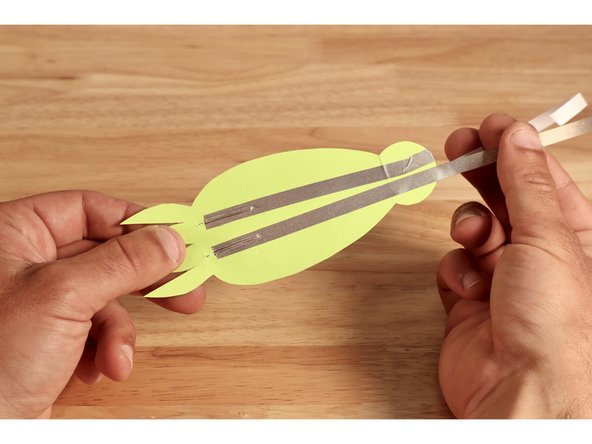
Flip shape over and make two more Maker Tape pathways for each of the legs on the opposite side. Lay the tape PAST the fold, over the tab and to the front side of the tab, leaving a gap between their ends and the ends of the first two paths you made.
-
-
-
After bringing the tape pathways from the back side to the front, they should end where shown to create a small gap between them and the two paths on the front.
-
-
-
Position your battery so the positive side (marked with a +) faces you and the top edge of the battery itself lines up with the fold below the tab.
-
-
-
Folding the tab over and pressing it in contact with the top of the battery should cause your LEDs to light up. TIP: If they don't light up, you may have positioned the LED legs incorrectly...flipping the battery over should remedy this mistake.
-
-
-
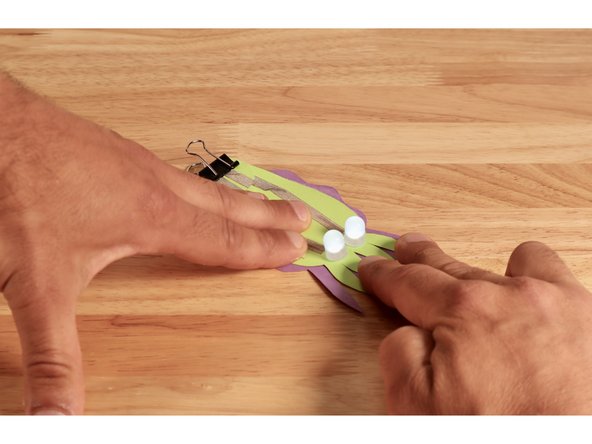
Once the LEDs are lit, secure the battery connection with the binder clip as shown. This should keep the circuit connected to the voltage source for hands-free enjoyment.
-
-
-
Add some glue or tape to the middle of the remaining shape taking care to keep the arms and the ruffled outer edges free of stickiness.
-
-
-
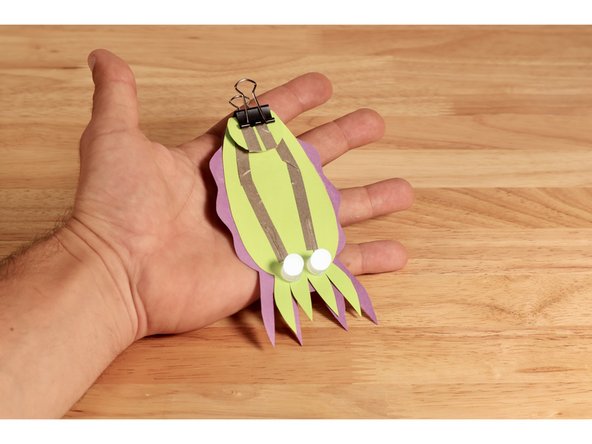
Press the top (circuit) portion to the bottom so that the ruffled edges and arms show.
-
-
-
All done!
-


Attached Documents
