
Introduction
Make a light-up Campfire Badge with our Maker Tape and grab some marshmallows!
Tools
Parts
Featured Document
-
-
Print the top and bottom of the campfire on two different pieces of paper. (We recommend a heavier paper stock.)
-
We have a full-color version and a black & white version. Choose which one you want to use. (The black & white version is fun to color!)
-
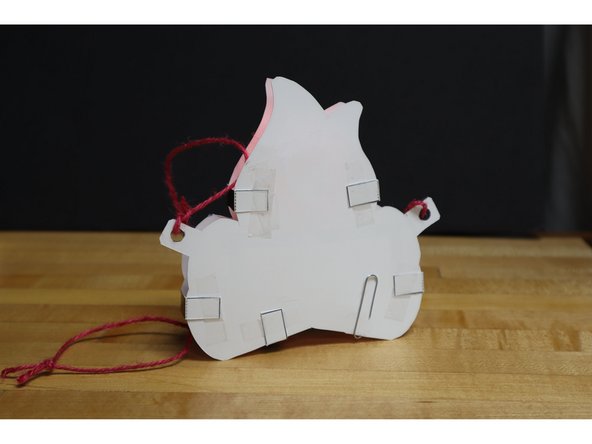
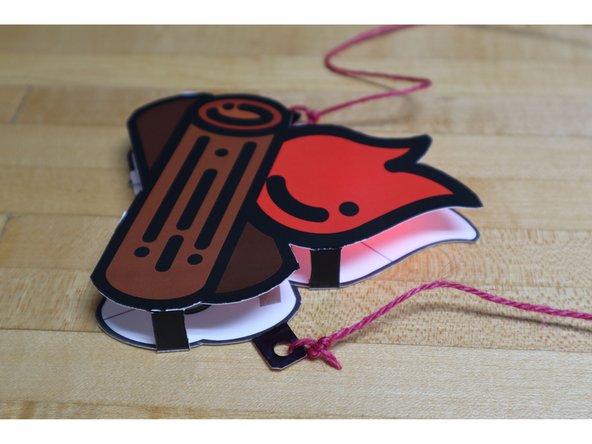
Cut out the top and bottom pieces, and use a hole punch to make holes in the tab for a string to so you can wear your badge.
-
-
-
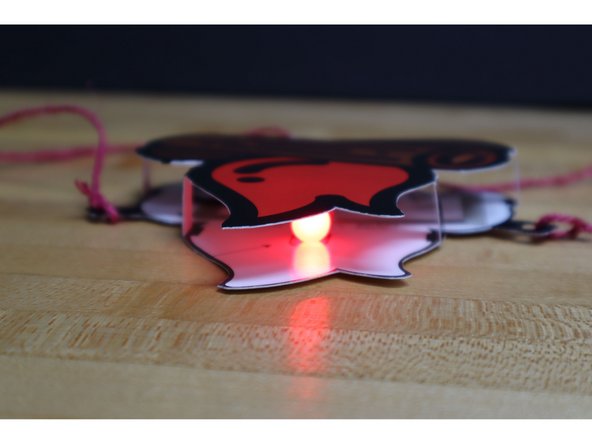
Using Maker Tape, a battery, and a red LED build your circuit on the bottom part of the campfire.
-
See the template for instructions on bending the LED legs so they point the correct way.
-
Add a piece of Maker Tape to act as a switch that can fold over the gap in the circuit to complete it.
-
Use a paperclip as a "switch" to keep your circuit turned on while you wear it.
-
-
-
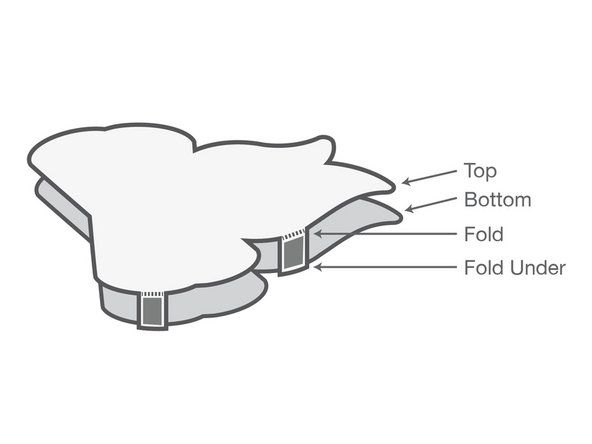
Bend the tabbed pieces on the top part of the campfire so they can go under/behind the bottom part of the campfire.
-
The "legs" of the top part of the campfire let it sit above the bottom part of the campfire so our LED has some room to glow.
-
Attach the tab legs to the back/bottom of the campfire with tape or glue.
-
-
-
Add some string to the holes on the side tabs.
-
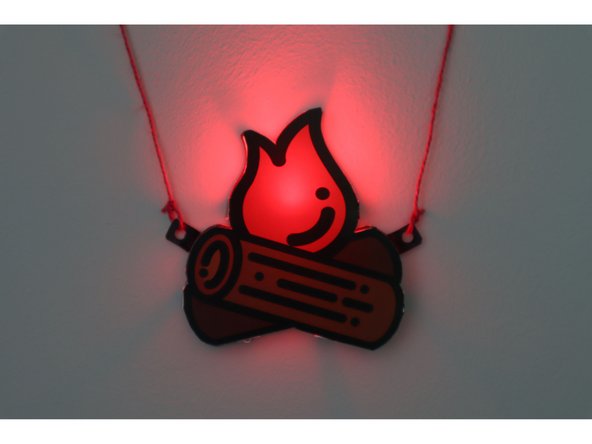
Enjoy your Campfire Badge!
-


Cancel: I did not complete this guide.
One other person completed this guide.
Attached Documents
